Inleiding
Common reasons for replacing the plastic casing are: controls on casing do not work, casing is cracked, or casing is scratched.
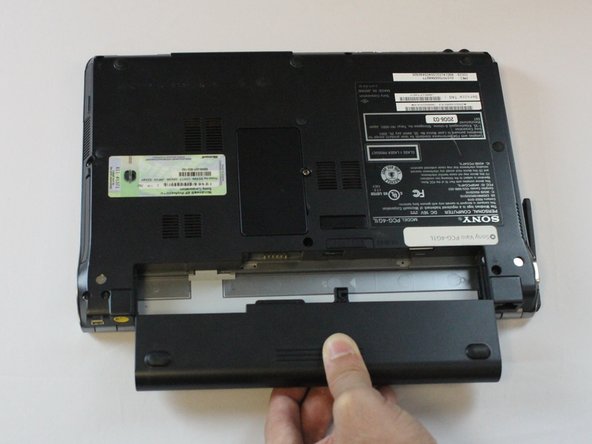
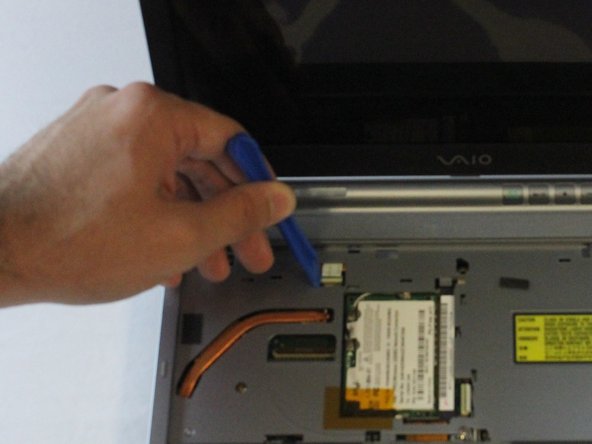
In this guide, you will learn how to replace the plastic casing for your device. Please remember to unplug the charging cable, since it could result in electric shock.
Wat je nodig hebt
-
-
Remove one 5 mm Phillips #1 pan head screw, in the middle of the laptop, using a Bit Driver with Phillips PH1 bit.
-
-
-
-
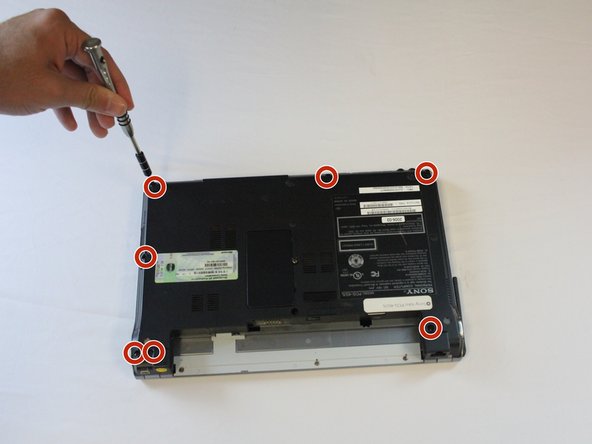
Remove seven 5 mm Phillips #1 pan head screws with a Bit Driver, using a Phillips PH1 bit.
-


To reassemble your device, follow these instructions in reverse order.
To reassemble your device, follow these instructions in reverse order.
Annuleren: ik heb deze handleiding niet afgemaakt.
Één andere persoon heeft deze handleiding voltooid.

Team

USF Tampa, Team 2-3, Cagle Fall 2016 Lid van USF Tampa, Team 2-3, Cagle Fall 2016
USFT-CAGLE-F16S2G3
5 Leden
12 handleidingen geschreven