Deze versie kan foutieve bewerkingen bevatten. Schakel over naar de recentste gecontroleerde momentopname.
Wat je nodig hebt
-
Deze stap is niet vertaald. Help het te vertalen
-
like you see the screen is already removed.
-
close the lid and turn the device around.
-
remove the battery.
-
-
Deze stap is niet vertaald. Help het te vertalen
-
remove the 2 screws of the HDD compartment
-
slide the plastic plate towards you and put it aside.
-
now you see the HDD. you can remove the HDD by pulling the plastic clip to the left.
-
-
Deze stap is niet vertaald. Help het te vertalen
-
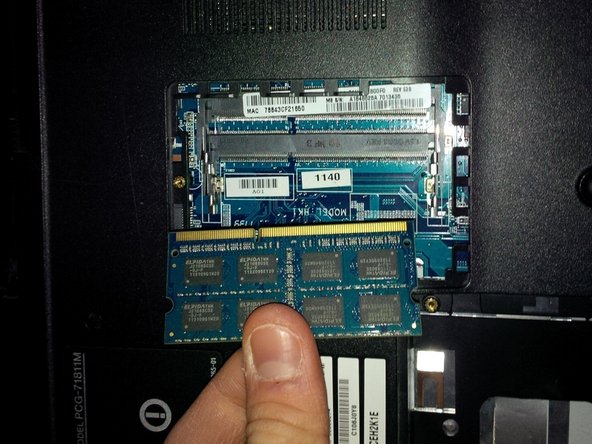
now we will remove the RAM.
-
remove the plastic plate.
-
remove the RAM module.
-
-
Deze stap is niet vertaald. Help het te vertalen
-
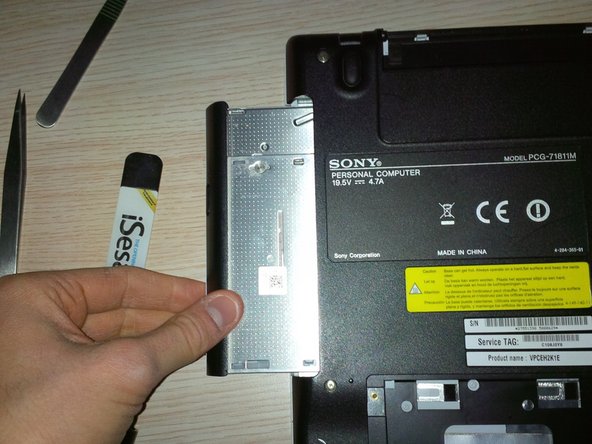
In this step we will remove the DVD/rw player.
-
remove the screw ( in the black plastic you'll see 3 dots in a row) i made a red circkle around it.
-
after removing the screw you can remove the DVD , using a spudger and slide it to the left.
-
-
Deze stap is niet vertaald. Help het te vertalen
-
now we will remove the other screws of the laptop.
-
first the bottom...
-
-
Deze stap is niet vertaald. Help het te vertalen
-
now the other sides of the laptop.
-
remove all the screws
-
don't forget the 2 black screws in the battery compartment.
-
-
-
Deze stap is niet vertaald. Help het te vertalen
-
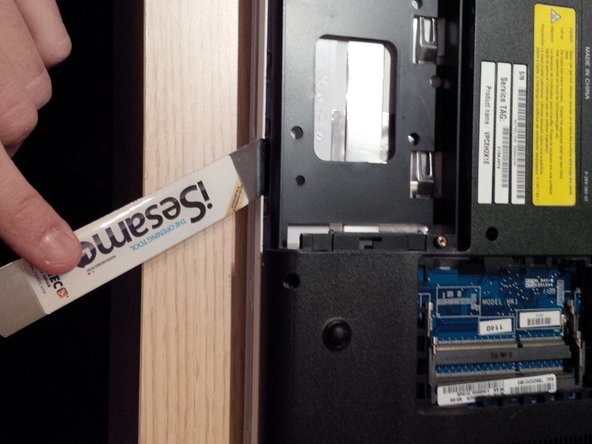
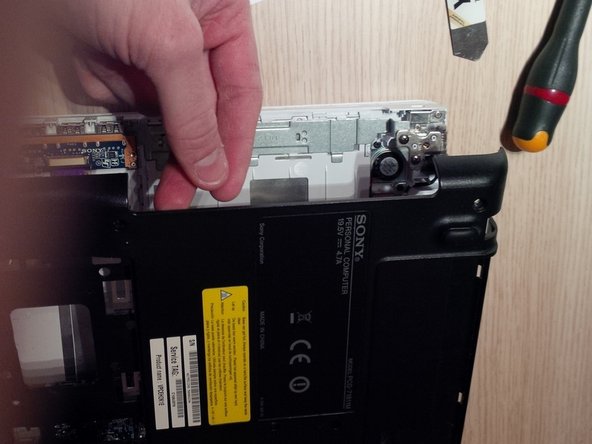
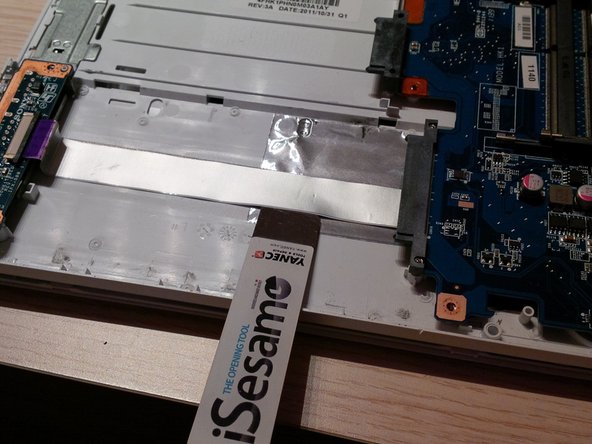
now, after removing all the screws, we wille open the bottom plate of the laptop.
-
use a spudger, or a spudger and the isesamo , to open the laptop. but be carefull
-
then , gently pull the bottomplate towards you. see picture 3
-
-
Deze stap is niet vertaald. Help het te vertalen
-
after removing the bottomplate you'll see the motherboard or mainboard ( in Belgium and the Netherlands we call it a motherboard.)
-
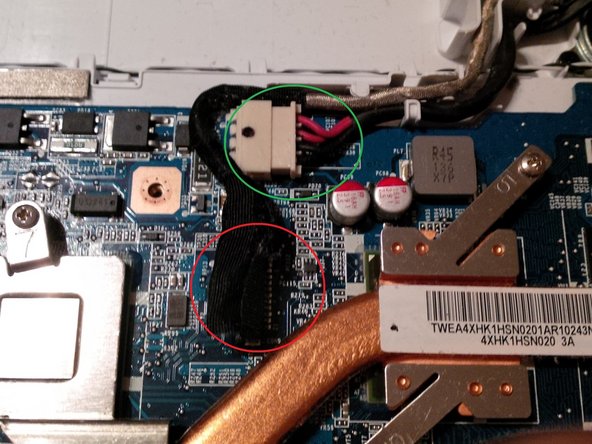
we will remove the connectors and cable's from the mainboard.
-
2th picture : in green you'll see the DC jack power connector. gently remove it.
-
in the same picture you see the screen connector ( in red) gently remove it.
-
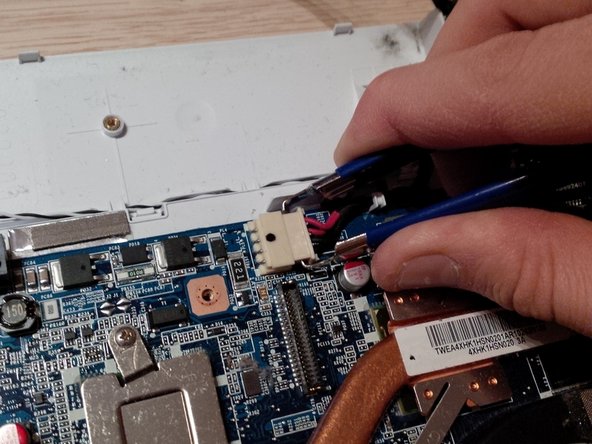
i used a special tweezer to remove the DC jack power cable connector. like you see in the 3th picture.
-
-
Deze stap is niet vertaald. Help het te vertalen
-
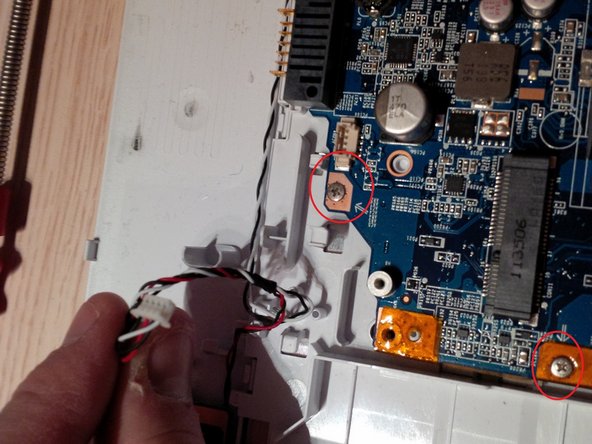
now we will remove the wifi PCIe card and the cable's , together with the audio cable connector.
-
first remove the grey and black cable ( antenna's ) use just a flat screwdriver or spudger or... ( it will just click off..) circkled in red.
-
now remove the black screw , if you unscrew it, the pci e card will come towards you.
-
remove the card by pulling it out.
-
remove the audio cable's connector. i used a dentist picking tool. you can use a thick tweezer or a nose pliers ( small one).
-
-
Deze stap is niet vertaald. Help het te vertalen
-
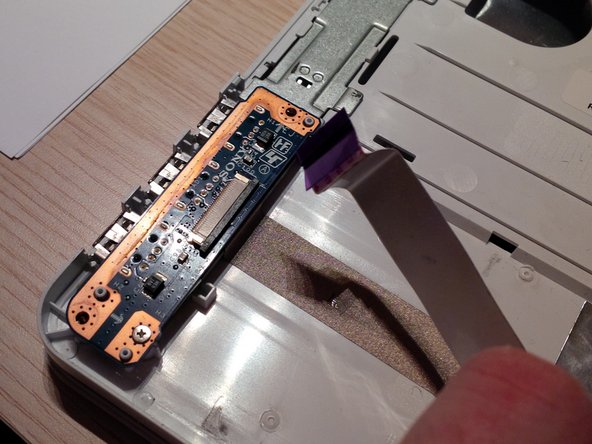
in this step we will remove the keyboard and the connector.
-
first use the isesamo to remove the keyboard by pulling it towards you ..
-
gently loosen up the connector. I use a dental picking tool to click the plastic holder up and then gently remove the cable.
-
-
Deze stap is niet vertaald. Help het te vertalen
-
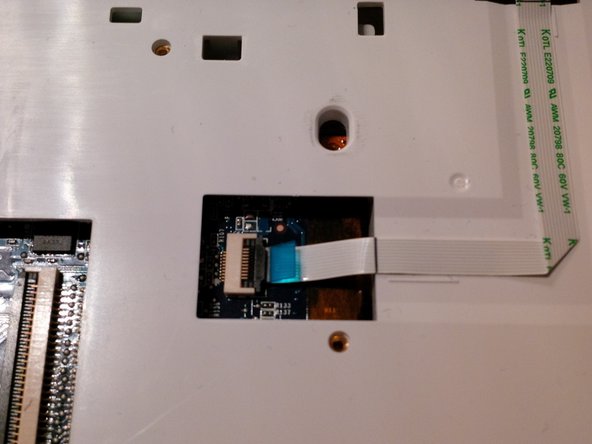
now remove ( gently) the other connectors of the mousepad and the poweboard (PCB)
-
as i said earlier, use a dental pick to loose the plastic holder of the connector.
-
-
Deze stap is niet vertaald. Help het te vertalen
-
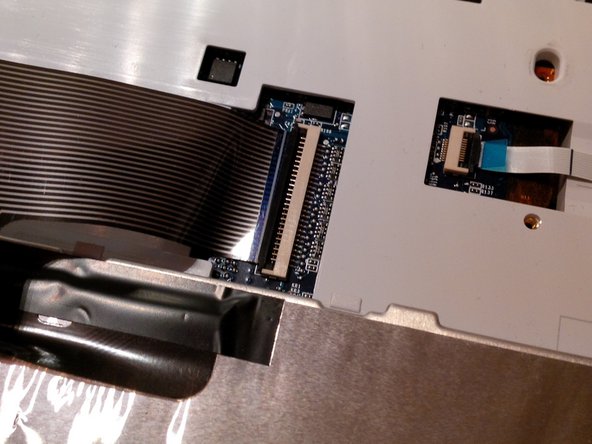
now we will remove the last cable, before removing the mainboard or motherboard.
-
remove the cable from the connector.
-
-
Deze stap is niet vertaald. Help het te vertalen
-
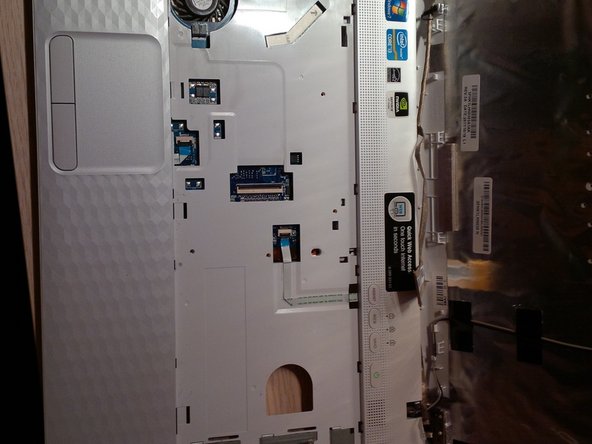
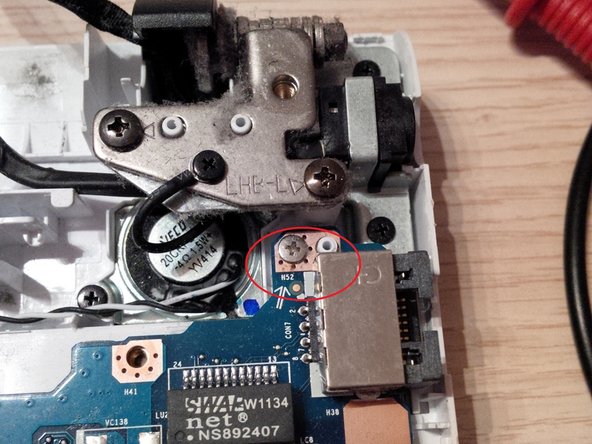
now we can remove the mainboard.
-
first remove the screws. as shown in the 3 pictures.
-
take the mainboard out and put it apart.
-
in the next step we will work with the mainboard, so put al the plastic at the side.
-
-
Deze stap is niet vertaald. Help het te vertalen
-
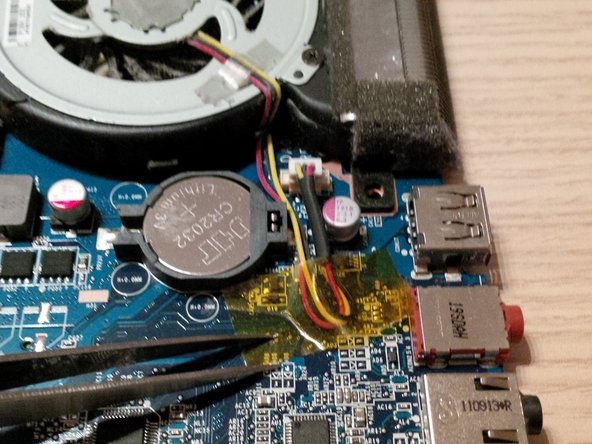
in this step we will remove the CPU cooler.
-
remove all the screws as shown in the picture.
-
remove the yellow tape on the wires and mainboard.
-
unplug the connector, and remove the CPU cooler from the mainboard.
-
-
Deze stap is niet vertaald. Help het te vertalen
-
after removing the CPU cooler, use a power duster ( air duster) to blow the dust out of the cooler.
-
my CPU cooler was broke ( a little plastic piece broke off...) so the computer was always rebooting cause the cpu could not cool down. ( you will see the plastic piece in the first picture.)
-
-
Deze stap is niet vertaald. Help het te vertalen
-
put some new liquid thermal paste on the CPU.
-
put the new cpu cooler on the mainboard and put everything together again.
-


Annuleren: ik heb deze handleiding niet afgemaakt.
7 andere personen hebben deze handleiding voltooid.

3 opmerkingen
Thank you!
I couldn't turn on my laptop.
I thought that the solution is to take out the BIOS battery so I needed to open it.
Your tutorial helped to achieve my goal.
And YES, at least in my case, after digging on net ant all kind of solutions found there, now it's working again!
Dear Kevin!
Thank you for greate manual. I think it’ll help me to repair cooling system of my old good Vaio.
Is it necessarily to remove motherboard from the case if I’d like only to change thermal paste?
Regards
Alexander