Inleiding
This guide walks readers through the motherboard replacement process for the Sony TCM-919. This cassette-corder device is wired via a motherboard residing deep within the device. The greatest tasks of replacing the motherboard include location of parts to be removed and the physical removal of the parts. This guide aims to facilitate component location and removal in eight steps.
Wat je nodig hebt
-
-
Turn the device around so that the back cover if facing upward. Use your thumbs to press firmly down and then push the battery door cover open.
-
Remove any batteries.
-
-
-
Remove the 5 5.95mm screws as indicated in the picture using the Phillips Head screwdriver.
-
-
-
Locate the 3-digit tape counter and gently push the tabs apart releasing the counter.
-
Pull the 3-digit tape counter out.
-
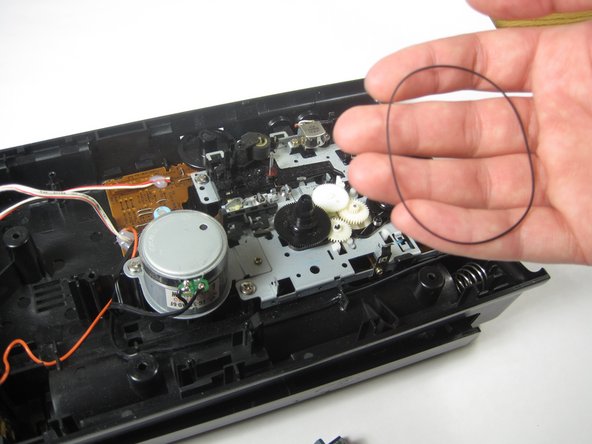
Remove the rubber band attaching the 3-digit tape counter to the cassette head.
-
-
-
-
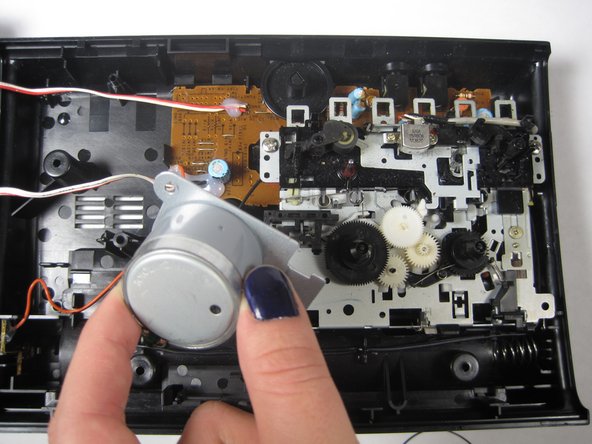
Remove the screws as indicated in the picture using the Phillips Head screwdriver.
-
Pull the loosened motor out of the device, and set the motor aside.
-
-
-
Removes the 3, 5.95mm screws using the Phillips Head screwdriver as indicated by picture 1.
-
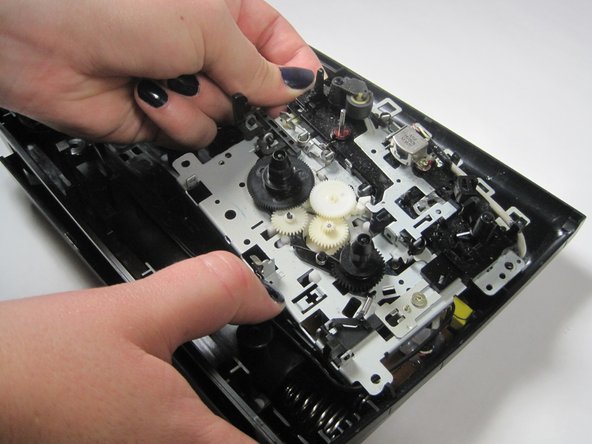
Push firmly on the tabs and lift the tape deck out.
-
Set the tape deck aside.
-
-
-
Remove the 2 5.95mm screws as indicated by the picture using the Phillips Head screwdriver.
-
-
-
Remove the epoxy completely from the motherboard so that the wires underneath the epoxy can move freely.
-
-
-
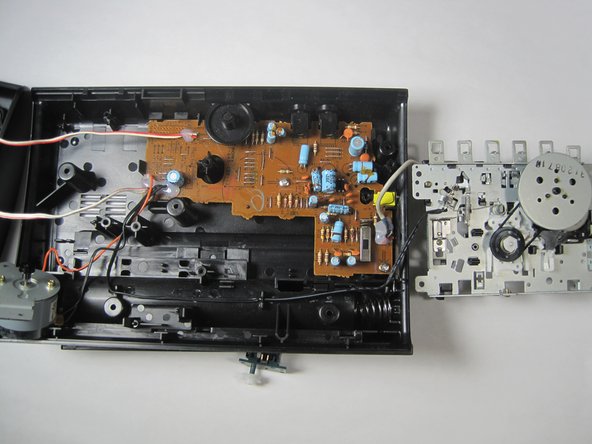
Remove the motherboard from case.
-
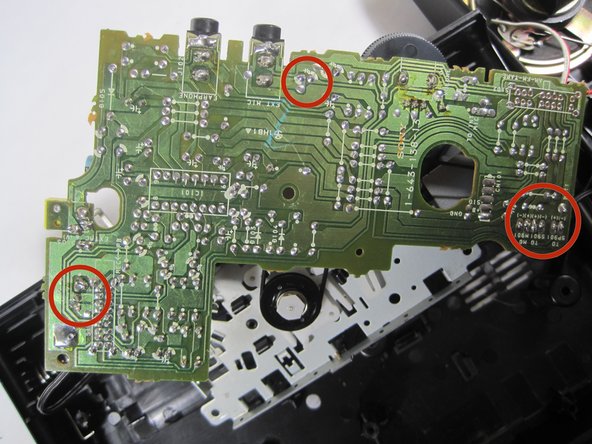
Flip the motherboard around so that the metallic green side is facing you.
-
Desolder the points indicated in picture 2. This should free the wires connected to the motherboard.
-
Remove the motherboard by pulling it out of the device cavity.
-


To reassemble your device, follow these instructions in reverse order.
To reassemble your device, follow these instructions in reverse order.

Team

Baylor, Team 4-3, Williams Fall 2014 Lid van Baylor, Team 4-3, Williams Fall 2014
BU-WILLIAMS-F14S4G3
3 Leden
5 handleidingen geschreven