Inleiding
Identification
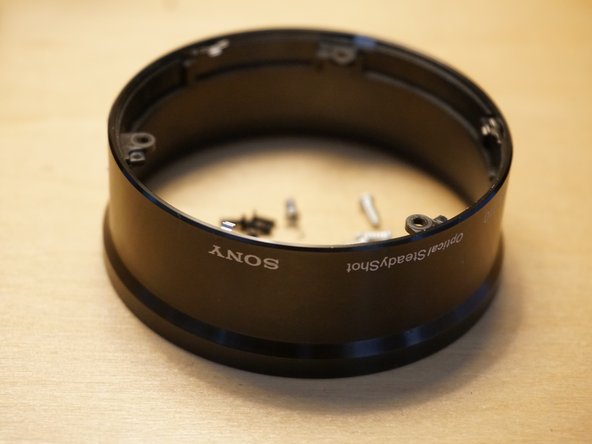
This lens can be identified by the markings “E 4.5-6.3/55-210 OSS” in addition to the model/serial number sticker.
Additional Links
Wat je nodig hebt
-
-
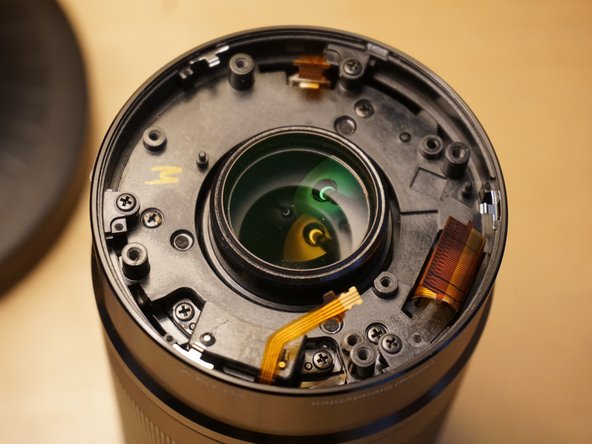
Gently disconnect cable from ZIP connector.
-
Remove E-mount bezel.
-
-
-
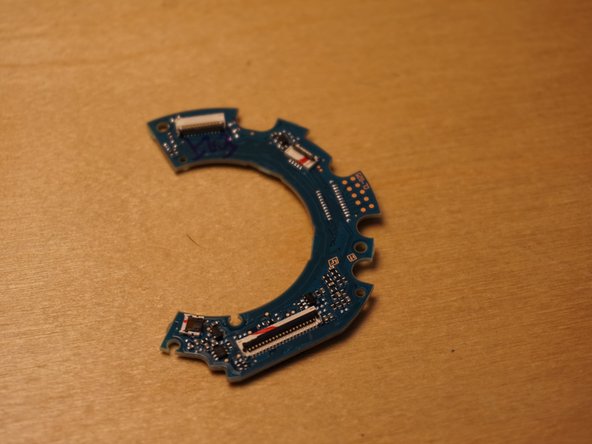
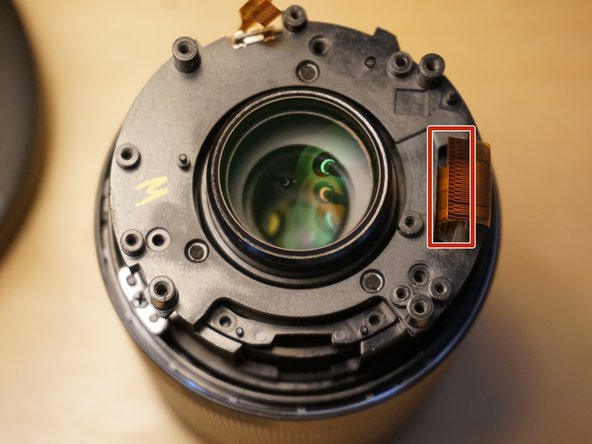
Gently disconnect 3 cables from ZIP connector.
-
The two wider connectors open from the cable side, the thinner connector opens from the back side.
-
-
-
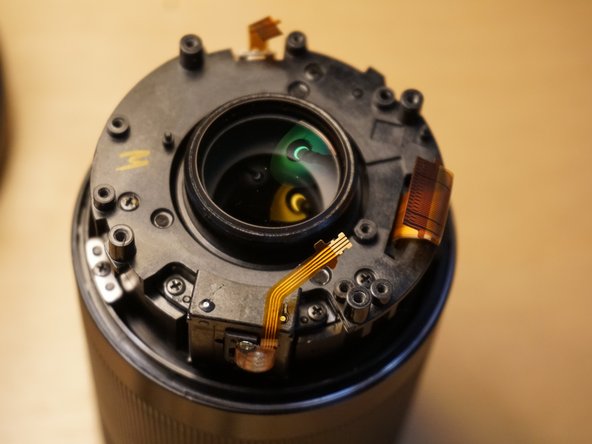
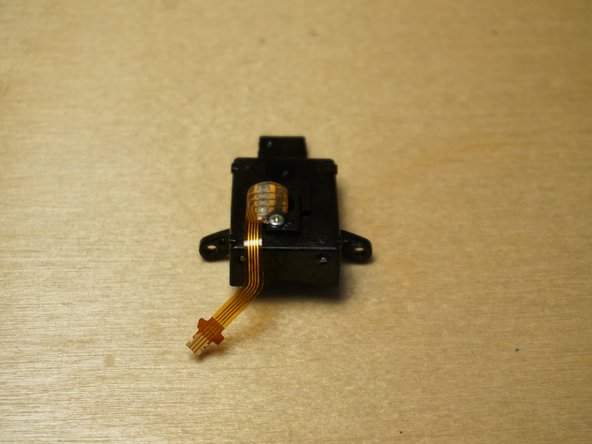
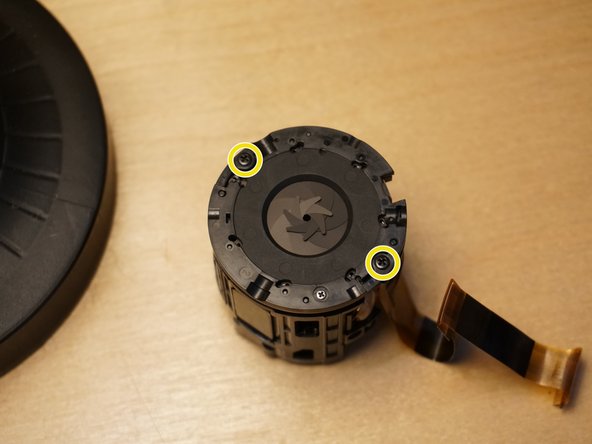
Remove 2 screws from lens park sensor.
-
Remove lens park sensor.
-
-
-
-
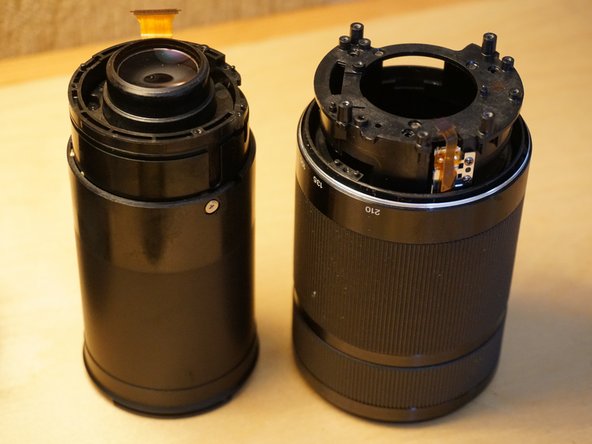
Remove 3 screws.
-
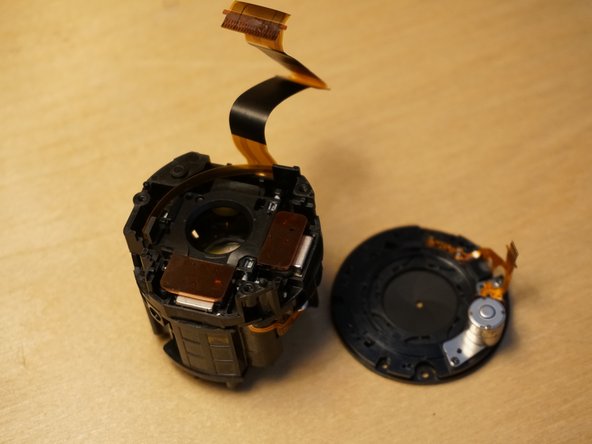
Pull lens out of external encasement.
-
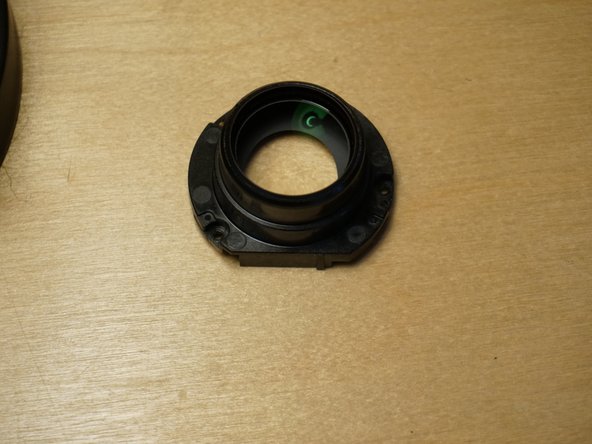
Maneuver the telescope sensor so that it unmates from the slot in the internal lens body
-
Carefully feed the OSS/AF motor wire through the slot.
-
-
-
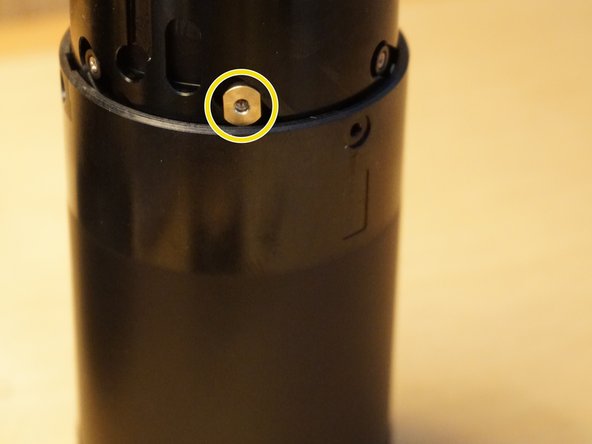
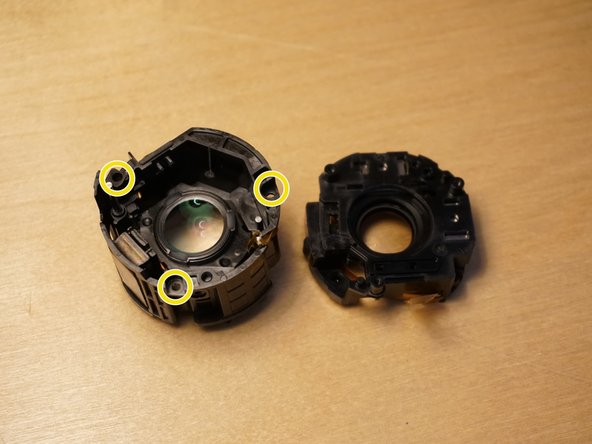
Remove 3 screws from the aperture end of the telescoping mechanism.
-
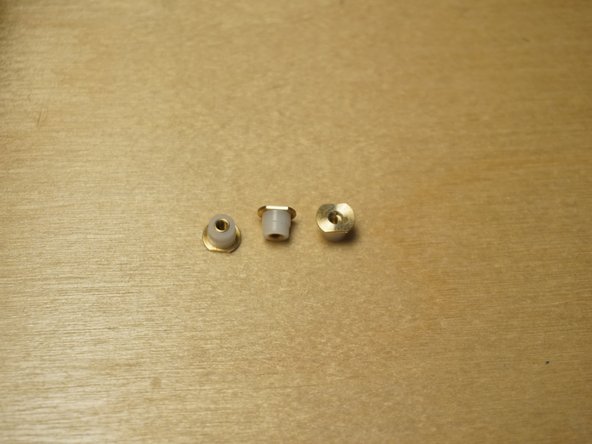
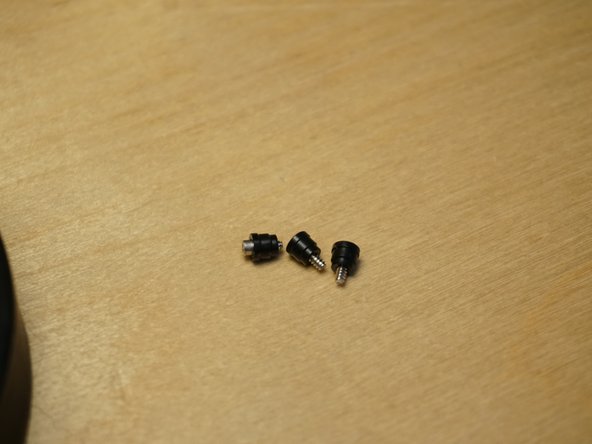
Lift lens to reveal and remove 3 brass/nylon nuts.
-
-
-
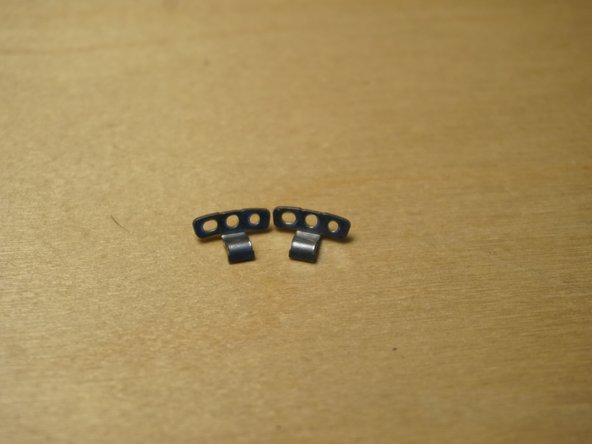
Remove 3 screws from the slide guides on the aperture end of the lens.
-
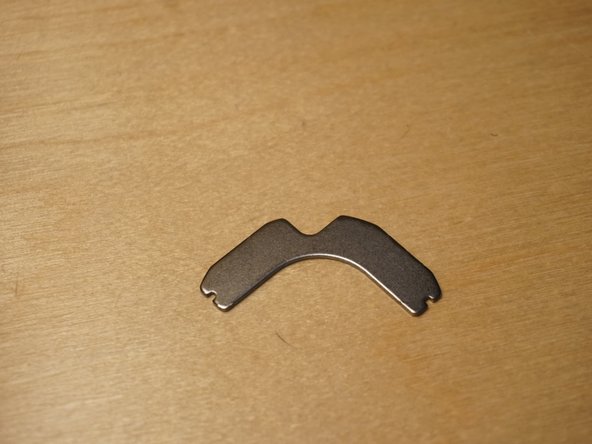
Remove 3 black nylon slide washers from the lens encasement.
-
-
-
Remove the OSS/AF mechanism.
-
Gently pull the cable up and out from the lens encasement groove.
-
-
-
Remove Kapton tape from aperture motor connector.
-
Disconnect aperture connector.
-
Remove 2 screws from aperture ring.
-
Remove aperture mechanism.
-
-
-
Disconnect 3 cables.
-
Remove 3 screws
-
Gently separate the OSS mechanism.
-


To reassemble your device, follow these instructions in reverse order.
To reassemble your device, follow these instructions in reverse order.
Annuleren: ik heb deze handleiding niet afgemaakt.
3 andere personen hebben deze handleiding voltooid.
2 opmerkingen
why did you need to dissasemble this lens. this lens looks similar to my 55mm lens which no longer focuses and the camera doesn’t recognize the lense anymore.
I need to know maddly, how can I have a reposition of the 6 spring there are on the first lense.
Is there any way?
If not, can you tell me specificcaly the size and the strength?