Deze versie kan foutieve bewerkingen bevatten. Schakel over naar de recentste gecontroleerde momentopname.
Wat je nodig hebt
-
Deze stap is niet vertaald. Help het te vertalen
-
Use a Phillips #00 screwdriver to unscrew the two 5 mm screws located on the bottom of the back of the device.
-
-
Deze stap is niet vertaald. Help het te vertalen
-
Use a plastic opening tool to loosen the bottom portion of device.
-
-
Deze stap is niet vertaald. Help het te vertalen
-
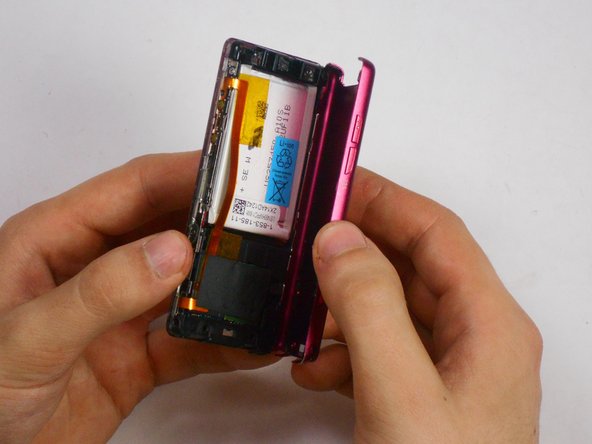
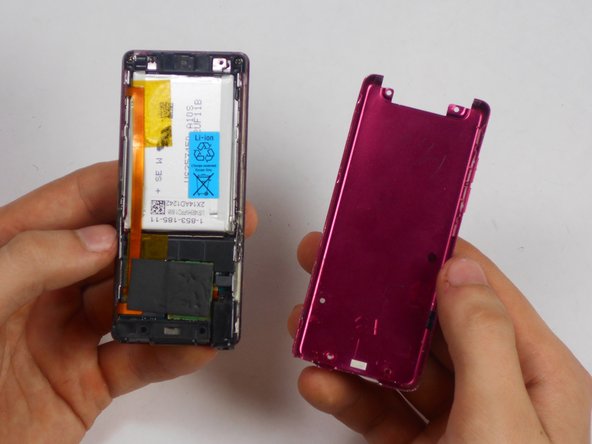
Use a plastic opening tool to loosen the top panel of the device.
-
-
-
Deze stap is niet vertaald. Help het te vertalen
-
Use a Phillips #00 screwdriver to remove the two 3 mm screws located on the portion under the top panel of the device.
-
-
Deze stap is niet vertaald. Help het te vertalen
-
Unscrew one 2.5 mm screw using a Phillips #00 screwdriver on bottom right portion of device located near audio jack.
-
-
Deze stap is niet vertaald. Help het te vertalen
-
Disconnect the headphone jack connection from the motherboard using any tool to remove black audio piece that needs to be replaced.
-


Annuleren: ik heb deze handleiding niet afgemaakt.
Één andere persoon heeft deze handleiding voltooid.
Team

USF Tampa, Team 17-6, Watkins Winter 2015 Lid van USF Tampa, Team 17-6, Watkins Winter 2015
USFT-WATKINS-W15S17G6
4 Leden
7 handleidingen geschreven