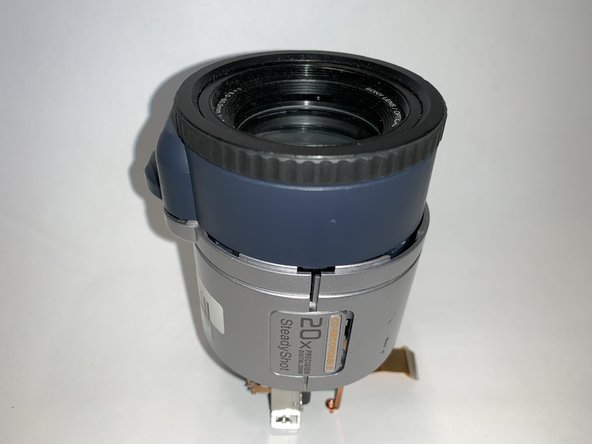
Inleiding
This guide will show you how to replace the lens on your device


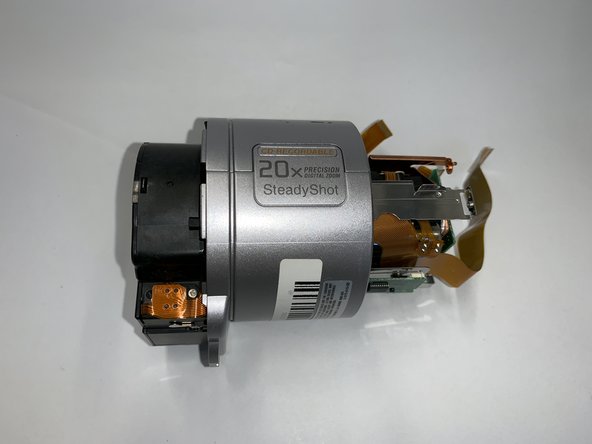
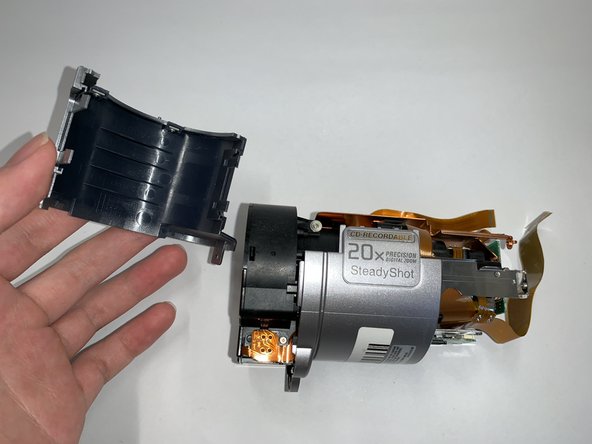
Bijna klaar!
When reassembling your device, follow the instructions in reverse order.
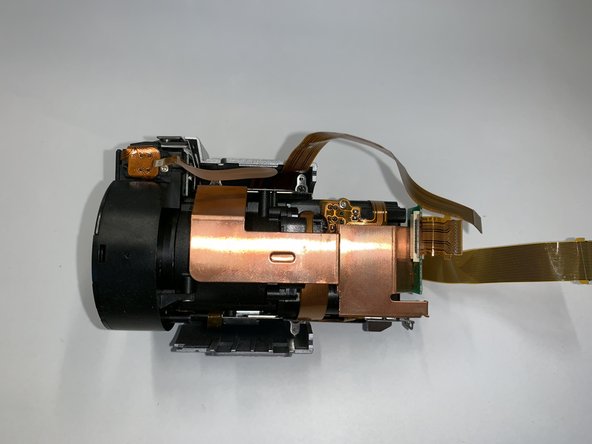
Conclusie
When reassembling your device, follow the instructions in reverse order.
Met dank aan deze vertalers:
zh en
100%

HelloMacOS helpt ons de wereld te herstellen! Wil je bijdragen?
Begin met vertalen ›
Team

Duke University Pratt School of Engineering, Team S6-G3, Matos-Garner Fall 2019 Lid van Duke University Pratt School of Engineering, Team S6-G3, Matos-Garner Fall 2019
DUKEPSE-MATOS-GARNER-F19S6G3
4 Leden
8 handleidingen geschreven