Inleiding
The replacement of the lens is needed if your videos are not coming out the way you want them to. If you notice that there are dirt or anything unusual on the lens it will ruin every video you take in the future, unless the lens is replaced.
Wat je nodig hebt
-
-
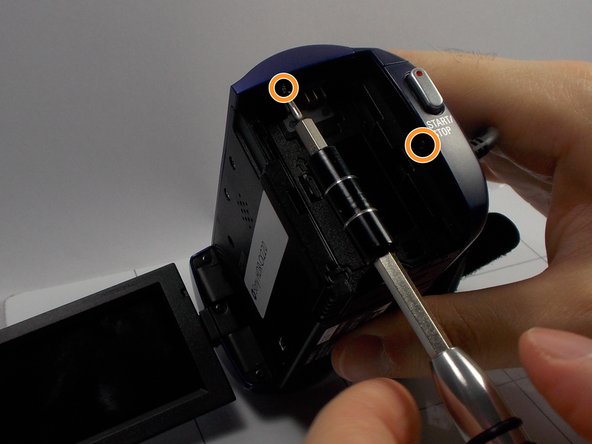
Use the Phillips #0 screwdriver to remove the two 5mm screws.
-
Use the Phillips #0 screwdriver to remove the two 5mm screws.
-
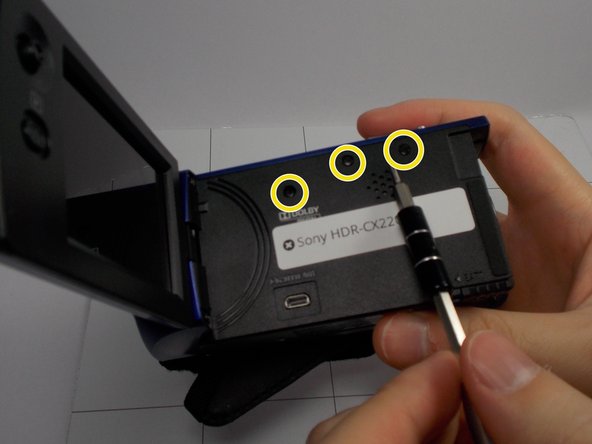
Use the Phillips #0 screwdriver to remove the three 5mm screws.
-
-
-
-
Use the Phillips #0 Screwdriver to remove the 5mm screw
-
Use the Phillips #0 Screwdriver to remove the 5mm screw
-
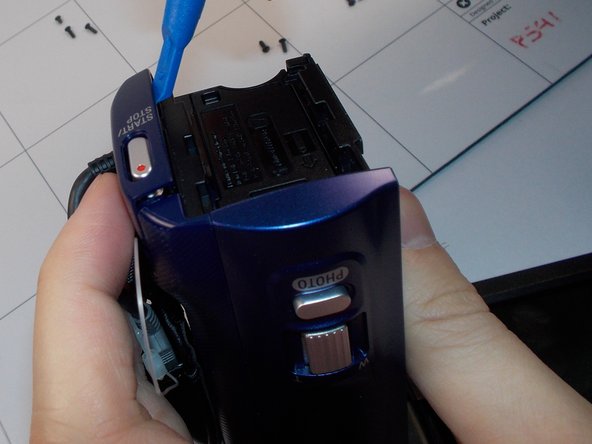
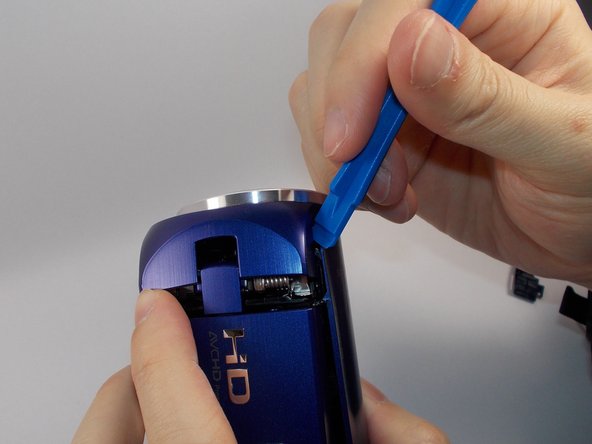
Use the Plastic Opening tools to unhook the highlighted area.
-


To reassemble your device, follow these instructions in reverse order.
To reassemble your device, follow these instructions in reverse order.
Annuleren: ik heb deze handleiding niet afgemaakt.
2 andere personen hebben deze handleiding voltooid.
Team

UMass Dartmouth, Team 8-5, Botvin Spring 2016 Lid van UMass Dartmouth, Team 8-5, Botvin Spring 2016
UMASSD-BOTVIN-S16S8G5
3 Leden
12 handleidingen geschreven