Inleiding
The replacement of the buttons are necessary if you are struggling to manage through your menus, or having trouble pressing the buttons in general.
Wat je nodig hebt
-
-
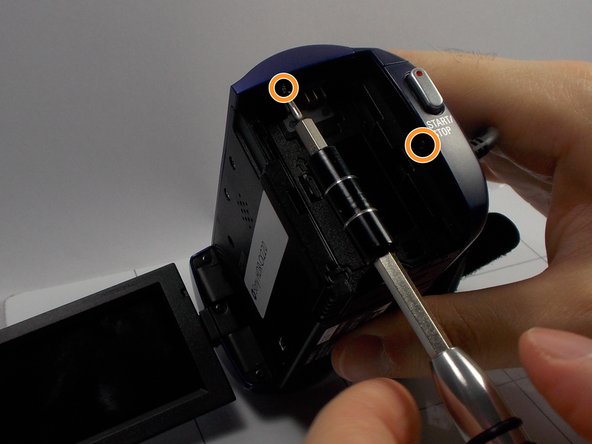
Use the Phillips #0 screwdriver to remove the two 5mm screws.
-
Use the Phillips #0 screwdriver to remove the two 5mm screws.
-
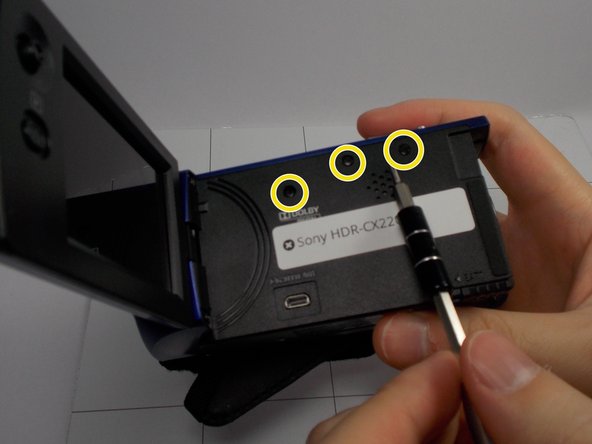
Use the Phillips #0 screwdriver to remove the three 5mm screws.
-
-
-
-
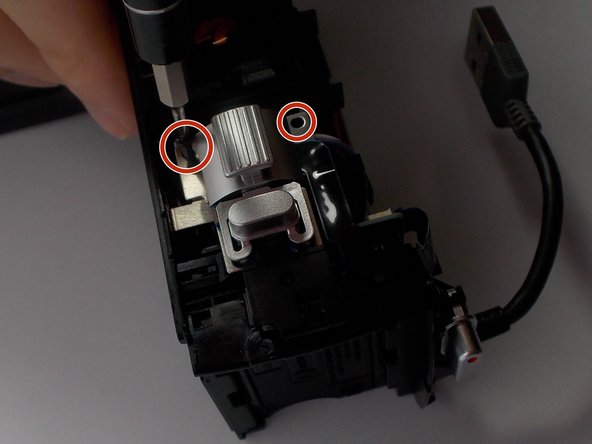
Use the Philips #0 screwdriver to unscrew the two 5mm screws shown on top of the camera.
-
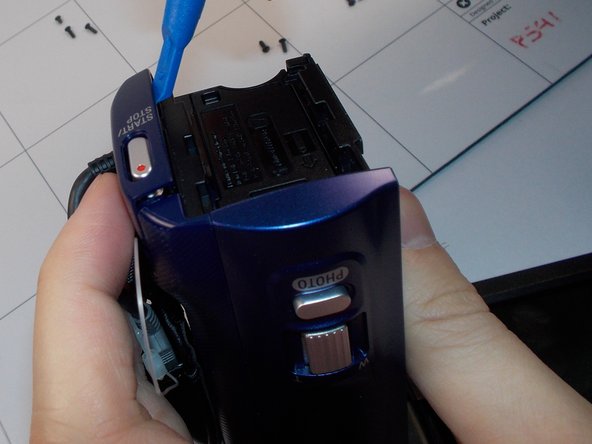
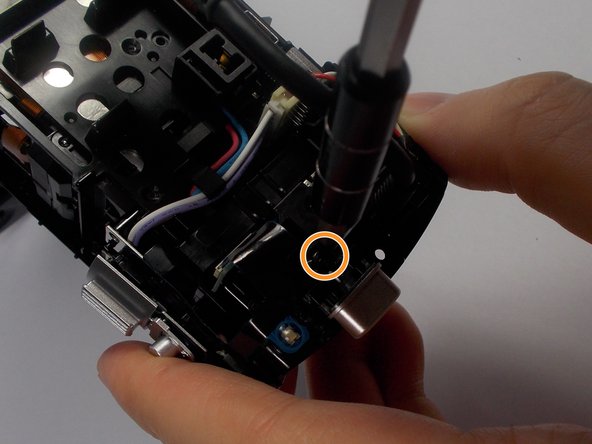
Remove the one side 5mm screw using a Philips #0 Screwdriver.
-
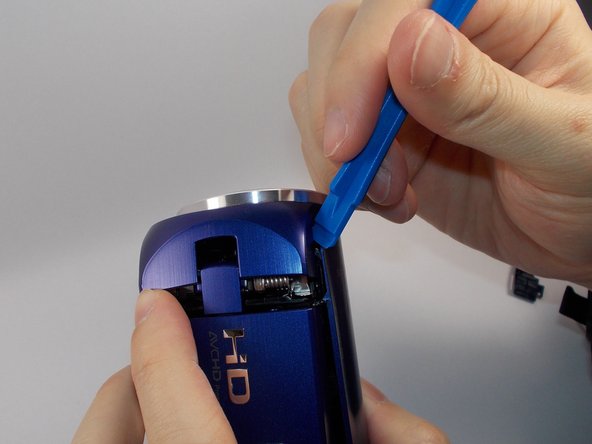
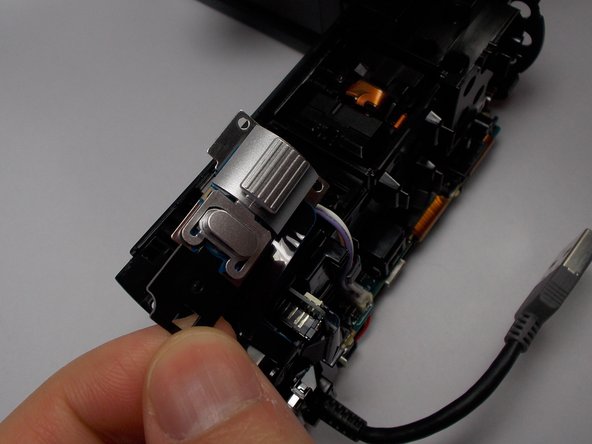
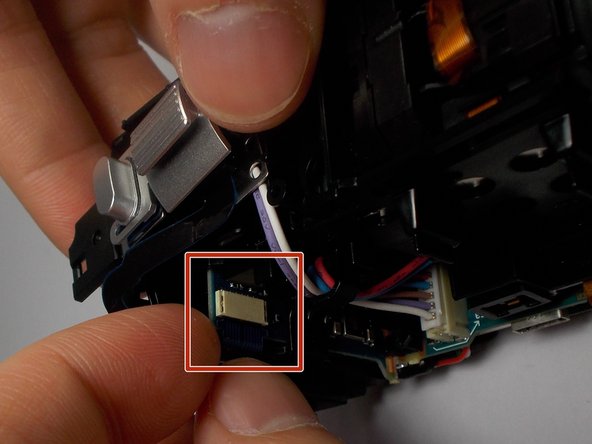
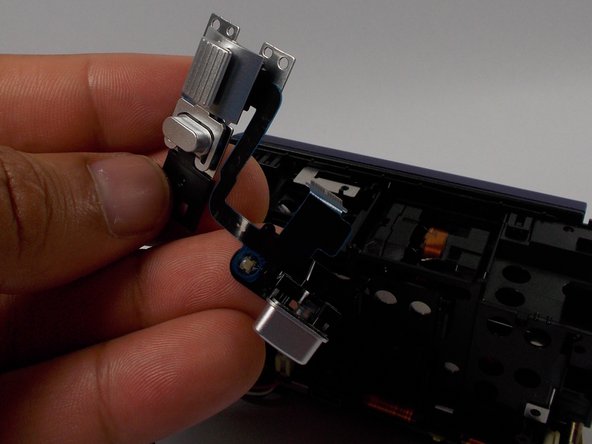
Remove the top buttons from the hook.
-


To reassemble your device, follow these instructions in reverse order.
To reassemble your device, follow these instructions in reverse order.
Annuleren: ik heb deze handleiding niet afgemaakt.
2 andere personen hebben deze handleiding voltooid.
Team

UMass Dartmouth, Team 8-5, Botvin Spring 2016 Lid van UMass Dartmouth, Team 8-5, Botvin Spring 2016
UMASSD-BOTVIN-S16S8G5
3 Leden
12 handleidingen geschreven