Ga door naar hoofdinhoud

Sony Ericsson TM506 Motherboard Replacement

Wat je nodig hebt

  1. Sony Ericsson TM506 Motherboard Replacement, Battery Cover: stap 1, afbeelding 1 van 3 Sony Ericsson TM506 Motherboard Replacement, Battery Cover: stap 1, afbeelding 2 van 3 Sony Ericsson TM506 Motherboard Replacement, Battery Cover: stap 1, afbeelding 3 van 3
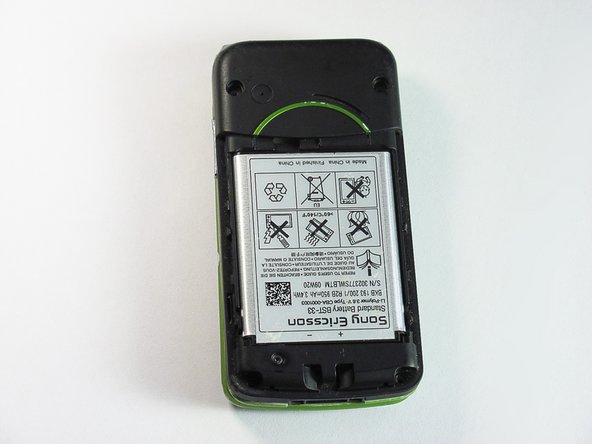
    • Firmly hold the phone between your fingers with your thumb on the battery cover.

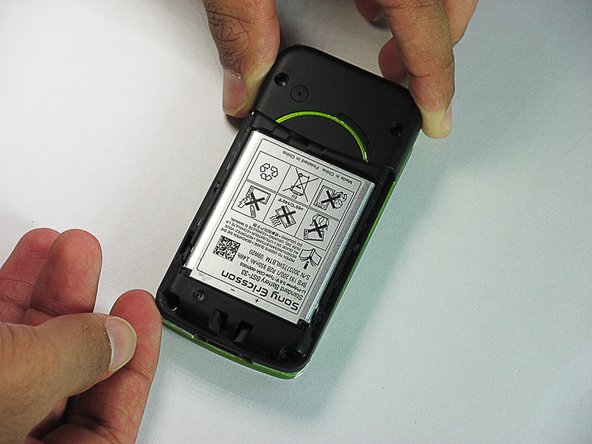
    • Push down with your thumb until the battery cover comes off.

  2. Sony Ericsson TM506 Motherboard Replacement, Back Case: stap 2, afbeelding 1 van 3 Sony Ericsson TM506 Motherboard Replacement, Back Case: stap 2, afbeelding 2 van 3 Sony Ericsson TM506 Motherboard Replacement, Back Case: stap 2, afbeelding 3 van 3
    • Unscrew the bottom two 5.4mm screws with a Torx T6 screwdriver.

  3. Sony Ericsson TM506 Motherboard Replacement: stap 3, afbeelding 1 van 2 Sony Ericsson TM506 Motherboard Replacement: stap 3, afbeelding 2 van 2
    • Remove the two rubber casings for the top two screws with a plastic opening tool.

  4. Sony Ericsson TM506 Motherboard Replacement: stap 4, afbeelding 1 van 1
    • Unscrew these two 5.4mm screws with a Torx T6 screwdriver.

  5. Sony Ericsson TM506 Motherboard Replacement: stap 5, afbeelding 1 van 3 Sony Ericsson TM506 Motherboard Replacement: stap 5, afbeelding 2 van 3 Sony Ericsson TM506 Motherboard Replacement: stap 5, afbeelding 3 van 3
    • There are eight snap hooks located around the outer case. Carefully snap these to remove the outer case.

  6. Sony Ericsson TM506 Motherboard Replacement, Sound Box: stap 6, afbeelding 1 van 3 Sony Ericsson TM506 Motherboard Replacement, Sound Box: stap 6, afbeelding 2 van 3 Sony Ericsson TM506 Motherboard Replacement, Sound Box: stap 6, afbeelding 3 van 3
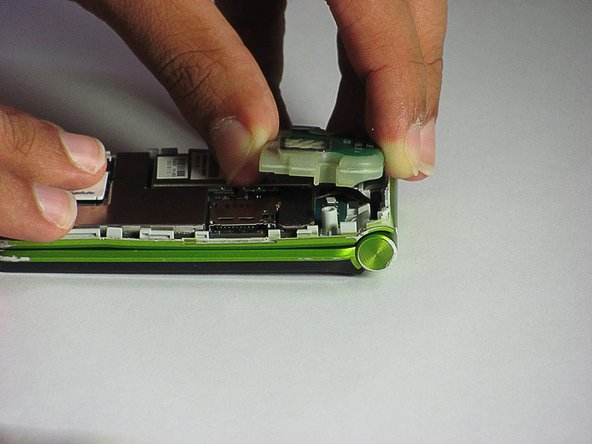
    • The sound box is attached to the case by two snap hooks.

    • Lift the sound box up to remove it from the case.

  7. Sony Ericsson TM506 Motherboard Replacement, Motherboard: stap 7, afbeelding 1 van 2 Sony Ericsson TM506 Motherboard Replacement, Motherboard: stap 7, afbeelding 2 van 2
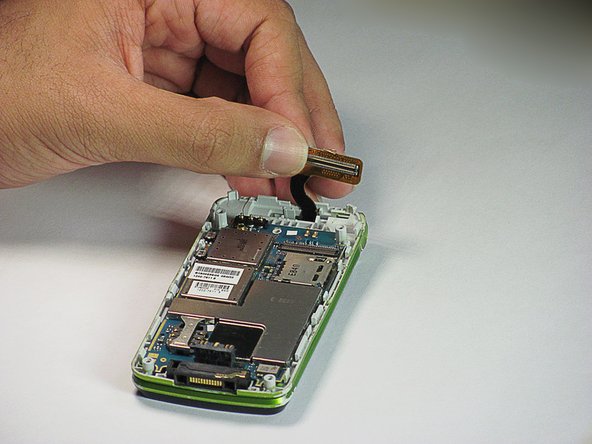
    • Locate the 80-pin connector.

    • Carefully, lift up on the connector to separate it from the board.

  8. Sony Ericsson TM506 Motherboard Replacement: stap 8, afbeelding 1 van 3 Sony Ericsson TM506 Motherboard Replacement: stap 8, afbeelding 2 van 3 Sony Ericsson TM506 Motherboard Replacement: stap 8, afbeelding 3 van 3
    • There are two snap hooks that attach the motherboard to the case.

    • Using a plastic opening tool, carefully lift up on the motherboard to detach it.

    • The motherboard is extremely fragile. Try to be forceful yet delicate in the removal because it will not come off easily.

Conclusie

To reassemble your device, follow these instructions in reverse order.

Daniel

Lid sinds: 06/20/12

83 Reputatie

7 handleidingen geschreven

Team

Cal Poly, Team 1-1, Regan SU 2012 Lid van Cal Poly, Team 1-1, Regan SU 2012

CPSU-REGAN-SU12S1G1

2 Leden

16 handleidingen geschreven

0 opmerkingen

Voeg opmerking toe

Weergavestatistieken:

Afgelopen 24 uren: 0

Afgelopen 7 dagen: 0

Afgelopen 30 dagen: 1

Altijd: 1,138