Ga door naar hoofdinhoud

Sony DVP-FX810 Disassembly

Wat je nodig hebt

  1. Sony DVP-FX810 Disassembly, Sony DVP-FX810 Disassembly: stap 1, afbeelding 1 van 2 Sony DVP-FX810 Disassembly, Sony DVP-FX810 Disassembly: stap 1, afbeelding 2 van 2
    • Taking a look at the device, we can see a basic portable DVD player.

    • The next logical step is to remove the battery

    • Never puncture batteries

  2. Sony DVP-FX810 Disassembly: stap 2, afbeelding 1 van 2 Sony DVP-FX810 Disassembly: stap 2, afbeelding 2 van 2
    • I am able to remove these phillips head screw with a PH0 bit.

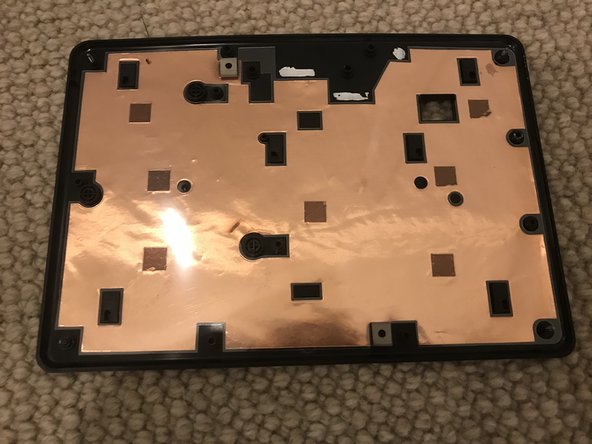
    • I spot an illegal sticker! These aren't legally binding, but what warranty from 2006 is even valid today anyways?

  3. Sony DVP-FX810 Disassembly: stap 3, afbeelding 1 van 1
    • Piercing through that reveals another screw!

    • We can now remove the back cover.

  4. Sony DVP-FX810 Disassembly: stap 4, afbeelding 1 van 2 Sony DVP-FX810 Disassembly: stap 4, afbeelding 2 van 2
    • A quick glance over the motherboard reveals some fantastic user-friendly design.

    • I can also spot the 3 screws holding the board down. Also Phillips PH0!

  5. Sony DVP-FX810 Disassembly: stap 5, afbeelding 1 van 3 Sony DVP-FX810 Disassembly: stap 5, afbeelding 2 van 3 Sony DVP-FX810 Disassembly: stap 5, afbeelding 3 van 3
    • I remove these 2 ribbon cables by pulling back on the black plastic piece gently, and then pulling out the cable.

    • First, pull on both sides

    • Then pull out.

  6. Sony DVP-FX810 Disassembly: stap 6, afbeelding 1 van 2 Sony DVP-FX810 Disassembly: stap 6, afbeelding 2 van 2
    • Now, for the 3 screws

  7. Sony DVP-FX810 Disassembly: stap 7, afbeelding 1 van 2 Sony DVP-FX810 Disassembly: stap 7, afbeelding 2 van 2
    • Before we remove the motherboard, we have to peel back the tape, and unplug these 3 connectors.

    • Pull them by the plug, NOT the wire.

  8. Sony DVP-FX810 Disassembly: stap 8, afbeelding 1 van 1
    • Now, we can remove the motherboard.

    • Top of motherboard

    • Power

    • I/O

    • Volume

    • CPU

    • Battery Connector

  9. Sony DVP-FX810 Disassembly: stap 9, afbeelding 1 van 1
    • Bottom of motherboard

    • Optical Drive Connectors

    • Display Connectors

    • Battery Connector

  10. Sony DVP-FX810 Disassembly: stap 10, afbeelding 1 van 2 Sony DVP-FX810 Disassembly: stap 10, afbeelding 2 van 2
    • The optical drive assembly can just be lifted right off, no screws required!

    • Laser

    • Wheel

    • Connectors

    • Shock absorbers

    • Laser motor

    • Laser motor gears

  11. Sony DVP-FX810 Disassembly: stap 11, afbeelding 1 van 2 Sony DVP-FX810 Disassembly: stap 11, afbeelding 2 van 2
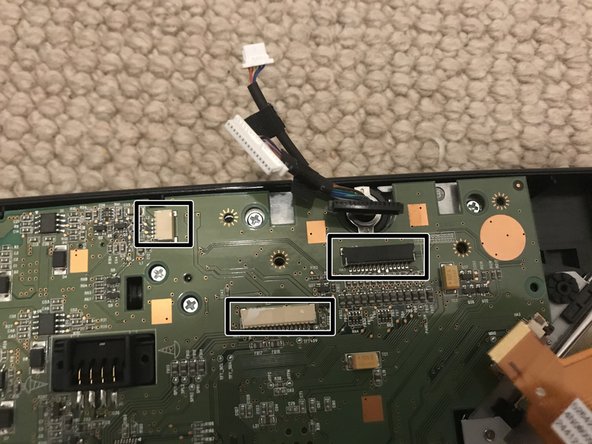
    • That's all I was able to get to today, though I did notice 2 tiny screws on the bottom of the screen. It may be possible to replace the screen, though that's a question for another time.

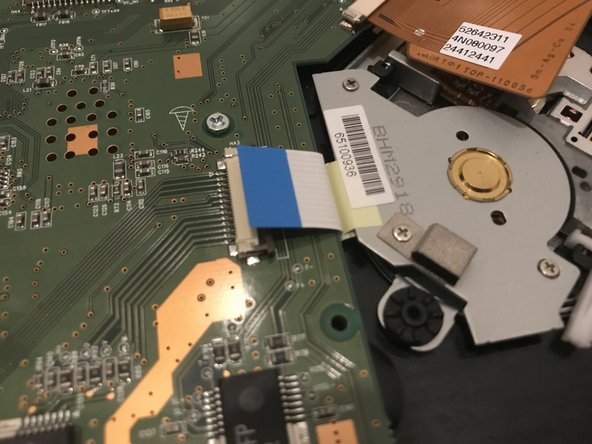
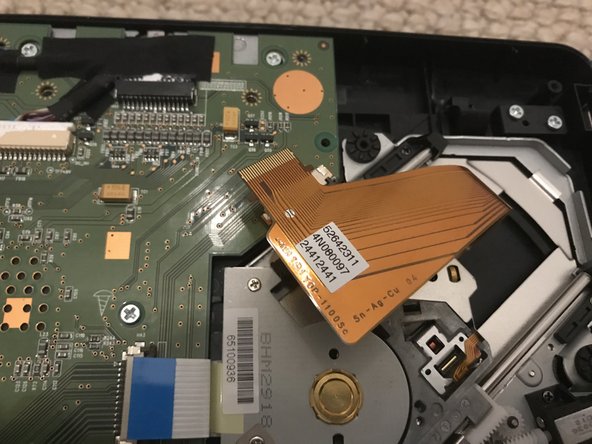
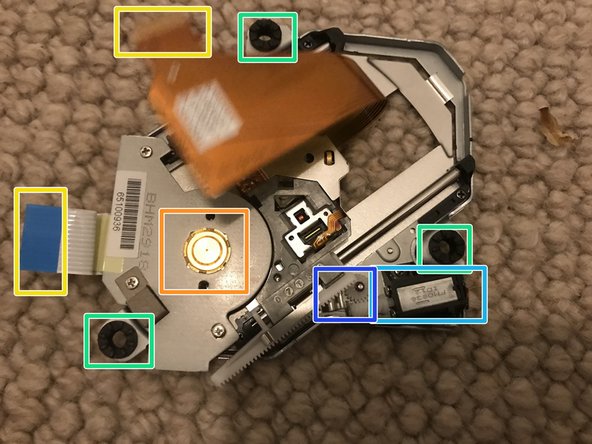
    • The modular system allowed for a fantastic, easy, replacement of the motherboard and optical drive. Screen replacement theoretically possible.

Conclusie

To reassemble your device, follow these instructions in reverse order.

2 andere personen hebben deze handleiding voltooid.

9021007

Lid sinds: 07/13/18

4.599 Reputatie

25 handleidingen geschreven

Één opmerking

Did you ever get around to seeing if you could get to the LCD? Currently trying to open it to get the model number so I can connect it to a raspberry pi

Dylan - Antwoord

Voeg opmerking toe

Weergavestatistieken:

Afgelopen 24 uren: 0

Afgelopen 7 dagen: 1

Afgelopen 30 dagen: 14

Altijd: 1,096