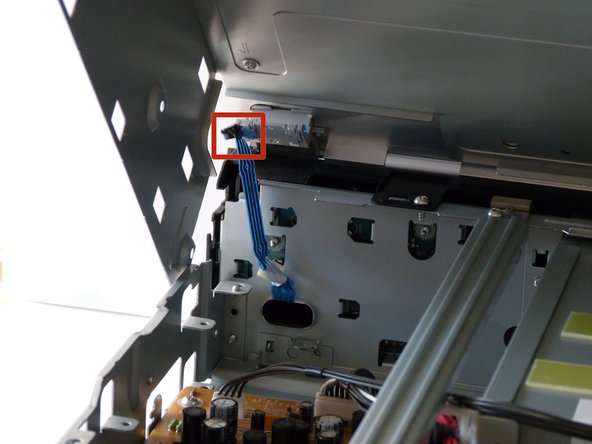
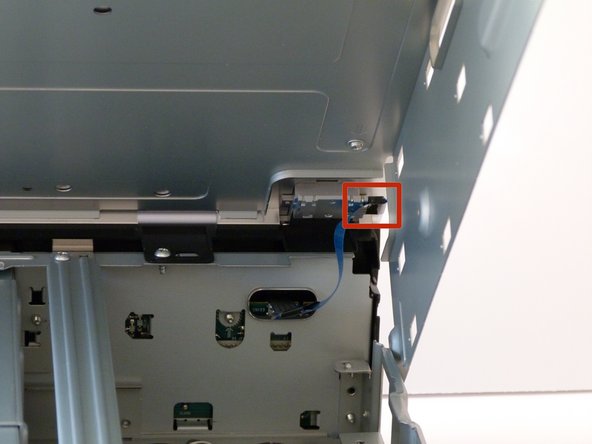
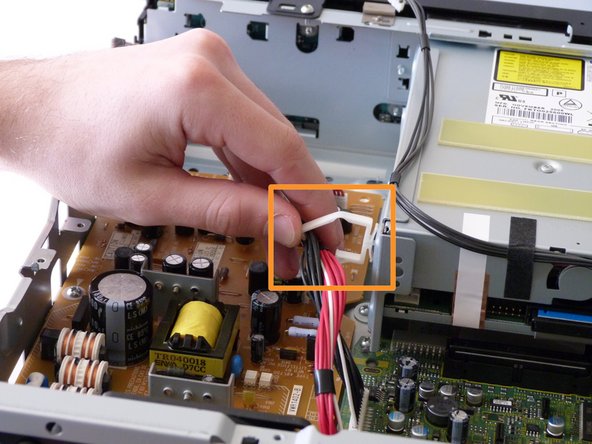
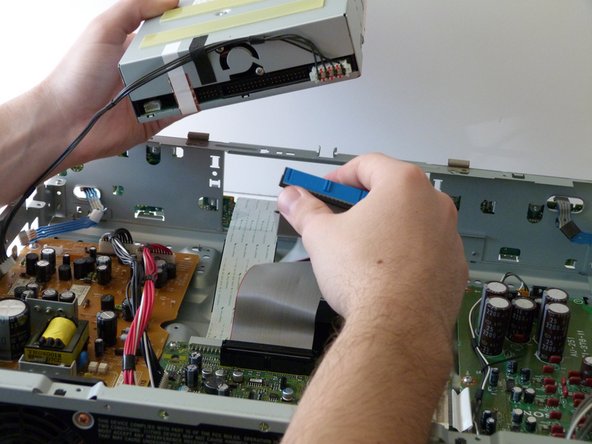
Ga door naar hoofdinhoud

Sony BDP-S1 Optical Drive Replacement

Wat je nodig hebt

  1. Sony BDP-S1 Optical Drive Replacement, Sony BDP-S1: Getting inside the device: stap 1, afbeelding 1 van 2 Sony BDP-S1 Optical Drive Replacement, Sony BDP-S1: Getting inside the device: stap 1, afbeelding 2 van 2
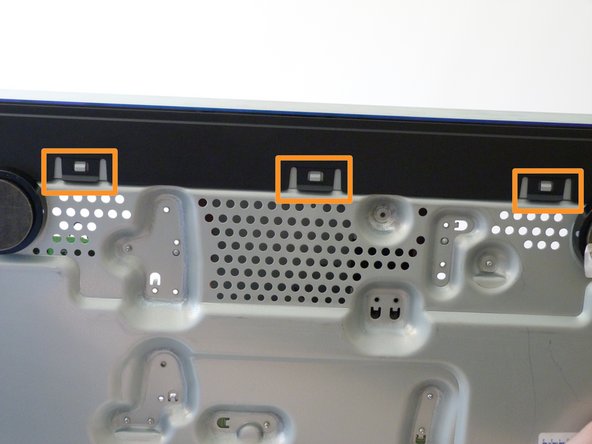
    • Remove the 12mm screws with the Philips #2 screwdriver which keep the plastic panels in place.

    • Don't forget, there are two more 12mm screws on the other side as well.

  2. Sony BDP-S1 Optical Drive Replacement: stap 2, afbeelding 1 van 3 Sony BDP-S1 Optical Drive Replacement: stap 2, afbeelding 2 van 3 Sony BDP-S1 Optical Drive Replacement: stap 2, afbeelding 3 van 3
    • First, remove the three 12mm black screws holding the top panel on (Phillips #2).

    • Then, remove the two 12mm black screws - one on each side of the back of the device - holding the top panel on.

    • Lastly, remove the three 12mm black screws on each side of device.

  3. Sony BDP-S1 Optical Drive Replacement: stap 3, afbeelding 1 van 3 Sony BDP-S1 Optical Drive Replacement: stap 3, afbeelding 2 van 3 Sony BDP-S1 Optical Drive Replacement: stap 3, afbeelding 3 van 3
    • Carefully lift up the top panel, because there are two blue ribbon cables that must be disconnected before removing the panel, and we do NOT want them to break.

    • After gently disconnecting the two ribbon cables (you can just pull them out with your hand), take the top off and set it to the side.

  4. Sony BDP-S1 Optical Drive Replacement: stap 4, afbeelding 1 van 3 Sony BDP-S1 Optical Drive Replacement: stap 4, afbeelding 2 van 3 Sony BDP-S1 Optical Drive Replacement: stap 4, afbeelding 3 van 3
    • After the top is off, you'll see that there are two metal bars that go across the top of the device.

    • Remove each bar by unscrewing the two 10mm silver screws on each end.

  5. Sony BDP-S1 Optical Drive Replacement, Optical Drive: stap 5, afbeelding 1 van 3 Sony BDP-S1 Optical Drive Replacement, Optical Drive: stap 5, afbeelding 2 van 3 Sony BDP-S1 Optical Drive Replacement, Optical Drive: stap 5, afbeelding 3 van 3
    • Remove the two 10mm silver screws holding the front panel on with the Phillips #2 screwdriver, located on the top side of the front panel.

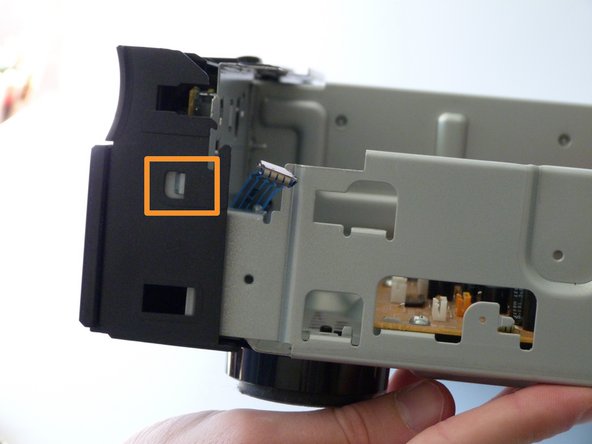
    • Take off the front panel by depressing the clips (either with your fingers, screwdriver, or other small object) and pulling it off.

    • There are two clips on the top, one on each side, and three on the bottom.

  6. Sony BDP-S1 Optical Drive Replacement: stap 6, afbeelding 1 van 2 Sony BDP-S1 Optical Drive Replacement: stap 6, afbeelding 2 van 2
    • Before unscrewing the optical drive enclosure, the small cable on the left of the drive (when looking at the device from the back) needs to be disconnected from the circuit board (the orange one).

    • Also, take the cables out of the white clip that is on the side of the optical drive.

  7. Sony BDP-S1 Optical Drive Replacement: stap 7, afbeelding 1 van 3 Sony BDP-S1 Optical Drive Replacement: stap 7, afbeelding 2 van 3 Sony BDP-S1 Optical Drive Replacement: stap 7, afbeelding 3 van 3
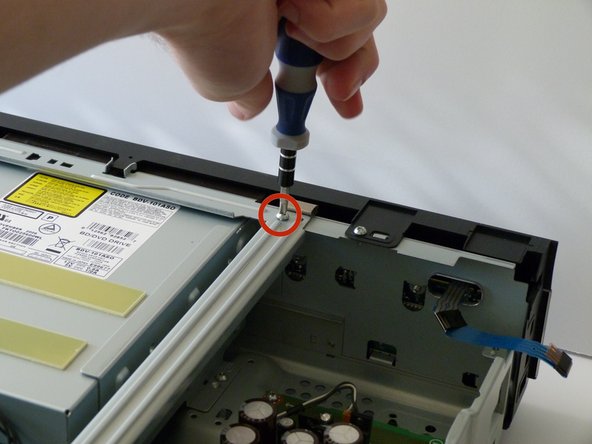
    • Unscrew the two metal clamps on both sides of the optical drive by removing three sets of screws:

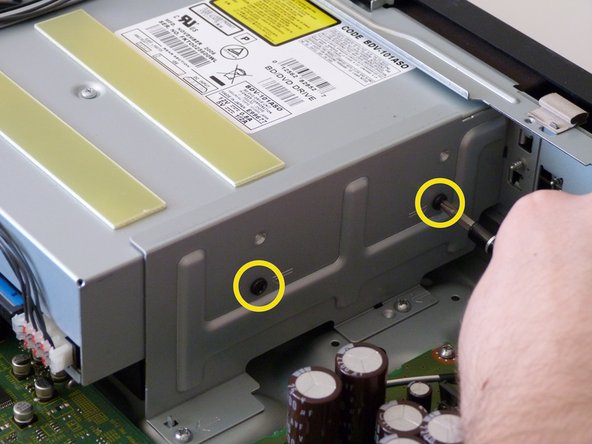
    • The two 10mm silver screws on the bottom of the each clamp.

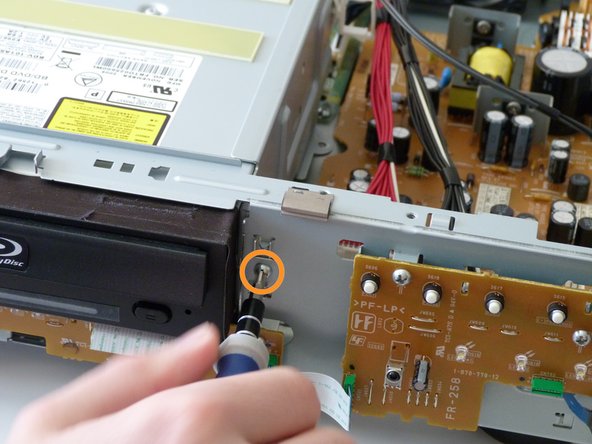
    • The 10mm silver screw holding each clamp from the front.

    • The two 5mm black screws on the sides.

    • Remove the two clamps. They can be removed by hand.

  8. Sony BDP-S1 Optical Drive Replacement: stap 8, afbeelding 1 van 3 Sony BDP-S1 Optical Drive Replacement: stap 8, afbeelding 2 van 3 Sony BDP-S1 Optical Drive Replacement: stap 8, afbeelding 3 van 3
    • Gently pull the optical drive back to dislodge it from the front of the device and then lift it up.

    • Remove the wide ribbon cable from the back of the optical drive.

Conclusie

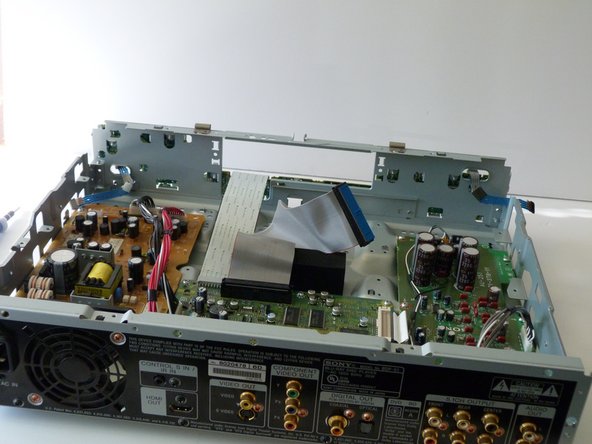
To reassemble your device, follow these instructions in reverse order.

Één andere persoon heeft deze handleiding voltooid.

Sam

Lid sinds: 01/26/14

376 Reputatie

3 handleidingen geschreven

Team

Cal Poly, Team 9-30, Maness Winter 2014 Lid van Cal Poly, Team 9-30, Maness Winter 2014

CPSU-MANESS-W14S9G30

3 Leden

5 handleidingen geschreven

Één opmerking

Hi Sam, thanks for your guide!

How can I find a new drive for my BDP-S1E?

I've asked to local Sony but seems not more available..

Thank You so much

Romano

romanojeran - Antwoord

Voeg opmerking toe

Weergavestatistieken:

Afgelopen 24 uren: 0

Afgelopen 7 dagen: 0

Afgelopen 30 dagen: 16

Altijd: 1,703