Inleiding
The SodaStream Source is battery operated. But If you are experiencing trouble with your device, and you have replaced the battery, it could be the microchip needs to be replaced. This guide will assist you in removing the carbonation block to access the microchip and replace it.
Wat je nodig hebt
-
-
-
Remove the soda bottle and the CO₂ canister from the machine.
 Vraag FixBot
-
-
Gereedschap gebruikt in deze stap:Phillips #1 Screwdriver$8.99
-
Remove the four 17.8 mm screws from the bottom metal base using a Phillips #1 screwdriver.
-
-
-
Gereedschap gebruikt in deze stap:Phillips #1 Screwdriver$8.99
-
Remove the two 18.2 mm screws from the bottom of the front cover using a Phillips #1 screwdriver.
-
-
Gereedschap gebruikt in deze stap:Jimmy$7.95
-
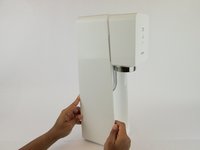
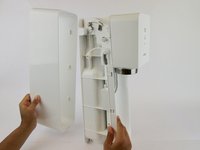
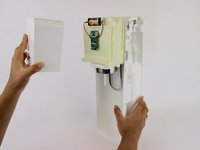
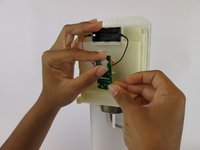
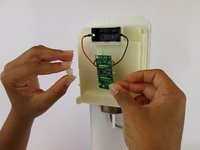
Firmly pull the front cover off.
-
-
-
-
-
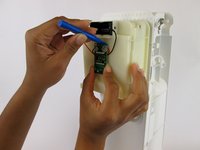
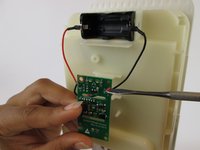
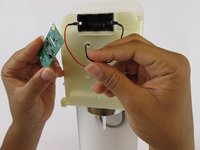
Wedge the plastic spudger between the microchip and the glue dot until the glue pops off.
-
-
Gereedschap gebruikt in deze stap:Spudger$2.99
-
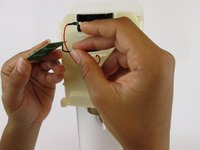
Use the spudger to lift the edge of the wire and pull the wire out of the microchip.
-


To reassemble your device, follow these instructions in reverse order.
Annuleren: ik heb deze handleiding niet afgemaakt.
Één andere persoon heeft deze handleiding voltooid.
Team

USF Tampa, Team S1-G4, Leahy Spring 2017 Lid van USF Tampa, Team S1-G4, Leahy Spring 2017
USFT-LEAHY-S17S1G4
3 Leden
48 handleidingen geschreven
4Gids Commentaar
Great information, but is there someone out there offering this repair as a service, I’m not motivated enough to do this myself and happy to pay someone to do it for me
Where can you purchase a replacement microchip from?
Where can I find the reassemble source at