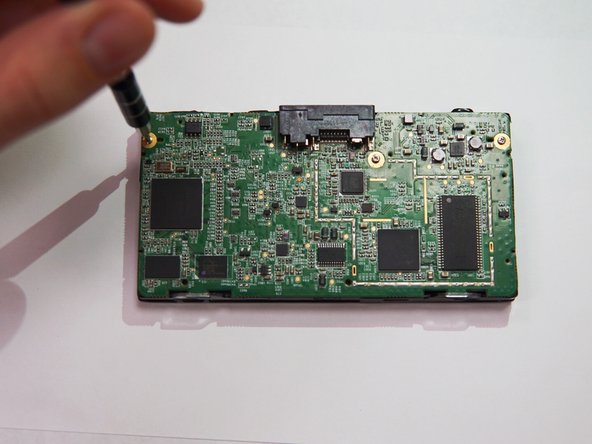
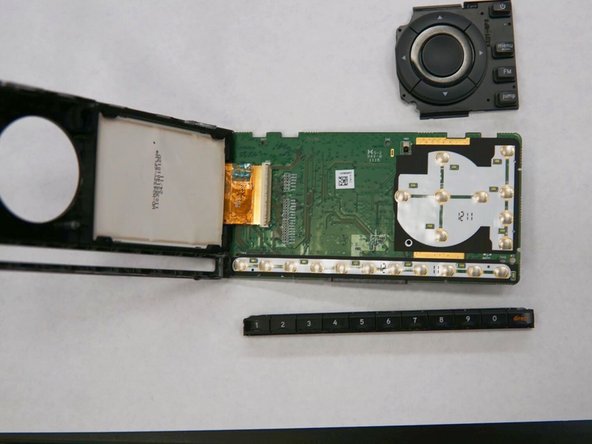
Ga door naar hoofdinhoud

SiriusXM Onyx Button Replacement

Wat je nodig hebt

  1. SiriusXM Onyx Button Replacement, Button: stap 1, afbeelding 1 van 1
    • Take the iFixit opening tool and place it between the crevice as shown.

  2. SiriusXM Onyx Button Replacement: stap 2, afbeelding 1 van 2 SiriusXM Onyx Button Replacement: stap 2, afbeelding 2 van 2
    • Apply pressure to the iFixit opening tool, pushing down until the the plastic casing pops off.

  3. SiriusXM Onyx Button Replacement: stap 3, afbeelding 1 van 2 SiriusXM Onyx Button Replacement: stap 3, afbeelding 2 van 2
    • The buttons are on the opposite side of the motherboard. To remove the motherboard, use a 0.8~0.9 mm Phillips #00 screwdriver to remove the three screws that attach the motherboard to the front part of the plastic casing.

  4. SiriusXM Onyx Button Replacement: stap 4, afbeelding 1 van 2 SiriusXM Onyx Button Replacement: stap 4, afbeelding 2 van 2
    • The buttons are resting in the corresponding sections of the motherboard, so pull them off.

Conclusie

To reassemble your device, follow these instructions in reverse order.

Één andere persoon heeft deze handleiding voltooid.

Christina Tao

Lid sinds: 10/17/17

319 Reputatie

3 handleidingen geschreven

Team

0 opmerkingen

Voeg opmerking toe

Weergavestatistieken:

Afgelopen 24 uren: 0

Afgelopen 7 dagen: 0

Afgelopen 30 dagen: 2

Altijd: 226