Deze versie kan foutieve bewerkingen bevatten. Schakel over naar de recentste gecontroleerde momentopname.
Wat je nodig hebt
-
Deze stap is niet vertaald. Help het te vertalen
-
Remove the battery (which also functions as the back cover) from the device. This step is not explicitly shown, but a picture without the battery cover shows the device post-battery removal.
-
-
Deze stap is niet vertaald. Help het te vertalen
-
Use a Philip's head screw driver to remove the screws from the case.
-
Place the screws in a small container to avoid losing them.
-
-
Deze stap is niet vertaald. Help het te vertalen
-
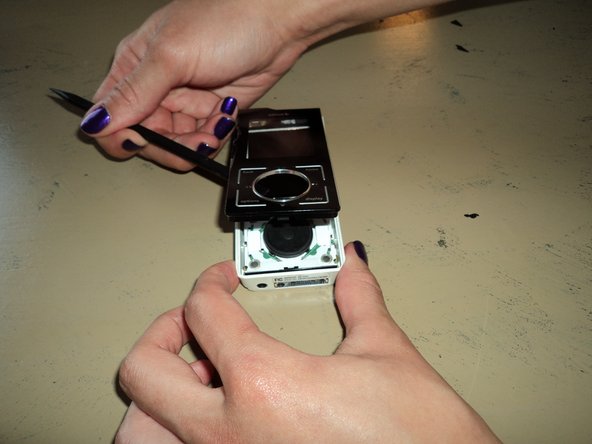
Remove the front cover.
-
First, insert a small pry bar where the black front cover and white back cover meet.
-
Begin prying the black plastic up, slowing moving around to the bottom and other side.
-
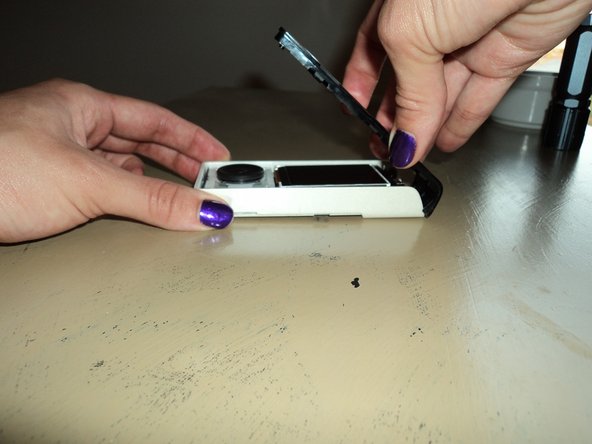
At an angle, carefully pull up on the front cover separate the two pieces.
-
Excellent! Now you have removed the front cover!
-
-
Deze stap is niet vertaald. Help het te vertalen
-
While looking down at the device, place your index finger at the top of the circuit board and your thumb on the device screen.
-
-
-
Deze stap is niet vertaald. Help het te vertalen
-
Using your fingers, gently pull the top of the circuit board up toward you while also sliding the bottom of the circuit board away from the bottom of the Sirius Stiletto 100 back cover.
-
-
Deze stap is niet vertaald. Help het te vertalen
-
Congratulations! You have successfully removed the internal circuit board from the Sirius Stiletto 100 back cover.
-
-
Deze stap is niet vertaald. Help het te vertalen
-
Locate the volume button on the side of the device. The volume button is indicated with an orange rectangle in the photograph.
-
-
Deze stap is niet vertaald. Help het te vertalen
-
Turn the device so that you are looking at the other side of the volume button (from "inside" the device).
-
-
Deze stap is niet vertaald. Help het te vertalen
-
Push on the volume button with both of your thumbs. Wiggle the volume button back and forth as you push upwards.
-
The volume button will pop out.
-
-
Deze stap is niet vertaald. Help het te vertalen
-
Slide the new volume button into the slot for the volume button.
-
Make sure that the volume button is oriented correctly. An easy way to check this is to hold the volume button in place and look at the side of the device.
-
-
Deze stap is niet vertaald. Help het te vertalen
-
Push down on the volume button to snap it back into the case.
-


Annuleren: ik heb deze handleiding niet afgemaakt.
Één andere persoon heeft deze handleiding voltooid.
Team

Clemson, Team 2-1, Benson Spring 2012 Lid van Clemson, Team 2-1, Benson Spring 2012
CLEM-BENSON-S12S2G1
3 Leden
6 handleidingen geschreven
Één opmerking
Because of the difference between two people in the morning but I'm going&@6899!12;;....,