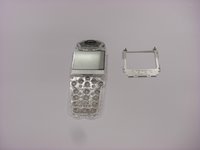
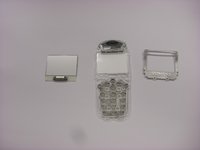
Ga door naar hoofdinhoud

Siemens A56 LCD Display Replacement

Wat je nodig hebt

  1. Siemens A56 LCD Display Replacement, Battery: stap 1, afbeelding 1 van 1
    • Press down on the grooved area firmly in the direction of arrow #1.

    • While maintaining the downwards pressure, push the back cover in the direction of arrow #2 until the back cover slides off.

    • Photos taken from: http://theinformr.com/uploads/manuals/si...

  2. Siemens A56 LCD Display Replacement: stap 2, afbeelding 1 van 1
    • Turn off the phone before removing the battery to avoid damage.

    • Press the latch on the battery in the direction of arrow #3.

    • Lift battery at the cutout on the side of the phone, then tilt upwards and remove.

    • It may be necessary to use the tip of a fingernail or a plastic lifting tool to remove the battery.

    • Photos taken from: http://theinformr.com/uploads/manuals/si...

  3. Siemens A56 LCD Display Replacement, Front Plate: stap 3, afbeelding 1 van 3 Siemens A56 LCD Display Replacement, Front Plate: stap 3, afbeelding 2 van 3 Siemens A56 LCD Display Replacement, Front Plate: stap 3, afbeelding 3 van 3
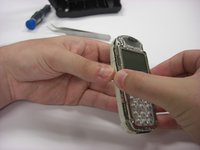
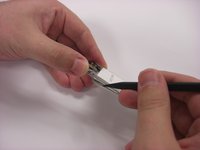
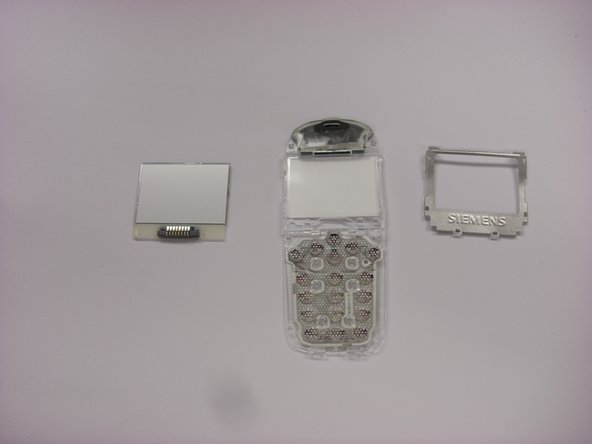
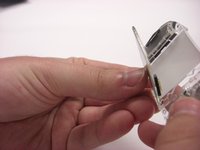
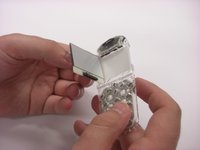
    • Firmly grasp the white casing of the phone with one hand and the blue cover with the other hand as seen in the first picture.

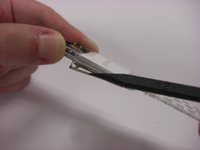
    • Pull up on the two plastic clips at the top of the phone.

    • While the clips are pulled up, pull the blue cover away from the white casing to remove it.

  4. Siemens A56 LCD Display Replacement, Back Plastic Cover: stap 4, afbeelding 1 van 3 Siemens A56 LCD Display Replacement, Back Plastic Cover: stap 4, afbeelding 2 van 3 Siemens A56 LCD Display Replacement, Back Plastic Cover: stap 4, afbeelding 3 van 3
    • Along the side of the metal frame of the phone, locate the six screws.

    • Using a T5 screwdriver bit, unscrew the six 1/4 inch screws and store them in a safe place.

    • The screws are very small and can strip easily, so proper care is required when removing and storing the screws.

  5. Siemens A56 LCD Display Replacement: stap 5, afbeelding 1 van 3 Siemens A56 LCD Display Replacement: stap 5, afbeelding 2 van 3 Siemens A56 LCD Display Replacement: stap 5, afbeelding 3 van 3
    • To remove the back plastic cover, grasp the device with both hands as seen in the first picture.

    • Gently remove the motherboard from the back plastic cover.

    • The motherboard is fragile, so proper care is necessary when handling and storing in order to prevent damage.

  6. Siemens A56 LCD Display Replacement, Motherboard Metal Frame: stap 6, afbeelding 1 van 3 Siemens A56 LCD Display Replacement, Motherboard Metal Frame: stap 6, afbeelding 2 van 3 Siemens A56 LCD Display Replacement, Motherboard Metal Frame: stap 6, afbeelding 3 van 3
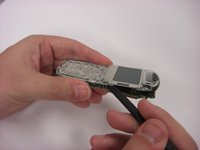
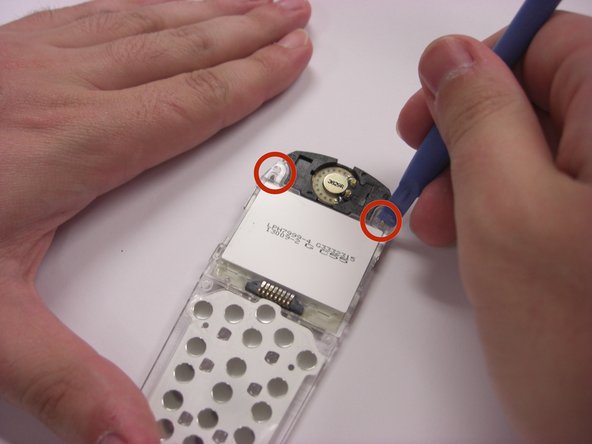
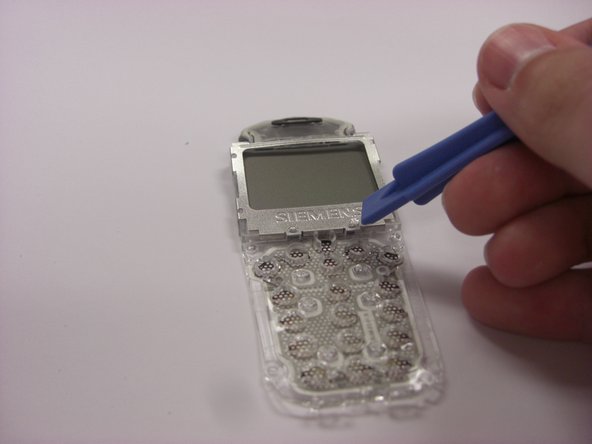
    • Turn over the keypad interface and using the blue plastic opening tool, gently pry the bottom of the metal frame.

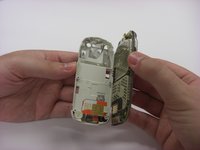
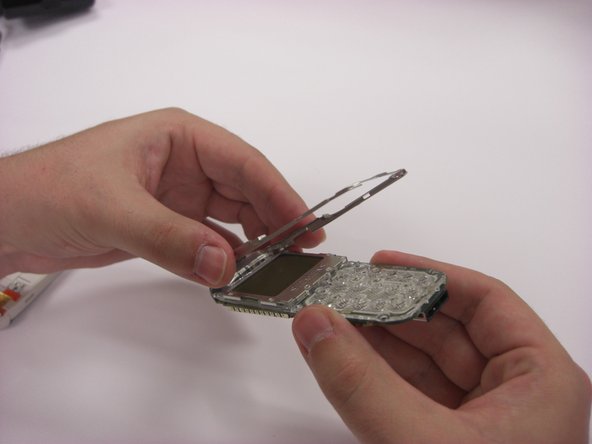
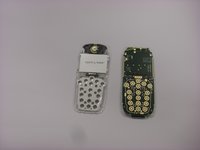
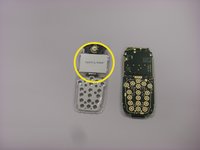
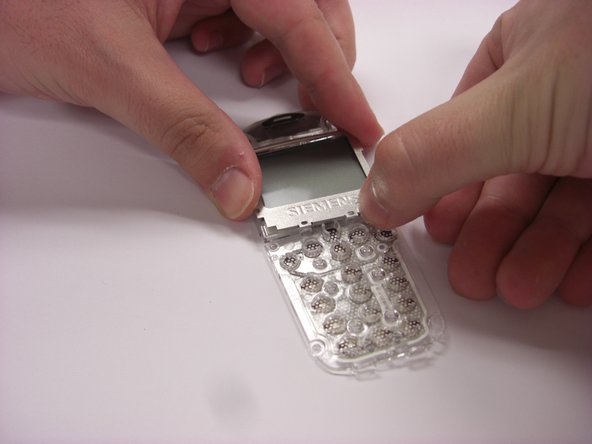
    • Once loosened, the metal frame should be able to be lifted from the motherboard.

  7. Siemens A56 LCD Display Replacement, Motherboard from Keypad Interface: stap 7, afbeelding 1 van 3 Siemens A56 LCD Display Replacement, Motherboard from Keypad Interface: stap 7, afbeelding 2 van 3 Siemens A56 LCD Display Replacement, Motherboard from Keypad Interface: stap 7, afbeelding 3 van 3
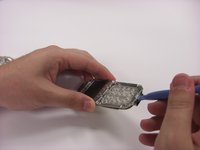
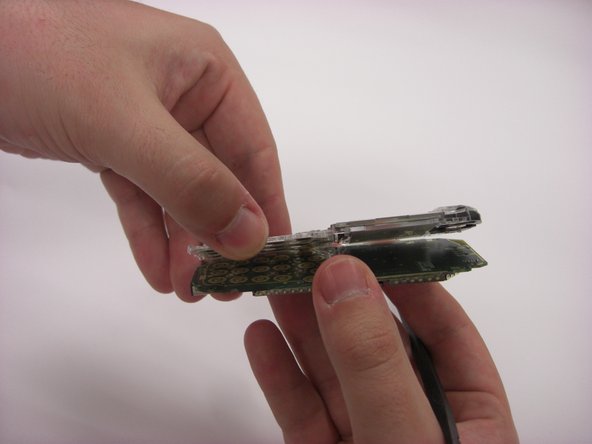
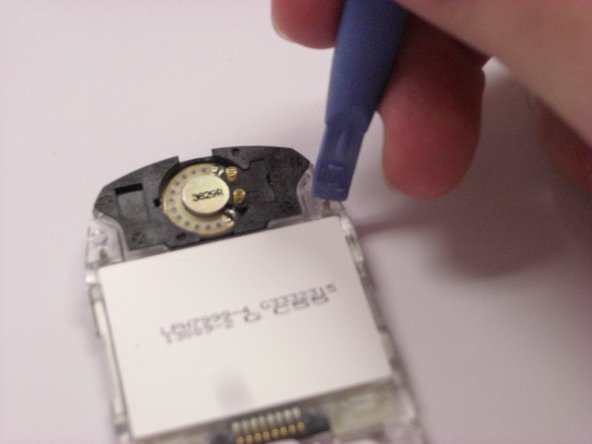
    • Insert the fine-tipped spudger in between the motherboard and the keypad interface.

    • Gently work the spudger across the length of the motherboard.

    • An adhesive exists between the motherboard and the keypad interface.

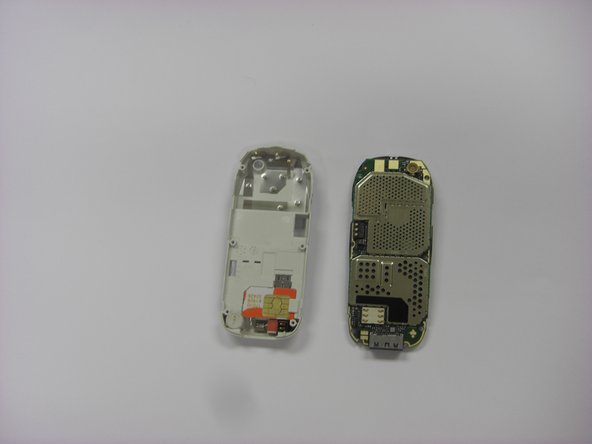
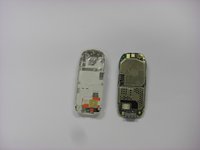
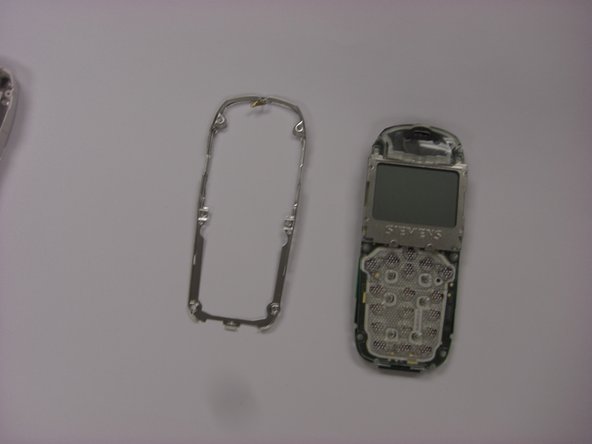
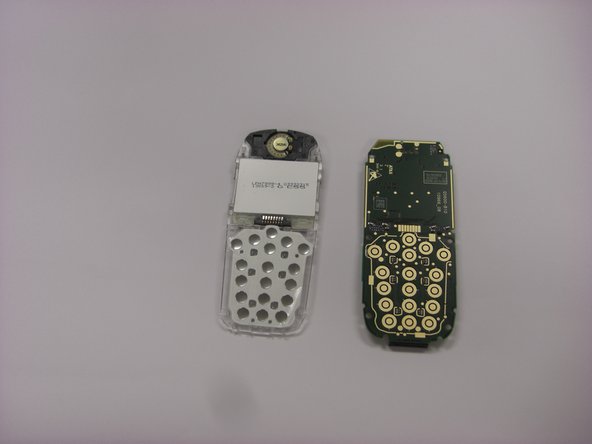
    • Once loosened, the motherboard should easily separate from the keypad interface.

  8. Siemens A56 LCD Display Replacement, LCD Display: stap 8, afbeelding 1 van 3 Siemens A56 LCD Display Replacement, LCD Display: stap 8, afbeelding 2 van 3 Siemens A56 LCD Display Replacement, LCD Display: stap 8, afbeelding 3 van 3
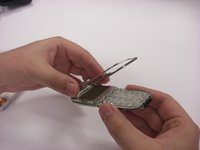
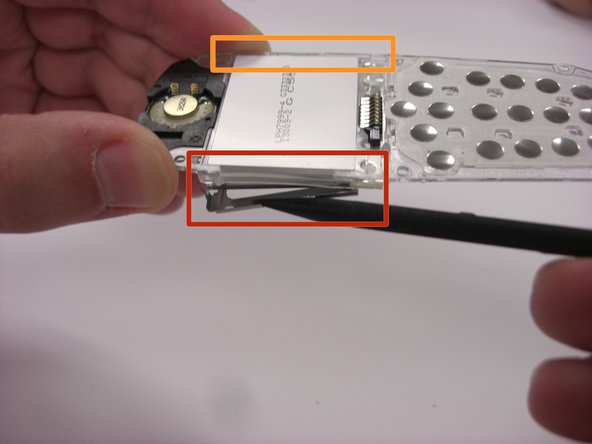
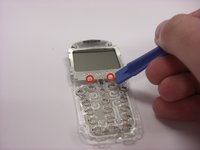
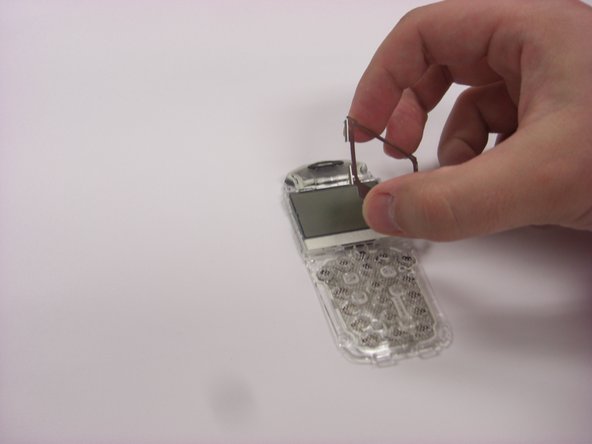
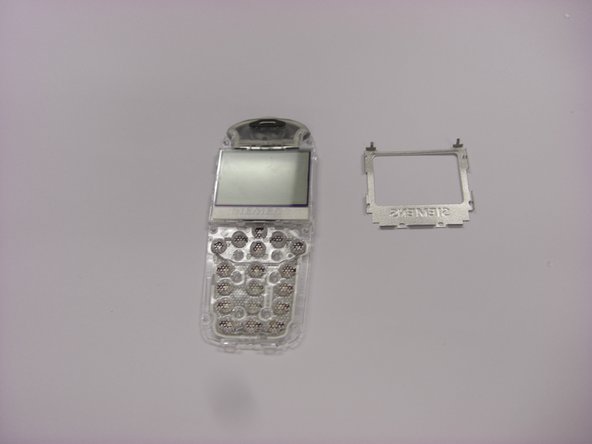
    • Locate the LCD Display.

    • Above the display, there are two metal clasps. Bend the clasps until they are straight.

  9. Siemens A56 LCD Display Replacement: stap 9, afbeelding 1 van 3 Siemens A56 LCD Display Replacement: stap 9, afbeelding 2 van 3 Siemens A56 LCD Display Replacement: stap 9, afbeelding 3 van 3
    • On the sides of the display there are two more metal clasps.

    • Gently bend the clasp so that the metal display frame becomes loose from the screen.

    • Flip the device over and gently bend the other clasp so that the metal display frame becomes loose from the screen.

  10. Siemens A56 LCD Display Replacement: stap 10, afbeelding 1 van 3 Siemens A56 LCD Display Replacement: stap 10, afbeelding 2 van 3 Siemens A56 LCD Display Replacement: stap 10, afbeelding 3 van 3
    • Place the device so the display screen is facing up.

    • On the bottom of the display frame, locate two plastic rivets.

    • Remove these rivets by scraping with the plastic opening tool or a fingernail.

    • Once removed, the plastic rivets can only be reapplied with a heat gun.

  11. Siemens A56 LCD Display Replacement: stap 11, afbeelding 1 van 3 Siemens A56 LCD Display Replacement: stap 11, afbeelding 2 van 3 Siemens A56 LCD Display Replacement: stap 11, afbeelding 3 van 3
    • To remove the metal frame, gently grab the frame and lift from the keypad interface.

    • If the frame cannot be easily removed. ensure that the metal clasps from steps 8 and 9 have been sufficiently bent to allow removal.

  12. Siemens A56 LCD Display Replacement: stap 12, afbeelding 1 van 3 Siemens A56 LCD Display Replacement: stap 12, afbeelding 2 van 3 Siemens A56 LCD Display Replacement: stap 12, afbeelding 3 van 3
    • Once the metal frame is removed, the LCD display should fall from the keypad interface when tilted.

Conclusie

To reassemble your device, follow these instructions in reverse order.

Joseph Casey

Lid sinds: 03/26/14

409 Reputatie

4 handleidingen geschreven

Team

Clemson, Team 6-6, Benson Spring 2014 Lid van Clemson, Team 6-6, Benson Spring 2014

CLEM-BENSON-S14S6G6

4 Leden

18 handleidingen geschreven

0 opmerkingen

Voeg opmerking toe

Weergavestatistieken:

Afgelopen 24 uren: 0

Afgelopen 7 dagen: 0

Afgelopen 30 dagen: 6

Altijd: 688