Inleiding
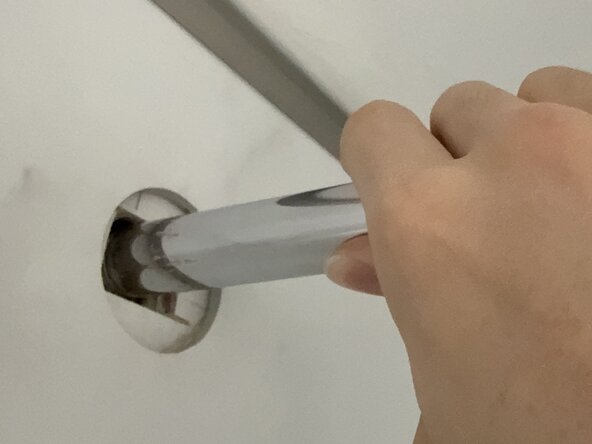
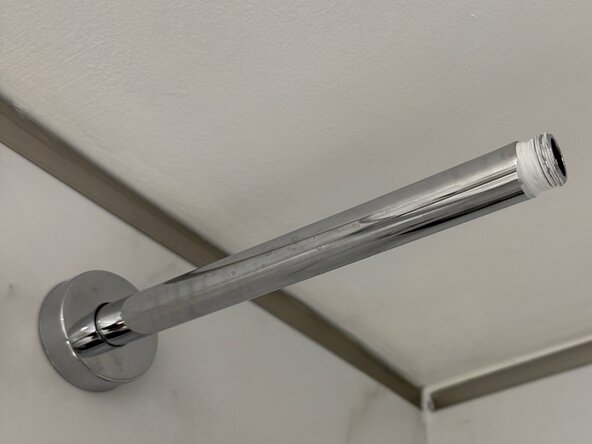
A shower arm is the pipe that connects the shower head to the plumbing inside the wall. Over time, shower arms can become loose, corroded, or damaged, which may lead to leaks, poor water flow, or difficulty attaching a shower head. Replacing a shower arm is a simple repair that can help restore proper water flow and prevent water damage.
This guide will walk you through the steps required to safely remove an old shower arm and install a new one using basic tools. This repair can typically be completed by beginners with little plumbing experience.
Before You Begin:
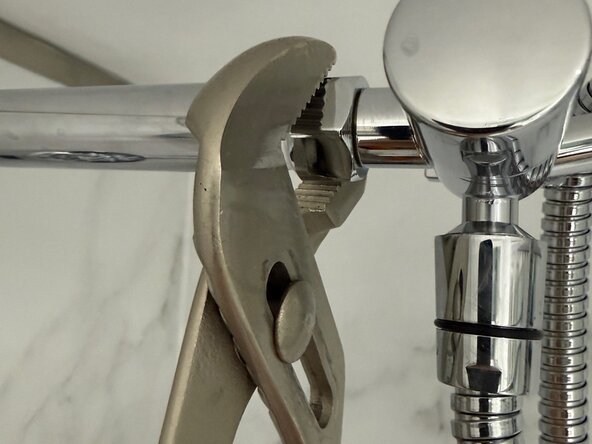
Turn off the main water and gather the necessary tools. Having these tools nearby will make the process quicker and help prevent damage to the shower arm finish.
Wat je nodig hebt
-
-
Turn off the main water supply. Turn the wheel clockwise (right) to shut off water (if there is 2 wheels, turn both of them clockwise). Turn it until it stops — do not force it.
-
-


After installing the new shower arm and reconnecting the shower head, turn the main water supply back on and test the shower for leaks. If you notice any dripping around the connection, tighten the fittings slightly or apply additional plumber’s tape. Once the connections are secure, your shower arm replacement is complete.
Annuleren: ik heb deze handleiding niet afgemaakt.
Één andere persoon heeft deze handleiding voltooid.
Team

York University, Team 1-9, Woodhouse Winter 2026 Lid van York University, Team 1-9, Woodhouse Winter 2026
YORK-WOODHOUSE-W26S1G9
2 Leden
1 handleiding geschreven