Inleiding
If the speakers on your Sharp Aquos LC13B2UA are not producing a clear audio, or no audio at all, this guide will help you replace those malfunctioning speakers.
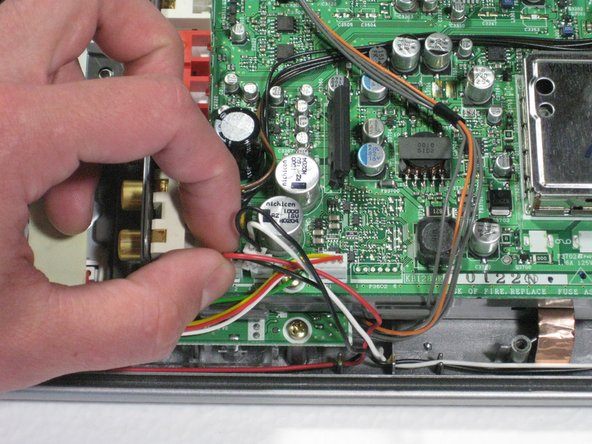
The speakers on the TV are responsible for giving a clear sound of what is being transmitted, and faulty speakers might produce distorted audio or no sound at all.
Before using this guide, be sure that the TV is turned off and disconnected from any external power source.
Wat je nodig hebt
-
-
Place the TV face down on a flat smooth surface as to not scratch the screen.
-
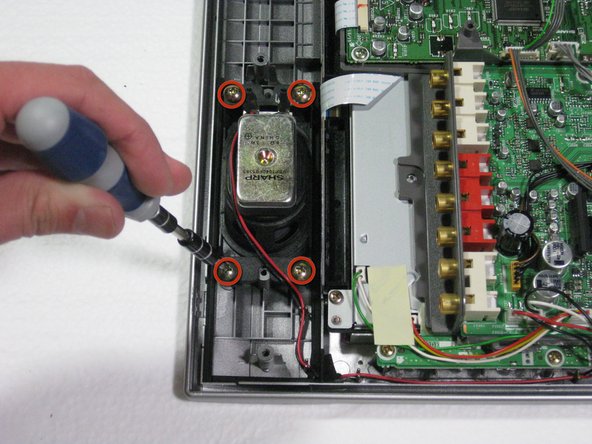
Using a Phillips #2 screwdriver remove the four 8mm screws attaching the stand to the TV.
-
-


To reassemble your device, follow these instructions in reverse order.
To reassemble your device, follow these instructions in reverse order.
Annuleren: ik heb deze handleiding niet afgemaakt.
Één andere persoon heeft deze handleiding voltooid.
Team

Cal Poly, Team 1-11, Amido Winter 2011 Lid van Cal Poly, Team 1-11, Amido Winter 2011
CPSU-AMIDO-W11S1G11
4 Leden
9 handleidingen geschreven