Inleiding
Replacing the F1 fuse on the controller board of the Sega Dreamcast. Soldering is required for repair.
Required parts
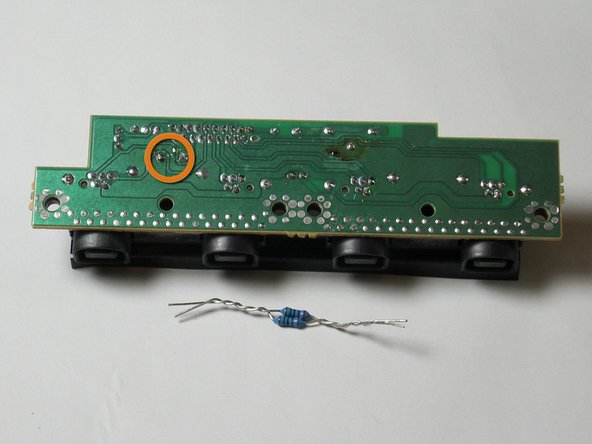
- 5 Ohm 1/2 watt fuse resistor OR two 10 Ohm 1/4 watt metalized resistors
- Controller board
Wat je nodig hebt
-
-
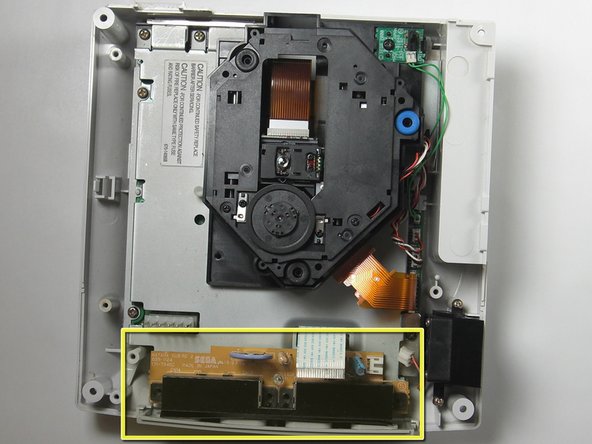
Flip the console over on its back.
-
Take note of your model number, in case replacement parts are needed.
-
-
-
Locate and remove all four black 12mm Phillips #02 screws from the underside of the console.
-
-
-
Disconnect the white controller cable by gently pulling the the cable while wiggling it back and forth until it detaches from the controller board.
-
-
-
-
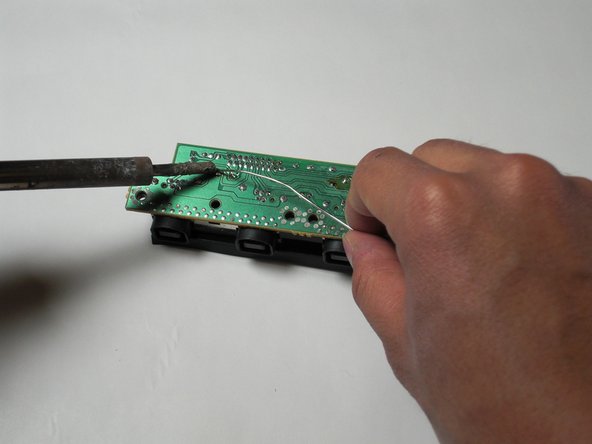
Flip the controller board on its underside so that the solder joints are exposed.
-


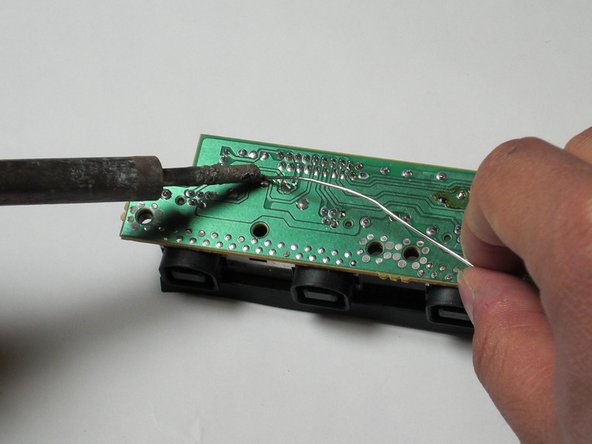

To reassemble your device, follow these instructions in reverse order.
To reassemble your device, follow these instructions in reverse order.
Annuleren: ik heb deze handleiding niet afgemaakt.
6 andere personen hebben deze handleiding voltooid.
Team

Cal Poly, Team 5-1, Regan Fall 2009 Lid van Cal Poly, Team 5-1, Regan Fall 2009
CPSU-REGAN-F09S5G1
5 Leden
21 handleidingen geschreven
6 opmerkingen
Hello, Darren. I am having the utmost difficulty doing this with two 1/4 watt resistors, as you have demonstrated. I have three dreamcast systems, I would like to repair (all with a bad controller port.) What would be the chance that I could send you the ports, packs of resistors and and solder and pay you to do this to all of them?
I would even be willing to give you two of them! I just want one working system!
djresree -
I need this board, were do I find one?