Inleiding
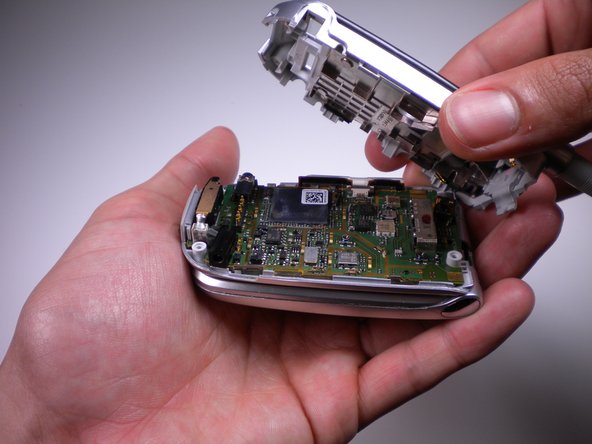
In order to replace the keypad, you will need to unscrew and pry the back panel off of the phone. The keypad is located underneath the motherboard.
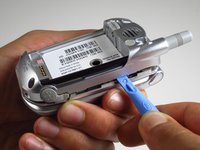
- Note: In order to pull out the plug on the back of the phone that is hiding one of the screw, you will need to use a push pin. A spudger or opening tool are too thick to take it out.
Wat je nodig hebt
-
-
Push and hold the button on the back toward the direction of the arrow to unlock the battery.
-
Lift and remove the battery from the back of the phone.
 Vraag FixBot
-
-
-
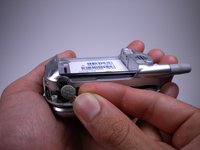
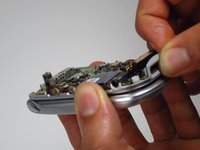
Using a push pin, pull out the plug on the back, located under the antenna.
-
-
-
-
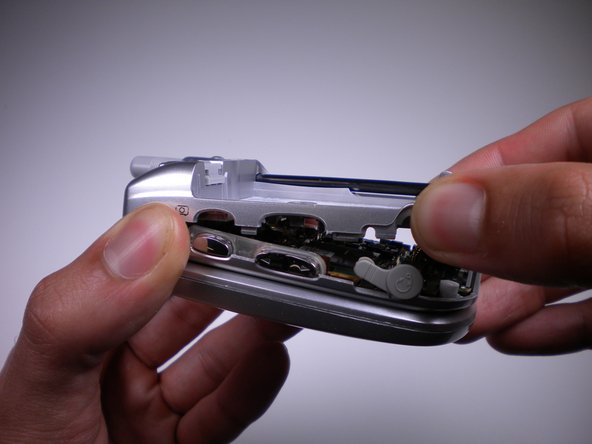
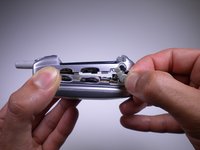
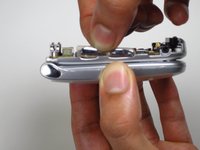
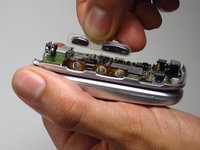
Pull the volume and camera buttons off from the side of the phone.
-
-
-
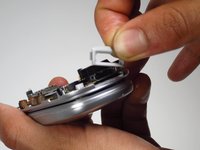
Pull the gray frame covering the charging port from the bottom of the phone.
-
-
-
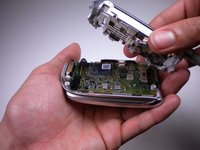
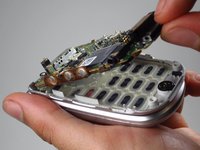
Flip open the phone, exposing the keypad.
-
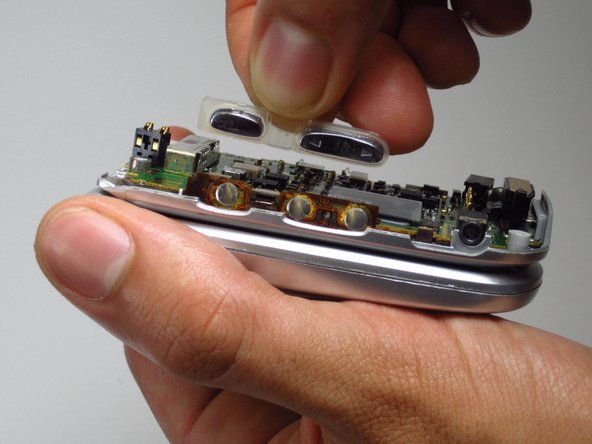
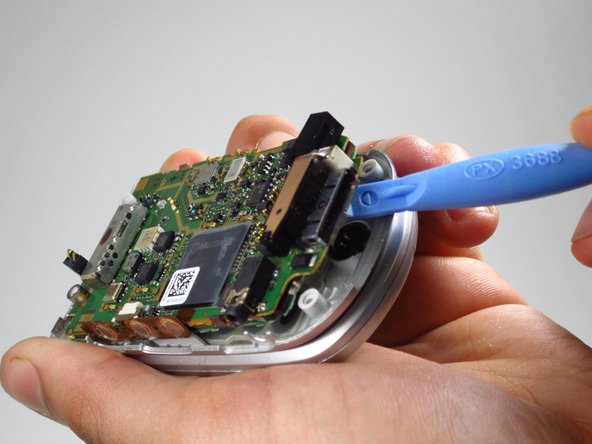
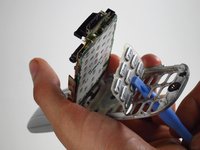
Use the opening tool to push the buttons from the bottom to lift the rubber keypad up.
-
Pull the keypad out of the phone.
-


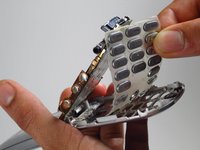
To reassemble your device, follow these instructions in reverse order.
Annuleren: ik heb deze handleiding niet afgemaakt.
Één andere persoon heeft deze handleiding voltooid.
Team

Cal Poly, Team 10-41, Amido Spring 2013 Lid van Cal Poly, Team 10-41, Amido Spring 2013
CPSU-AMIDO-S13S10G41
4 Leden
12 handleidingen geschreven