Deze versie kan foutieve bewerkingen bevatten. Schakel over naar de recentste gecontroleerde momentopname.
Wat je nodig hebt
-
Deze stap is niet vertaald. Help het te vertalen
-
Press the watchband down against the work surface.
-
Press the tip of a flathead screwdriver against the edge of the spring-loaded holding pin.
-
-
Deze stap is niet vertaald. Help het te vertalen
-
With the spring-loaded pin pressed in, the watch band should release easily.
-
Gently pull the band away from the body of the watch.
-
Repeat steps 2 and 3 for the opposite side.
-
-
Deze stap is niet vertaald. Help het te vertalen
-
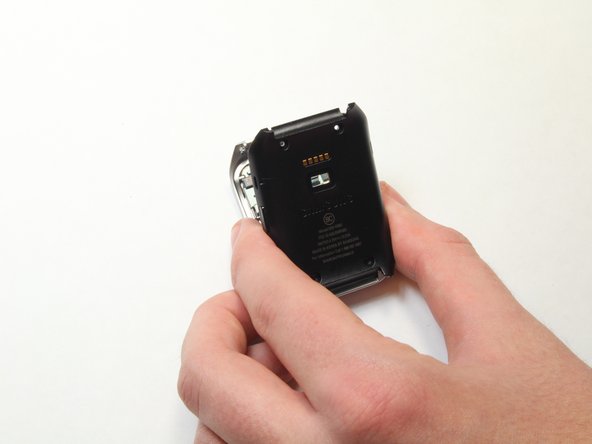
With the watch laying face-down, locate the four screws. They are located on the back of the watch, at the four corners.
-
-
-
Deze stap is niet vertaald. Help het te vertalen
-
Using a Torx-T5 screwdriver, remove each of the four 4mm screws and set them aside.
-
-
Deze stap is niet vertaald. Help het te vertalen
-
Gently work the plastic opening tool under the top edge of the watch’s back cover.
-
-
Deze stap is niet vertaald. Help het te vertalen
-
With the watch’s back cover pried loose, gently lift it away from the front half of the watch.
-
-
Deze stap is niet vertaald. Help het te vertalen
-
Lay both halves of the watch body assembly face down (with internal components facing up).
-
-
Deze stap is niet vertaald. Help het te vertalen
-
Locate the vibrator motor on the front half of the disassembled watch. It is located in the corner, at the end opposite the green circuit board.
-
-
Deze stap is niet vertaald. Help het te vertalen
-
Using the plastic opening tool, gently pry up the motor.
-
-
Deze stap is niet vertaald. Help het te vertalen
-
Using the plastic prying tool, gently pry away the motor’s contacts and ribbon cable from the watch assembly
-


Annuleren: ik heb deze handleiding niet afgemaakt.
2 andere personen hebben deze handleiding voltooid.

Team

USF Tampa, Team 1-7, Brown Fall 2014 Lid van USF Tampa, Team 1-7, Brown Fall 2014
USFT-BROWN-F14S1G7
3 Leden
6 handleidingen geschreven