Inleiding
Is your tablet not able to take photos, videos, or adjust screen brightness by itself?
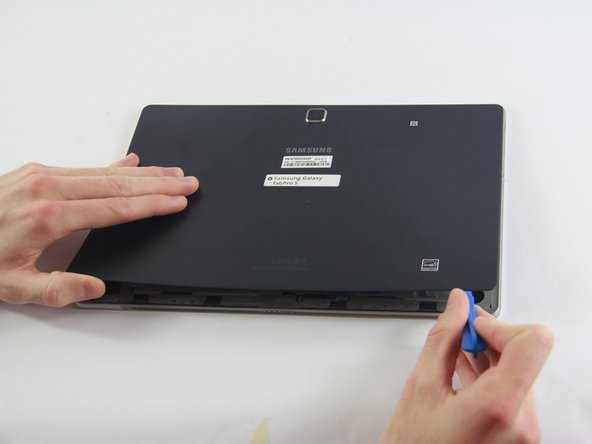
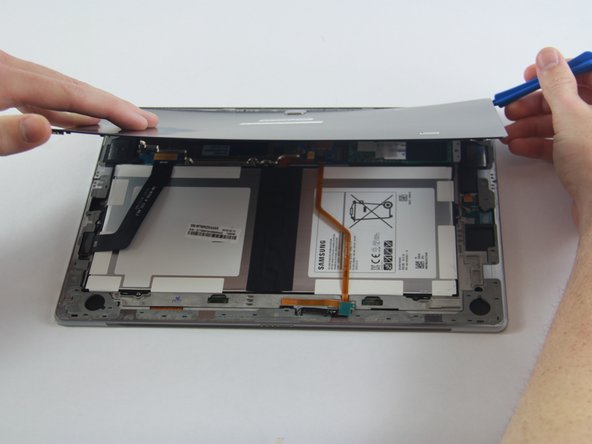
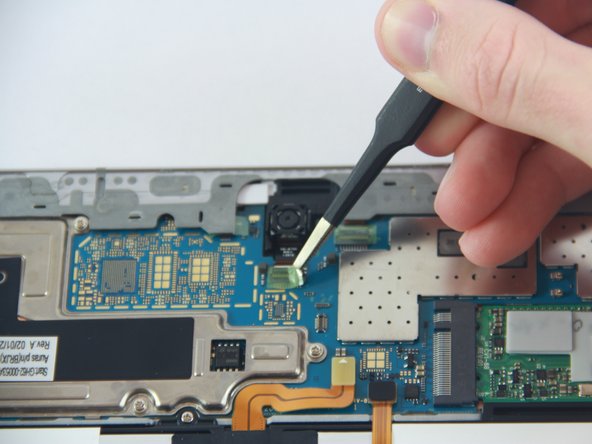
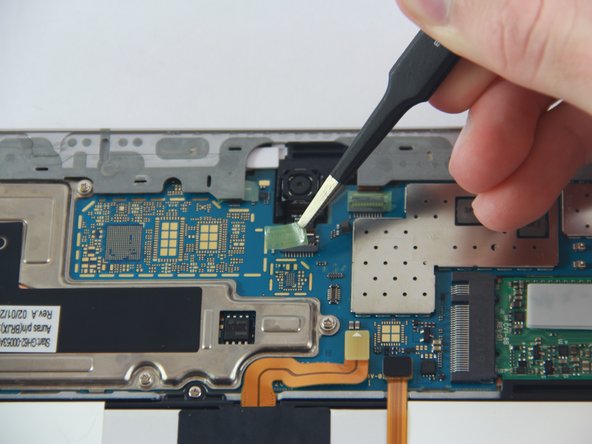
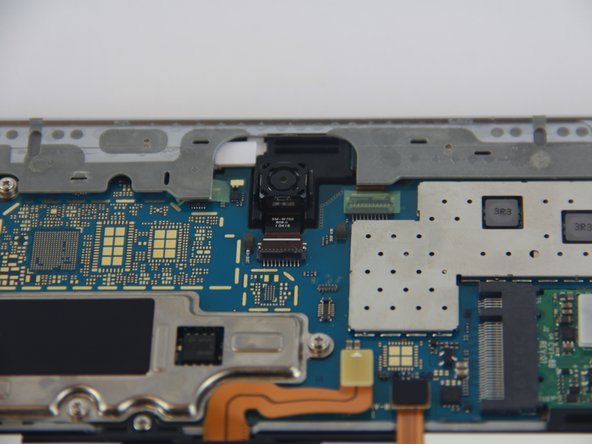
Then maybe its time to replace your tablet's camera.
This guide will give you step by step instructions on how to replace your tablet's camera.
Wat je nodig hebt


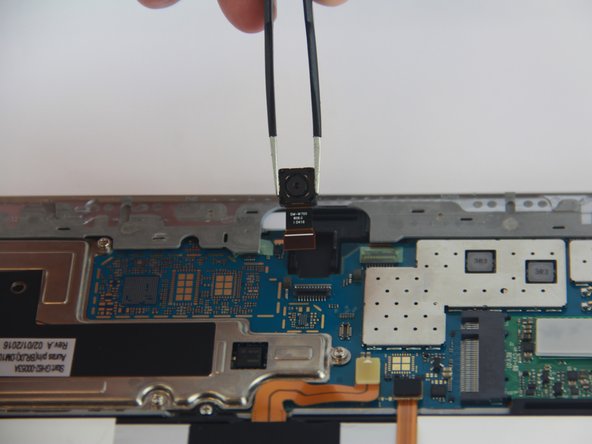
To reassemble your device, follow these instructions in reverse order.
To reassemble your device, follow these instructions in reverse order.
Annuleren: ik heb deze handleiding niet afgemaakt.
2 andere personen hebben deze handleiding voltooid.
Team

USF Tampa, Team 1-2, Sullivan Spring 2017 Lid van USF Tampa, Team 1-2, Sullivan Spring 2017
USFT-SULLIVAN-S17S1G2
4 Leden
2 handleidingen geschreven