Deze versie kan foutieve bewerkingen bevatten. Schakel over naar de recentste gecontroleerde momentopname.
Wat je nodig hebt
-
Deze stap is niet vertaald. Help het te vertalen
-
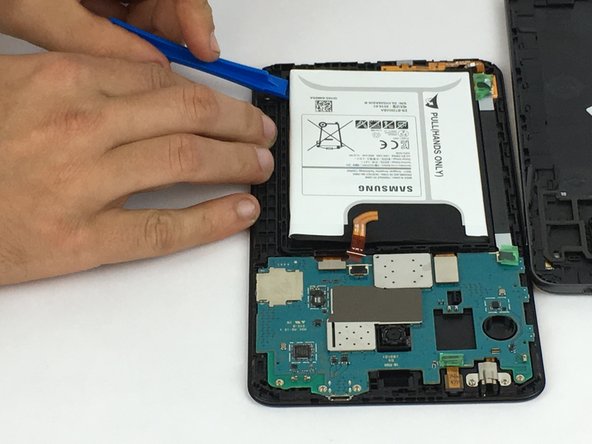
Using the plastic opening tool, starting at any corner on the tablet, insert the tool between the back panel and the front panel.
-
Slide tool around the tablet to unlock the panels from one another.
-
-
Deze stap is niet vertaald. Help het te vertalen
-
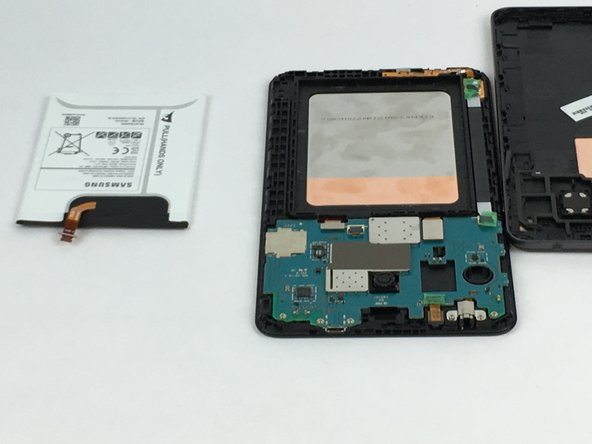
Carefully remove the back panel from the front panel.
-
The inner components of the tablet will now be exposed.
-
-
-
Deze stap is niet vertaald. Help het te vertalen
-
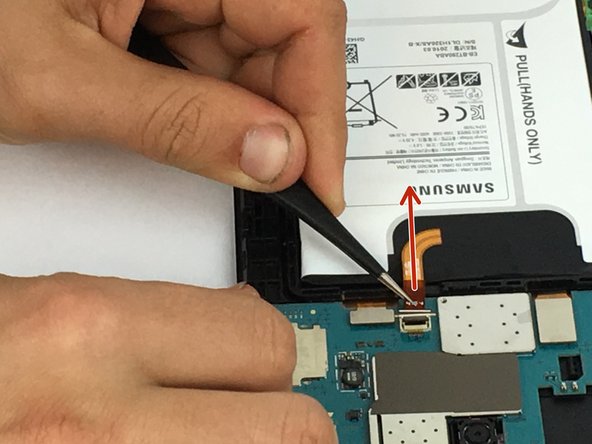
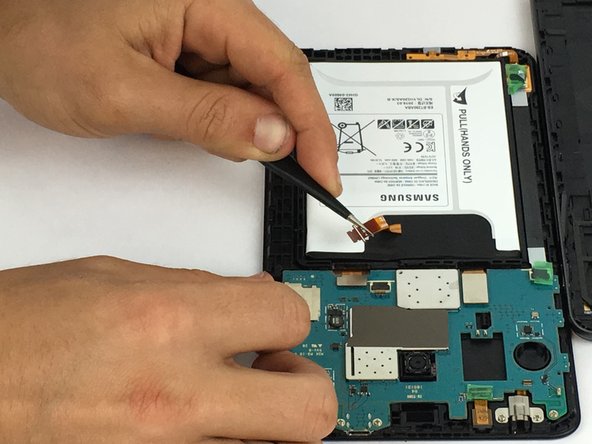
Using tweezers, gently lift the black tab locking the wire connecting the battery to the motherboard.
-
Pull wire from connector.
-


Annuleren: ik heb deze handleiding niet afgemaakt.
14 andere personen hebben deze handleiding voltooid.

Team

USF Tampa, Team 5-4, Passmore Spring 2017 Lid van USF Tampa, Team 5-4, Passmore Spring 2017
USFT-PASSMORE-S17S5G4
3 Leden
8 handleidingen geschreven
4 opmerkingen
The OEM battery in my device expanded and pushed the screen from the housing. I had to temporarily separate the screen from the housing while leaving the connectors in their sockets while I pried the front housing from the back to reveal the battery. Once the front and back of the chassis were separated, I reattached the screen to the front housing and continued with the procedure. A heat gun made the process much easier by loosening the tape between the screen and housing, but was not necessary to lift the battery or separate the front from the back of the chassis.
Bought a new battery, replaced as said, but seems like new battery is dead. How does one boost it? If I plug into charge, it almost seems like te sceen "flashes" but doesnt come on or show charge bar. Please help.