Deze handleiding heeft recentere wijzigingen. Schakel over naar de nieuwste niet-geverifieerde versie.
Inleiding
This replacement guide will show you how to replace the LCD and Digitizer for your Samsung Galaxy Tab 3 Lite. Before you do this though, you'll need to remove both the back case of your tablet as well as the motherboard. Both of those guides are listed here. Follow all instructions carefully.
Wat je nodig hebt
-
-
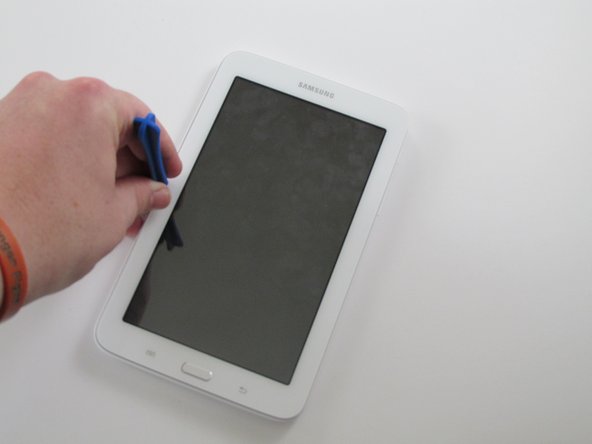
Using a plastic opening tool, wedge in the seam between the screen and the case.
-
Rock the tool by moving it towards and away from the middle of the screen, trying to separate the tape holding the screen and case together.
-
This is a long process, so don't try and rush it. Also, be careful about applying pressure.
-
-
-
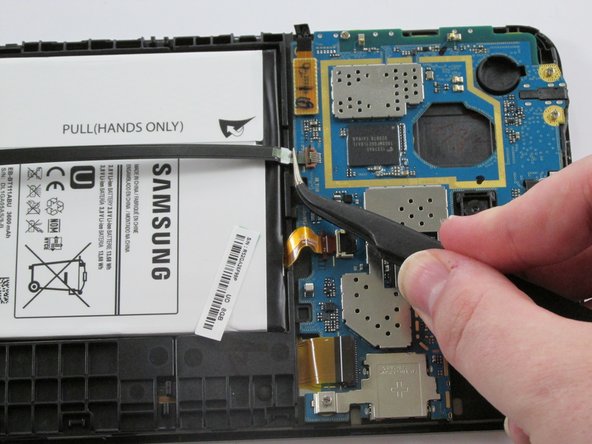
Use a plastic opening tool to lift up the zero insertion force (ZIF) connector holding down the ribbon cable.
-
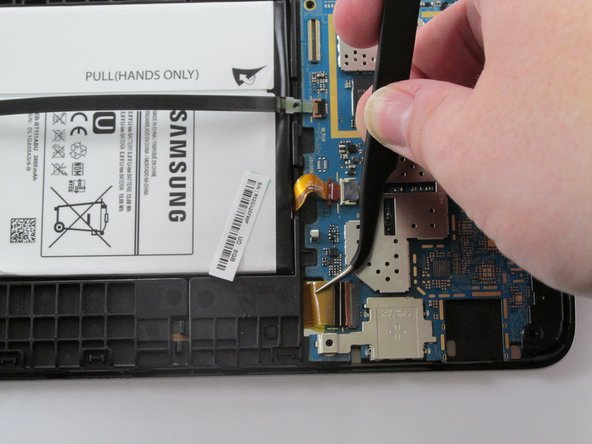
Use the precision tweezers to gently pull the ribbon cable out of the ZIF connector.
-
-
-
-
With the motherboard removed, continue by removing the battery
-
Using the plastic opening tool, put it between one of the corners of the battery and the edge and gently pry it out
-
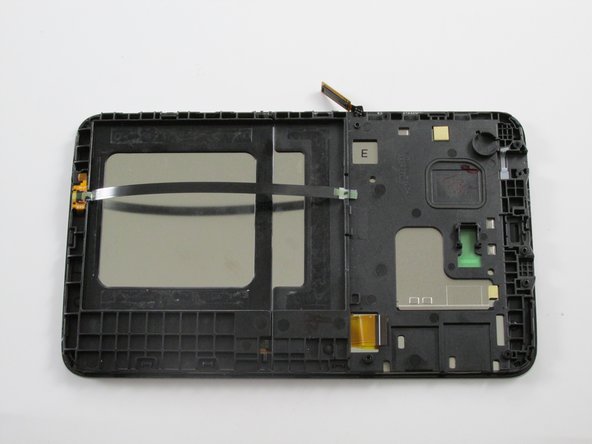
Battery is now removed. What is left is the entire LCD and Digitizer
-


To reassemble your device, follow these instructions in reverse order.
To reassemble your device, follow these instructions in reverse order.
Annuleren: ik heb deze handleiding niet afgemaakt.
24 andere personen hebben deze handleiding voltooid.
Team

USF Tampa, Team 11-1, Cheng Spring 2016 Lid van USF Tampa, Team 11-1, Cheng Spring 2016
USFT-CHENG-S16S11G1
4 Leden
12 handleidingen geschreven
6 opmerkingen
I completed this tonight.
One place I would express a little more care is when working around the front button. I tore the back of the button slightly when I was removing the digitizer.
Question: what is best for removing the adhesive around the frame? I was using what was on hand (valve oil for a trumpet). It worked but the adhesive should of come off without so much effort. A lot more scarping. I have used Goo Gone before but it seems very messy.
This was the third android tablet I have replaced a screen and or digitizer before (all Galaxy Tabs).
Thank you for the guide.
Thank you for the best guide! !
Wonderful Guide!!! Very easy to follow!! Adhesive was a thorn though~!~ :-)
Nesse caso será trocado todo o quadro com sensor de toque e display? No caso de trocar separadamente o sensor de toque e display, qual adesivo recomendam? Obrigado
Readme before task:
Before separating the glass… make note of exactly how the front aligns(overhangs) the frame, there's nothing to guide it back except your own steady hand.
Also: when prying the front glass, it will shatter and pelt you with shards and dust. Put tape over it before starting.
It's not clear in the article… the LCD sits in the frame and isn't attached to the digitizer/front glass. This means to replace glass, no need to buy LCD, or remove motherboard or battery.
I reassembled the outer case without using tape, it seems pretty secure and snapped into place satisfyingly.