Ga door naar hoofdinhoud

Samsung Galaxy Tab 3 7.0 Headphone Jack Replacement

Wat je nodig hebt

Video overzicht

  1. Samsung Galaxy Tab 3 7.0 Headphone Jack Replacement, Battery: stap 1, afbeelding 1 van 2 Samsung Galaxy Tab 3 7.0 Headphone Jack Replacement, Battery: stap 1, afbeelding 2 van 2
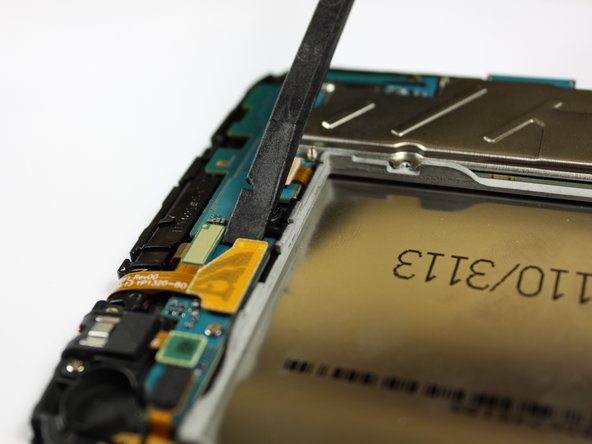
    • With a plastic opening tool, gently insert the prying end in between the glass digitizer and the silver frame from the front of the device.

  2. Samsung Galaxy Tab 3 7.0 Headphone Jack Replacement: stap 2, afbeelding 1 van 3 Samsung Galaxy Tab 3 7.0 Headphone Jack Replacement: stap 2, afbeelding 2 van 3 Samsung Galaxy Tab 3 7.0 Headphone Jack Replacement: stap 2, afbeelding 3 van 3
    • Working slowly and carefully, move around the entirety of the face of the device. Small plastic clips should release, if not, apply gentle outwards pressure until you hear the clips popping off.

  3. Samsung Galaxy Tab 3 7.0 Headphone Jack Replacement: stap 3, afbeelding 1 van 3 Samsung Galaxy Tab 3 7.0 Headphone Jack Replacement: stap 3, afbeelding 2 van 3 Samsung Galaxy Tab 3 7.0 Headphone Jack Replacement: stap 3, afbeelding 3 van 3
    • To begin actual removal of the battery itself, remove the four designated screws with your screwdriver.

    • Once the screws are removed, use either the tip of your screwdriver or a pair of tweezers to pull up the battery connector. Pull directly up and the connector should pop out.

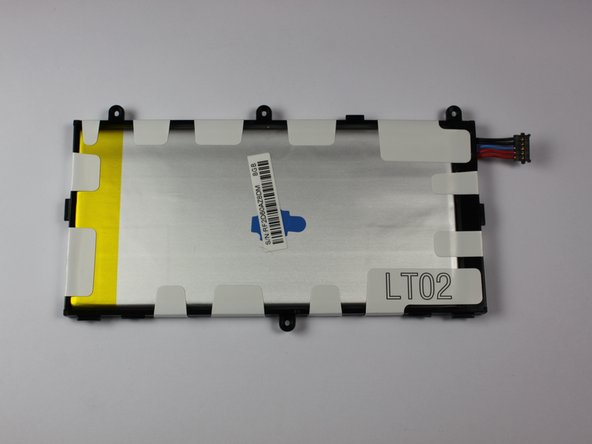
    • Once the battery is removed, it should look as it does in the third picture.

  4. Samsung Galaxy Tab 3 7.0 Headphone Jack Replacement: stap 4, afbeelding 1 van 1
    • To finish battery replacement, place your new battery where the old battery was in your device, as shown in the picture.

  5. Samsung Galaxy Tab 3 7.0 Headphone Jack Replacement, Motherboard: stap 5, afbeelding 1 van 3 Samsung Galaxy Tab 3 7.0 Headphone Jack Replacement, Motherboard: stap 5, afbeelding 2 van 3 Samsung Galaxy Tab 3 7.0 Headphone Jack Replacement, Motherboard: stap 5, afbeelding 3 van 3
    • Begin replacement of the motherboard by releasing all connections holding down the motherboard, shown in the first picture.

    • To do this, use your spudger, tweezers, or a plastic opening tool and gently lift the connections up from their ports.

    • Once you separate all connections, the back of your device should look as it does in the third picture.

  6. Samsung Galaxy Tab 3 7.0 Headphone Jack Replacement: stap 6, afbeelding 1 van 3 Samsung Galaxy Tab 3 7.0 Headphone Jack Replacement: stap 6, afbeelding 2 van 3 Samsung Galaxy Tab 3 7.0 Headphone Jack Replacement: stap 6, afbeelding 3 van 3
    • Once all connections have been released, begin removing the screws shown in the first two pictures.

    • Once all screws have been removed, the motherboard can now be removed and replaced with a new one.

  7. Samsung Galaxy Tab 3 7.0 Headphone Jack Replacement, Headphone Jack: stap 7, afbeelding 1 van 3 Samsung Galaxy Tab 3 7.0 Headphone Jack Replacement, Headphone Jack: stap 7, afbeelding 2 van 3 Samsung Galaxy Tab 3 7.0 Headphone Jack Replacement, Headphone Jack: stap 7, afbeelding 3 van 3
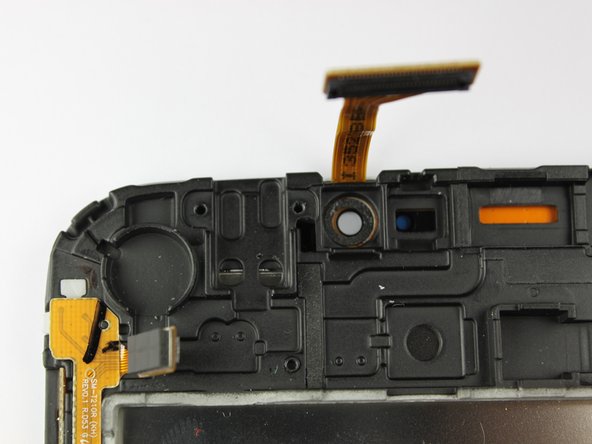
    • To remove the headphone jack, begin by removing the two designated screws shown in the first picture.

    • Once the screws have been removed, the headphone jack can simply be lifted from the device.

    • After this step is complete, a replacement headphone jack can be placed into the device where the old headphone jack was, as shown in the third picture.

Conclusie

To reassemble your device, follow these instructions in reverse order.

6 andere personen hebben deze handleiding voltooid.

Brandon Dimaya

Lid sinds: 04/22/14

2.866 Reputatie

4 handleidingen geschreven

Team

Cal Poly, Team 7-20, Regan Spring 2014 Lid van Cal Poly, Team 7-20, Regan Spring 2014

CPSU-REGAN-S14S7G20

4 Leden

10 handleidingen geschreven

0 opmerkingen

Voeg opmerking toe

Weergavestatistieken:

Afgelopen 24 uren: 0

Afgelopen 7 dagen: 0

Afgelopen 30 dagen: 3

Altijd: 16,500