Deze versie kan foutieve bewerkingen bevatten. Schakel over naar de recentste gecontroleerde momentopname.
Wat je nodig hebt
-
Deze stap is niet vertaald. Help het te vertalen
-
Take away the back cover and battery easily. Don't forget to remove SIM card and S Pen.
-
-
Deze stap is niet vertaald. Help het te vertalen
-
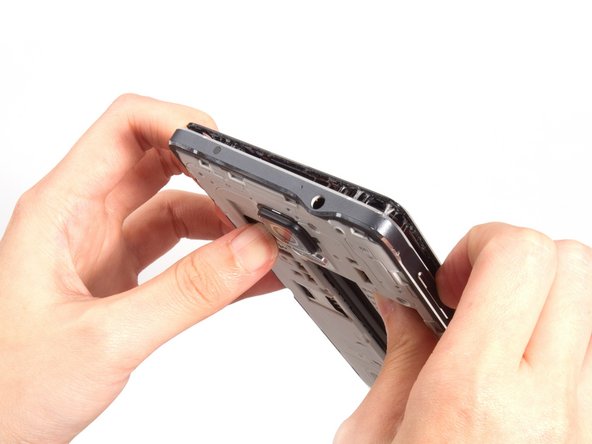
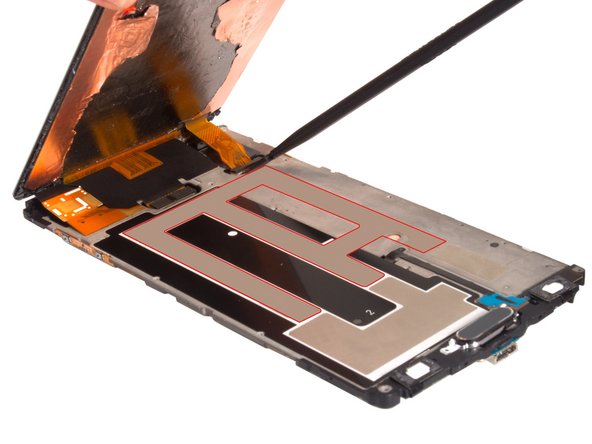
Cut LCD screen sticker, loosen clasps around battery slot and push the whole front assembly out from middle housing.
-
-
-
Deze stap is niet vertaald. Help het te vertalen
-
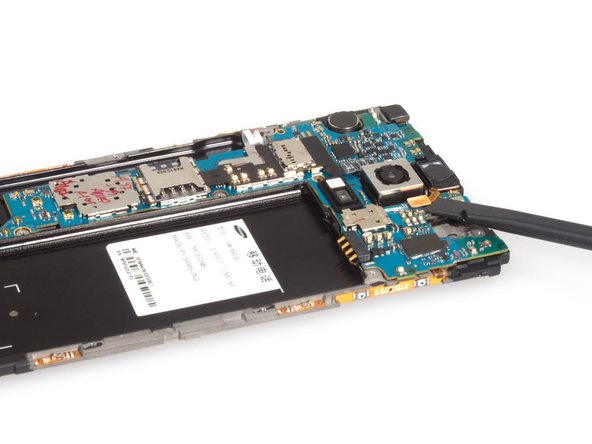
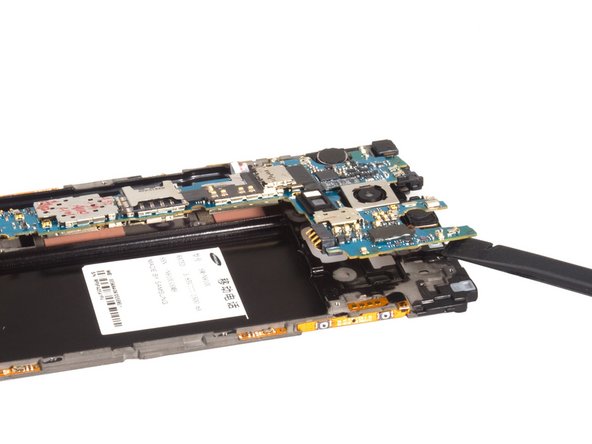
We can see the motherboard now and the rear camera is connected by a connector on the back of motherboard. So we have to remove motherboard before removing rear camera.
-
-
Deze stap is niet vertaald. Help het te vertalen
-
Before removing motherboard, we have to remove LCD screen. You can see more details on Samsung Galaxy Note 4 LCD screen replacement.
-
If just removing the rear camera it is not necessary to remove the LCD from the assembly. simply unscrew the one screw located on the left side of the motherboard and disconnect flex cables with a plastic spudger, keeping in mind the two connections underneath the board where the LCD connects. You run less risk of damage to the display this way.
-
-
Deze stap is niet vertaald. Help het te vertalen
-
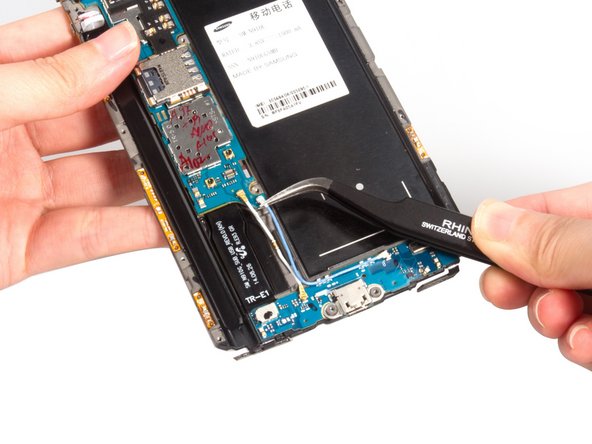
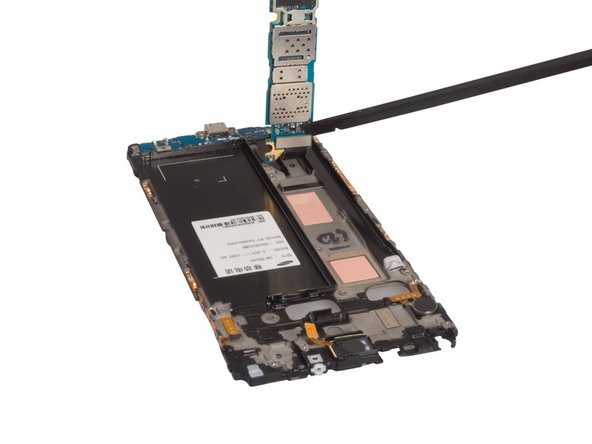
Release connectors which connecting with motherboard.
-
-
Deze stap is niet vertaald. Help het te vertalen
-
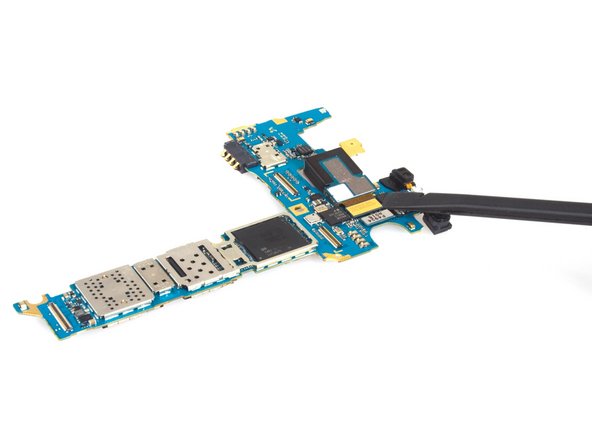
Remove the screws, you can remove the top one only. Pry up and release USB board connector on the back.
-
Finally, remove motherboard.
-


Annuleren: ik heb deze handleiding niet afgemaakt.
30 andere personen hebben deze handleiding voltooid.
14 opmerkingen
Just look at the photo and Google it. "The opening tool" or HH-5A
Hello good day! Could someone tell me what do you call these platelets circuits that have bonded to the housing samsung galaxy note 4 I circled in red the following .. images.
[img]http://i.imgur.com/2vvZ2dK.jpg?1[/img]
[img]http://i.imgur.com/ViV1TUL.jpg?1[/img]
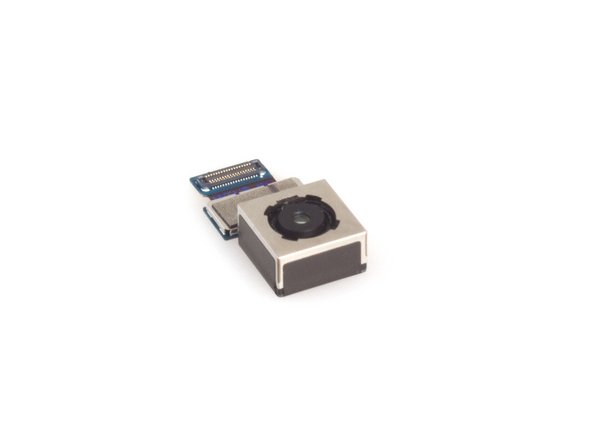
What could you do if just the glass was broken on your camera lens but camera still worked?
sheets83 -
if you only have the glass broken you *MIGHT* be able to just replace the glass cover but there is a huge risk of glass and dust contamination ruining the camera anyways. I personally had this happen after replacing the glass cover and now have black splotches all over even after I tried my damnest to control for dust.