Deze handleiding heeft recentere wijzigingen. Schakel over naar de nieuwste niet-geverifieerde versie.
Inleiding
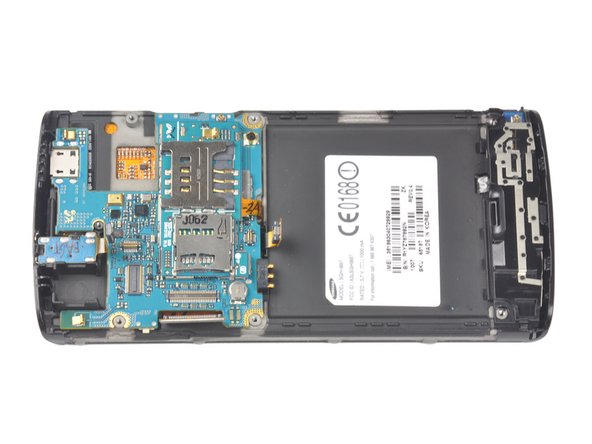
Use this guide to replace your Captivate's motherboard.
Wat je nodig hebt
-
-
Remove the back cover by pressing on the bottom section of the phone and sliding the bottom piece downward.
-
Lift up the back cover.
-
-
-
Insert the spudger underneath the bottom section of the phone.
-
Gently lift and push the spudger to slide the bottom section down to reveal two hidden screws.
-
-
-
-
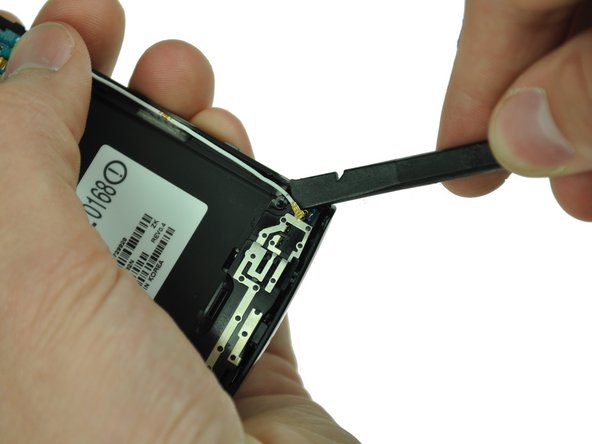
Use a spudger tool to pry up the antenna cable from the connector on the motherboard.
-
Pry up the other end of the cable from the connector on the antenna array.
-
-
-
Use the Phillips 00 screwdriver to remove the single screw holding the speaker assembly to the LCD.
-
-
-
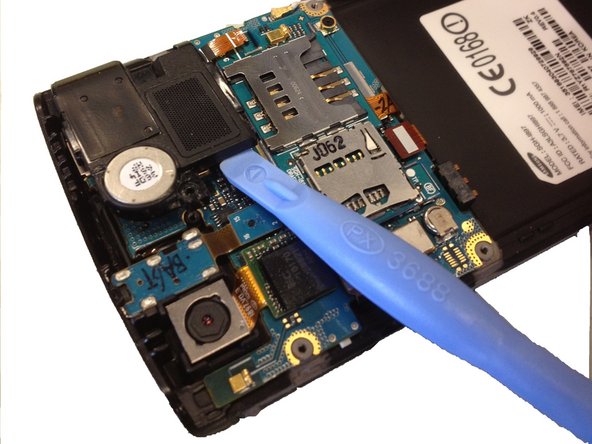
Lift up the black NEC chip with attached ribbon cable using either a spudger or plastic opening tool.
-
Gently lift the camera assembly out of the plastic housing.
-
-
-
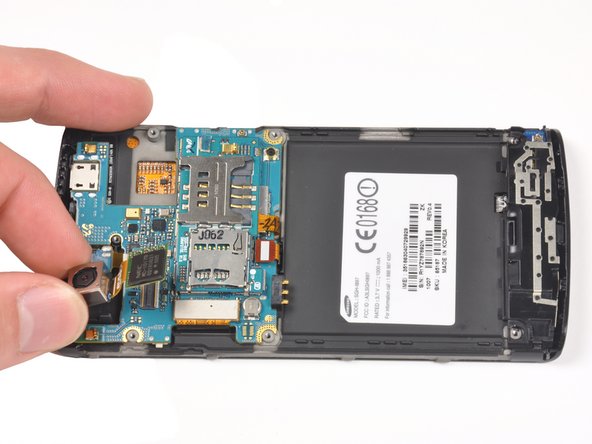
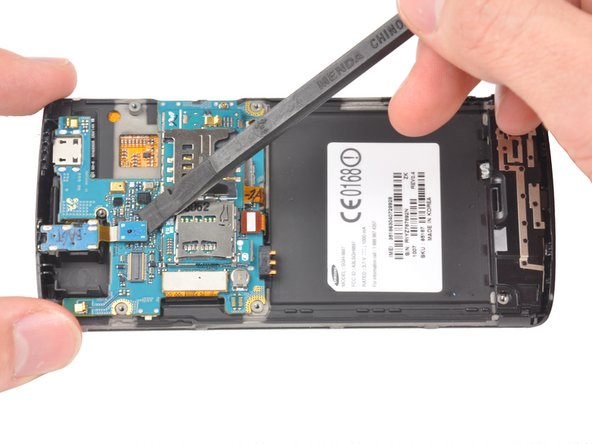
Use a spudger to disconnect the three highlighted connectors.
-
Pry straight up and be careful to pry against the connector, not the socket on the motherboard itself.
-


To reassemble your device, follow these instructions in reverse order.
To reassemble your device, follow these instructions in reverse order.
Annuleren: ik heb deze handleiding niet afgemaakt.
14 andere personen hebben deze handleiding voltooid.
Team

Cal Poly, Team 20-25, Maness Fall 2011 Lid van Cal Poly, Team 20-25, Maness Fall 2011
CPSU-MANESS-F11S20G25
3 Leden
9 handleidingen geschreven
Één opmerking
hi, I have the captivate and I cannot get it to charge, i have had the charging port connection repaired in the past, but now I cannot get it to charge again