Ga door naar hoofdinhoud

Ring Video Doorbell Pro Housing Repalcement

Wat je nodig hebt

  1. Ring Video Doorbell Pro Housing Repalcement, Housing: stap 1, afbeelding 1 van 1
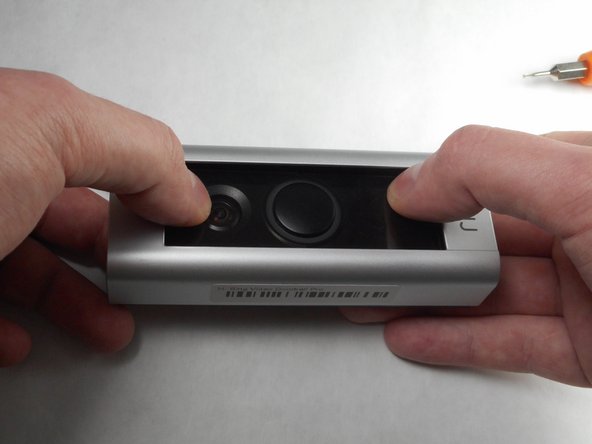
    • Start by using the star-shaped end of the included Ring screwdriver to take out the 5 mm screw on the bottom of the device.

  2. Ring Video Doorbell Pro Housing Repalcement: stap 2, afbeelding 1 van 3 Ring Video Doorbell Pro Housing Repalcement: stap 2, afbeelding 2 van 3 Ring Video Doorbell Pro Housing Repalcement: stap 2, afbeelding 3 van 3
    • Use your thumbs to apply downward pressure on the glass part of the device while pulling the faceplate up and off of the device.

  3. Ring Video Doorbell Pro Housing Repalcement: stap 3, afbeelding 1 van 1
    • Using a PH-000 screwdriver, unscrew and set aside all four of these 5.25 mm screws.

  4. Ring Video Doorbell Pro Housing Repalcement: stap 4, afbeelding 1 van 2 Ring Video Doorbell Pro Housing Repalcement: stap 4, afbeelding 2 van 2
    • Using a plastic pry tool, go along the edge of the device prying the device apart. While doing this, focus on the four clips, two of which are on either side of the device.

  5. Ring Video Doorbell Pro Housing Repalcement: stap 5, afbeelding 1 van 1
    • Remove the front of the device from the back plate.

Conclusie

To reassemble your device, attach the new housing and follow these instructions in reverse order.

4 andere personen hebben deze handleiding voltooid.

Jake Dixon

Lid sinds: 11/09/17

835 Reputatie

4 handleidingen geschreven

Team

IUPUI, Team S7-G4, Baechle Fall 2017 Lid van IUPUI, Team S7-G4, Baechle Fall 2017

IUPUI-BAECHLE-F17S7G4

3 Leden

5 handleidingen geschreven

0 opmerkingen

Voeg opmerking toe

Weergavestatistieken:

Afgelopen 24 uren: 1

Afgelopen 7 dagen: 14

Afgelopen 30 dagen: 77

Altijd: 22,864