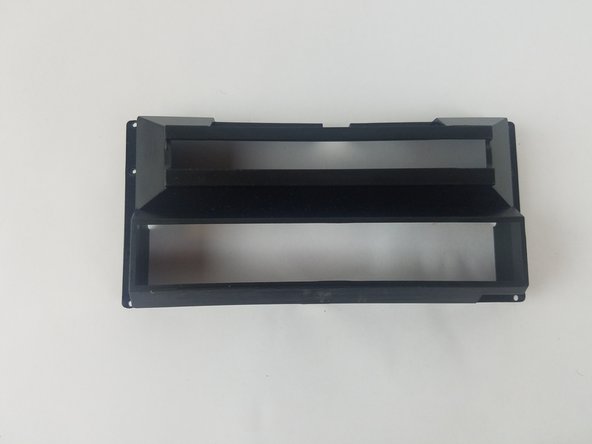
Ga door naar hoofdinhoud

Retro-Bit Retro Duo Cartridge Doors Replacement

Wat je nodig hebt

  1. Retro-Bit Retro Duo Cartridge Doors Replacement, Cartridge Doors: stap 1, afbeelding 1 van 3 Retro-Bit Retro Duo Cartridge Doors Replacement, Cartridge Doors: stap 1, afbeelding 2 van 3 Retro-Bit Retro Duo Cartridge Doors Replacement, Cartridge Doors: stap 1, afbeelding 3 van 3
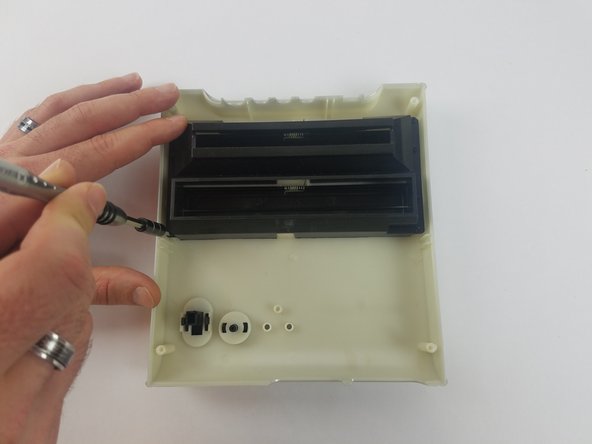
    • With the console on its top. Remove the four 12 mm Phillips #2 screws.

    • There may be a sticker covering one or more of the screws. Remove it before the screws.

    • Flip the console on its feet, pinch near the AV/S ports, and carefully lift the top casing.

    • Do not completely remove the top casing. There is a small LED circuit board connected to the main circuit board.

  2. Retro-Bit Retro Duo Cartridge Doors Replacement: stap 2, afbeelding 1 van 3 Retro-Bit Retro Duo Cartridge Doors Replacement: stap 2, afbeelding 2 van 3 Retro-Bit Retro Duo Cartridge Doors Replacement: stap 2, afbeelding 3 van 3
    • Remove the one 6 mm Phillips #0 screw.

    • Lift the top case and set aside.

  3. Retro-Bit Retro Duo Cartridge Doors Replacement: stap 3, afbeelding 1 van 3 Retro-Bit Retro Duo Cartridge Doors Replacement: stap 3, afbeelding 2 van 3 Retro-Bit Retro Duo Cartridge Doors Replacement: stap 3, afbeelding 3 van 3
    • Remove the eight 10 mm Phillips #0 screws.

    • The cartridge doors are spring-loaded and may pop up.

  4. Retro-Bit Retro Duo Cartridge Doors Replacement: stap 4, afbeelding 1 van 2 Retro-Bit Retro Duo Cartridge Doors Replacement: stap 4, afbeelding 2 van 2
    • Carefully lift the cartridge door case and set aside.

  5. Retro-Bit Retro Duo Cartridge Doors Replacement: stap 5, afbeelding 1 van 2 Retro-Bit Retro Duo Cartridge Doors Replacement: stap 5, afbeelding 2 van 2
    • Take the cartridge doors out of the top casing.

    • Keep the correct cartridge doors together. Note the door numbers and position.

    • Doors numbered two and four are for NES cartridges.

    • Doors numbered three are for SNES cartridges.

Conclusie

To reassemble your device, follow these instructions in reverse order.

Truong Vo

Lid sinds: 09/25/17

320 Reputatie

3 handleidingen geschreven

Team

USF Tampa, Team S4-G4, Eyestone Fall 2017 Lid van USF Tampa, Team S4-G4, Eyestone Fall 2017

USFT-EYESTONE-F17S4G4

3 Leden

10 handleidingen geschreven

0 opmerkingen

Voeg opmerking toe

Weergavestatistieken:

Afgelopen 24 uren: 0

Afgelopen 7 dagen: 0

Afgelopen 30 dagen: 4

Altijd: 567