Ga door naar hoofdinhoud

Repairing Pioneer R1 Speaker Cables

Wat je nodig hebt

  1. Repairing Pioneer R1 Speaker Cables, Repairing Pioneer R1 Speaker Cables: stap 1, afbeelding 1 van 1
    • Insert your plastic spudger into the opening near the HDMI port.

    • Gently pry the back cover of the R1 from the the front by using the spudger along the edges.

    • Do not pull the back cover straight off the R1. You may further damage the cables connecting the speakers to the motherboard.

  2. Repairing Pioneer R1 Speaker Cables: stap 2, afbeelding 1 van 1
    • Lay the R1 flat like an open book.

    • This will prevent further damage to the cables connecting the speakers to the motherboard.

  3. Repairing Pioneer R1 Speaker Cables: stap 3, afbeelding 1 van 2 Repairing Pioneer R1 Speaker Cables: stap 3, afbeelding 2 van 2
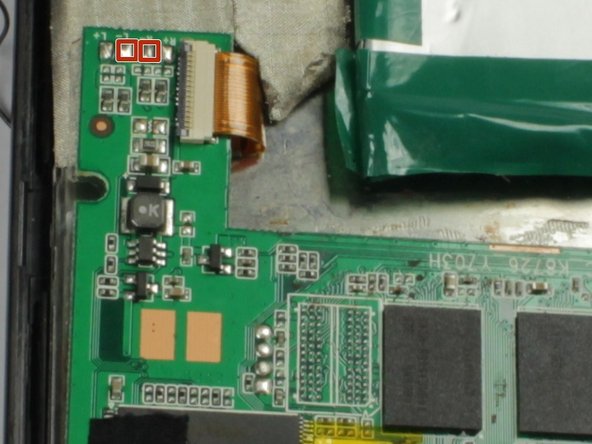
    • Solder the black cable of the left speaker to the nodule marked L+ on the motherboard.

    • Do not allow solder from one nodule to touch another nodule. This will cause the speakers to malfunction.

    • Solder the black cable of the Right speaker to the nodule marked R+ on the motherboard.

    • Solder the red cable of the left speaker to the nodule marked L- on the motherboard.

    • Solder the red cable of the right speaker to the nodule marked R- on the motherboard.

Conclusie

To reassemble your device, follow these instructions in reverse order.

Één andere persoon heeft deze handleiding voltooid.

Christopher Rosario

Lid sinds: 02/17/15

411 Reputatie

4 handleidingen geschreven

Team

San Diego State, Team 1-1, Sheppard Winter 2015 Lid van San Diego State, Team 1-1, Sheppard Winter 2015

SDSU-SHEPPARD-W15S1G1

3 Leden

7 handleidingen geschreven

0 opmerkingen

Voeg opmerking toe

Weergavestatistieken:

Afgelopen 24 uren: 2

Afgelopen 7 dagen: 2

Afgelopen 30 dagen: 4

Altijd: 144