Ga door naar hoofdinhoud

Removing the Cover From the Printer

Alleen vereisten
Deze handleiding is alleen bedoeld als vereiste voor andere handleidingen. Het staat niet op zichzelf.

Wat je nodig hebt

  1. Removing the Cover From the Printer, Top Cover: stap 1, afbeelding 1 van 1
    • Remove the back two 14.0 mm Torx #10 screws.

  2. Removing the Cover From the Printer: stap 2, afbeelding 1 van 1
    • Lay the printer on its back.

    • Grab the paper tray by its right side and pull it to the left and up.

  3. Removing the Cover From the Printer: stap 3, afbeelding 1 van 1
    • Open the frontal access panel by lifting it from the top.

    • Similar to the paper tray, grab it from the right side and pull it to the left and up.

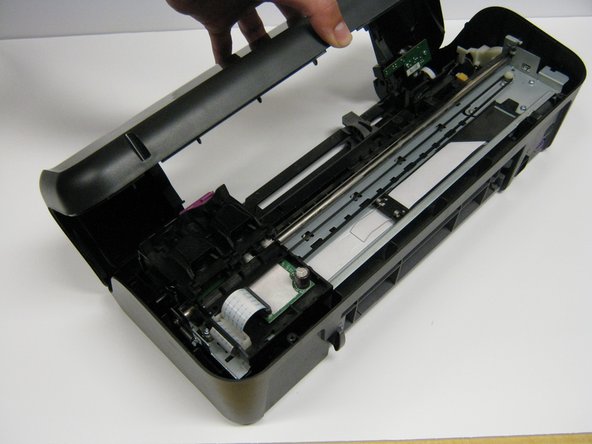
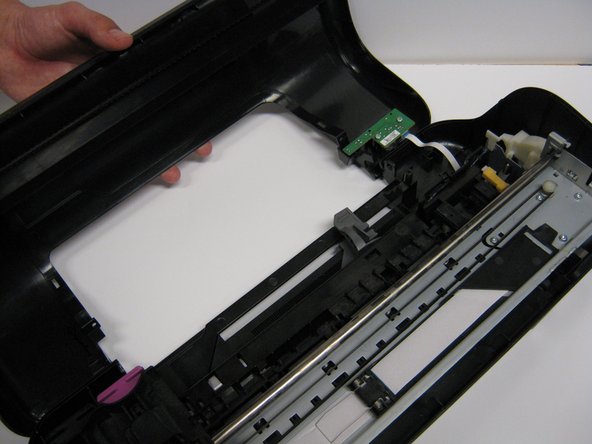
  4. Removing the Cover From the Printer: stap 4, afbeelding 1 van 3 Removing the Cover From the Printer: stap 4, afbeelding 2 van 3 Removing the Cover From the Printer: stap 4, afbeelding 3 van 3
    • Take out the two frontal 14.0 mm Torx #10 screws.

    • Carefully lift the frontal cover.

    • Don't lift it up aggressively. A strip will be attached to it.

Conclusie

To reassemble your device, follow these instructions in reverse order.

Justin Taiki Fukada

Lid sinds: 01/25/14

891 Reputatie

7 handleidingen geschreven

Team

Cal Poly, Team 1-41, Maness Winter 2014 Lid van Cal Poly, Team 1-41, Maness Winter 2014

CPSU-MANESS-W14S1G41

4 Leden

14 handleidingen geschreven

0 opmerkingen

Voeg opmerking toe

Weergavestatistieken:

Afgelopen 24 uren: 1

Afgelopen 7 dagen: 4

Afgelopen 30 dagen: 5

Altijd: 34