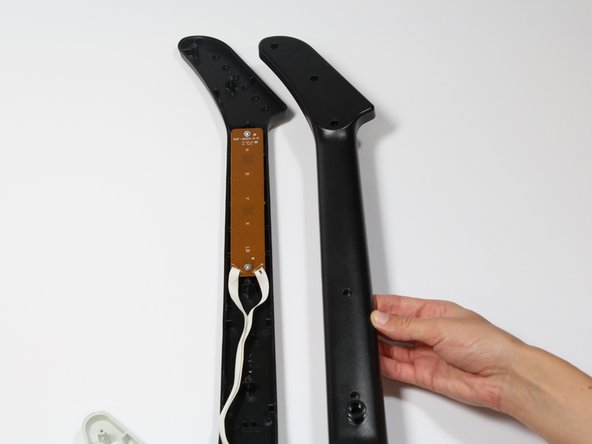
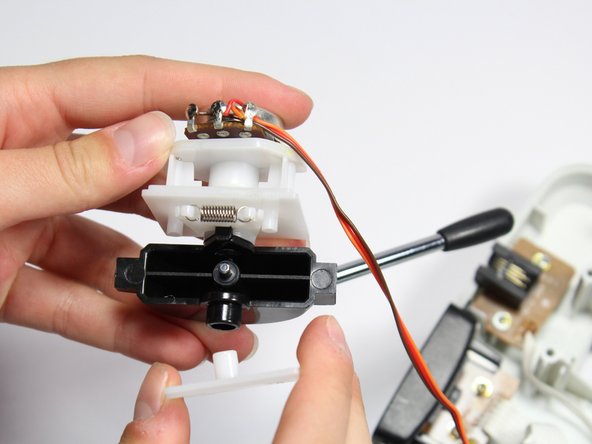
Ga door naar hoofdinhoud

RedOctane X-Plorer Whammy Bar Sensor Replacement

Wat je nodig hebt

  1. RedOctane X-Plorer Whammy Bar Sensor Replacement, Rear Case: stap 1, afbeelding 1 van 2 RedOctane X-Plorer Whammy Bar Sensor Replacement, Rear Case: stap 1, afbeelding 2 van 2
    • Remove the strap by pulling it off of the mounts located on the body and neck.

  2. RedOctane X-Plorer Whammy Bar Sensor Replacement: stap 2, afbeelding 1 van 3 RedOctane X-Plorer Whammy Bar Sensor Replacement: stap 2, afbeelding 2 van 3 RedOctane X-Plorer Whammy Bar Sensor Replacement: stap 2, afbeelding 3 van 3
    • Remove the nine 12mm Phillips #1 screws around the perimeter of the case with a screwdriver.

    • Remove the two 15mm Phillips #1 screws connecting the body panel to the neck panel with a screwdriver.

    • These screws can also be Torx on some models.

    • Pull off the rear case.

  3. RedOctane X-Plorer Whammy Bar Sensor Replacement: stap 3, afbeelding 1 van 3 RedOctane X-Plorer Whammy Bar Sensor Replacement: stap 3, afbeelding 2 van 3 RedOctane X-Plorer Whammy Bar Sensor Replacement: stap 3, afbeelding 3 van 3
    • Remove the five 12mm Phillips #1 screws along the neck with a screwdriver.

    • Pull off the top shell of the neck to expose the internal features.

  4. RedOctane X-Plorer Whammy Bar Sensor Replacement, Whammy Bar Sensor: stap 4, afbeelding 1 van 3 RedOctane X-Plorer Whammy Bar Sensor Replacement, Whammy Bar Sensor: stap 4, afbeelding 2 van 3 RedOctane X-Plorer Whammy Bar Sensor Replacement, Whammy Bar Sensor: stap 4, afbeelding 3 van 3
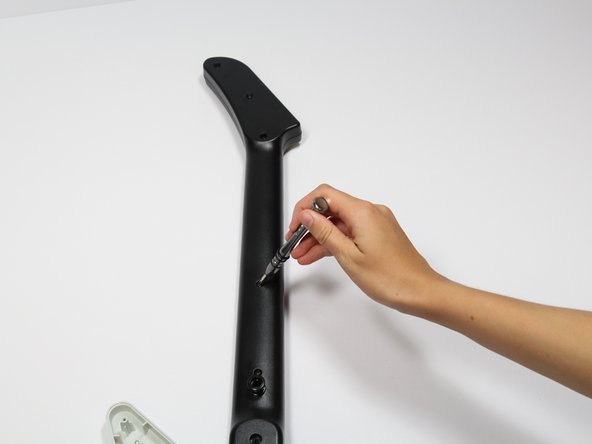
    • Remove the two 7mm Phillips #0 screws.

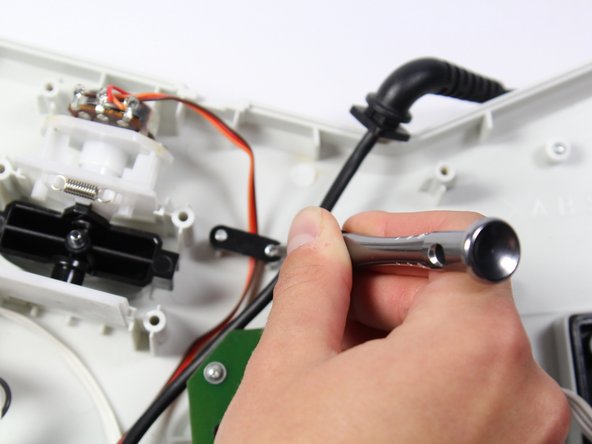
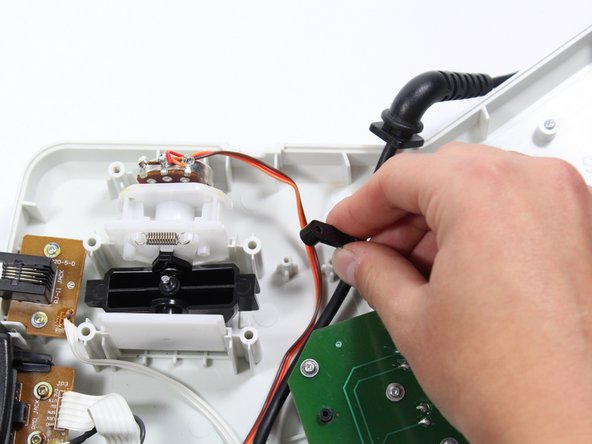
    • Using your fingers, remove the black wire retainer.

  5. RedOctane X-Plorer Whammy Bar Sensor Replacement: stap 5, afbeelding 1 van 2 RedOctane X-Plorer Whammy Bar Sensor Replacement: stap 5, afbeelding 2 van 2
    • Using one hand, remove the whammy bar and its attached components from the case.

  6. RedOctane X-Plorer Whammy Bar Sensor Replacement: stap 6, afbeelding 1 van 1
    • Using two hands, remove the whammy bar sensor.

Conclusie

To reassemble your device, follow these instructions in reverse order.

Één andere persoon heeft deze handleiding voltooid.

Riley

Lid sinds: 04/18/18

649 Reputatie

7 handleidingen geschreven

Team

Cal Poly, Team S17-G1, Livingston Spring 2018 Lid van Cal Poly, Team S17-G1, Livingston Spring 2018

CPSU-LIVINGSTON-S18S17G1

3 Leden

9 handleidingen geschreven

0 opmerkingen

Voeg opmerking toe

Weergavestatistieken:

Afgelopen 24 uren: 0

Afgelopen 7 dagen: 8

Afgelopen 30 dagen: 21

Altijd: 935