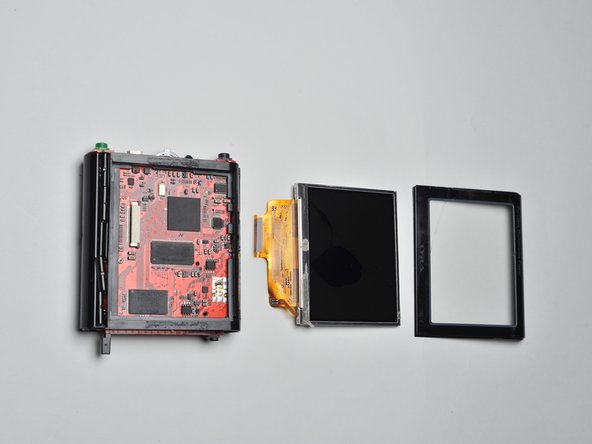
Ga door naar hoofdinhoud

RCA Lyra x2400 Screen Replacement

Wat je nodig hebt

  1. RCA Lyra x2400 Screen Replacement, Battery: stap 1, afbeelding 1 van 3 RCA Lyra x2400 Screen Replacement, Battery: stap 1, afbeelding 2 van 3 RCA Lyra x2400 Screen Replacement, Battery: stap 1, afbeelding 3 van 3
    • Using slight pressure with your finger on the word "OPEN", slide the battery plate down.

    • Remove the battery plate.

    • Place your finger at the bottom of the battery.

    • Lift up on the battery until it pops out from the LYRA X2400.

  2. RCA Lyra x2400 Screen Replacement, Screen: stap 2, afbeelding 1 van 2 RCA Lyra x2400 Screen Replacement, Screen: stap 2, afbeelding 2 van 2
    • Remove the two Phillips screws from the silver cover at the top of the Lyra.

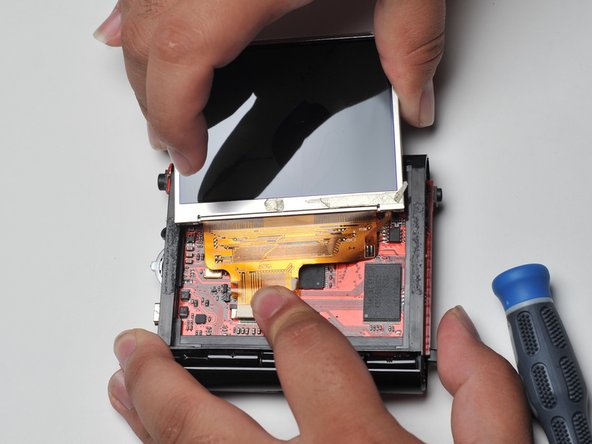
    • Slowly wiggle the silver cover while pulling it away from the device.

  3. RCA Lyra x2400 Screen Replacement: stap 3, afbeelding 1 van 2 RCA Lyra x2400 Screen Replacement: stap 3, afbeelding 2 van 2
    • Remove the two Phillips screws from the bottom of the device, next to the charger port and Compact Flash release button.

    • Pull the silver case from the bottom of the device.

  4. RCA Lyra x2400 Screen Replacement: stap 4, afbeelding 1 van 3 RCA Lyra x2400 Screen Replacement: stap 4, afbeelding 2 van 3 RCA Lyra x2400 Screen Replacement: stap 4, afbeelding 3 van 3
    • Carefully pry up the screen with a plastic opening tool.

    • Disconnect the screen's ribbon cable from the circuit board.

    • Remove the screen.

Conclusie

To reassemble your device, follow these instructions in reverse order.

Emmett

Lid sinds: 04/11/13

1 Reputatie

1 Handleiding geschreven

Team

Cal Poly, Team 17-3, Regan Spring 2013 Lid van Cal Poly, Team 17-3, Regan Spring 2013

CPSU-REGAN-S13S17G3

4 Leden

8 handleidingen geschreven

0 opmerkingen

Voeg opmerking toe

Weergavestatistieken:

Afgelopen 24 uren: 0

Afgelopen 7 dagen: 3

Afgelopen 30 dagen: 9

Altijd: 281