Deze versie kan foutieve bewerkingen bevatten. Schakel over naar de recentste gecontroleerde momentopname.
Wat je nodig hebt
-
Deze stap is niet vertaald. Help het te vertalen
-
Lift the metal flap and slide the viewfinder off to the right.
-
-
Deze stap is niet vertaald. Help het te vertalen
-
Unscrew the 7.0mm ph#0 screw on the underside where the cable connects.
-
Lift the plastic where the cable is connected to the viewfinder.
-
Disconnect the cable inside by pulling it apart.
-
-
-
Deze stap is niet vertaald. Help het te vertalen
-
Unscrew the two 7mm ph#0 screws on the underside of the viewfinder assembly.
-
Lift the viewfinder plastic assembly up.
-
-
Deze stap is niet vertaald. Help het te vertalen
-
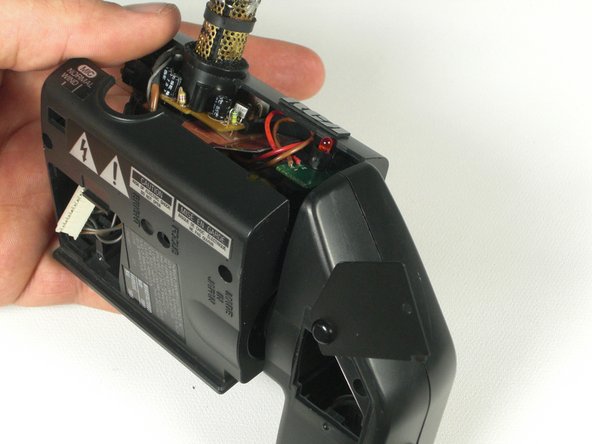
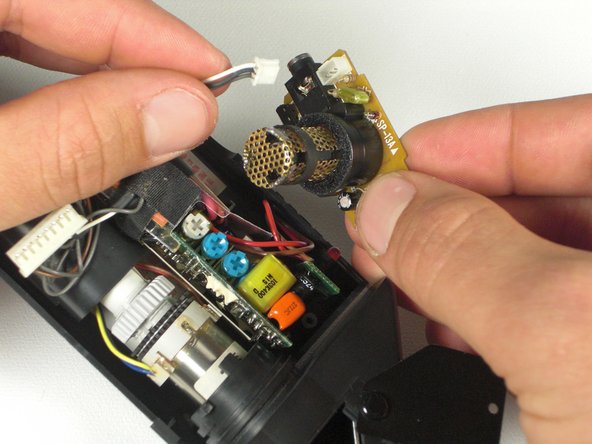
Lift the microphone circuit board straight up.
-
Unclip the cable connected to the circuit board.
-
-
Deze stap is niet vertaald. Help het te vertalen
-
Turn the microphone circuit board over.
-
Unscrew the two Ph#0 screws holding the plastic housing on the circuit board.
-
-
Deze stap is niet vertaald. Help het te vertalen
-
Desolder the metal protective housing using a soldering iron.
-
Desolder the microphone and replace it.
-
Annuleren: ik heb deze handleiding niet afgemaakt.
Één andere persoon heeft deze handleiding voltooid.


