Inleiding
Save money by replacing your broken LCD element.
Wat je nodig hebt
-
-
Use a coin to turn the battery locking screw 90 degrees to the right.
-
Lift the battery out of the computer.
-
-
-
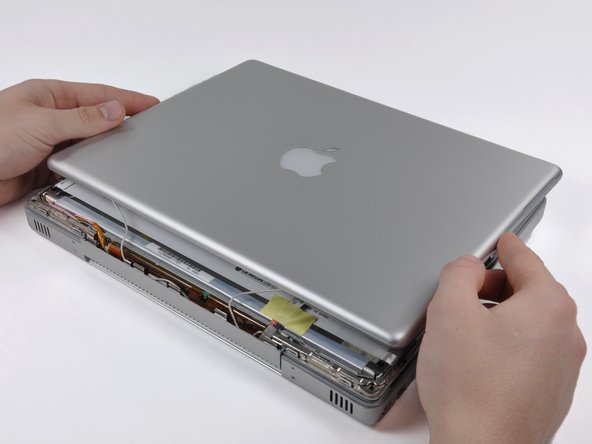
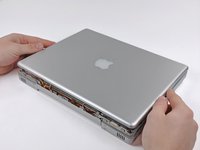
Open the computer and rotate the display as far as possible.
-
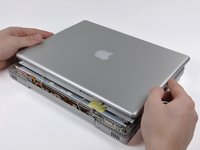
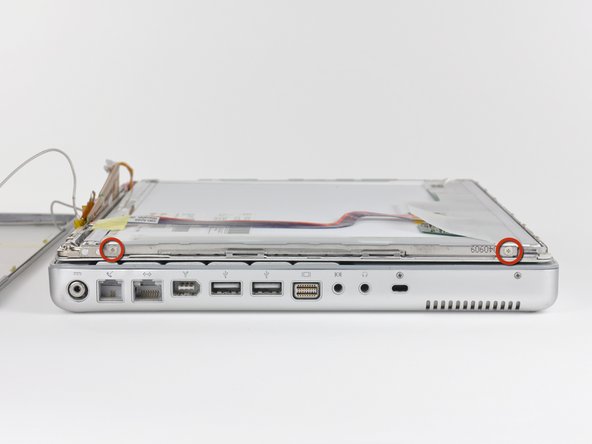
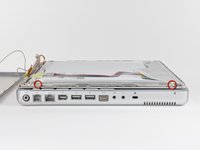
Remove the T6 Torx screw from the bottom left corner of the display assembly. The computer casing will not allow the screwdriver to be inserted directly into the screw, so be careful not to strip the screw.
-
-
-
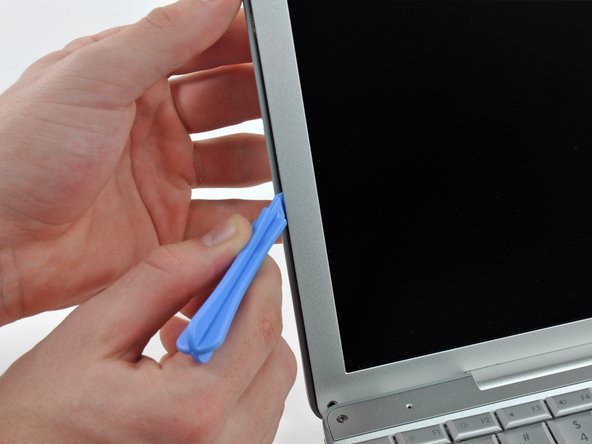
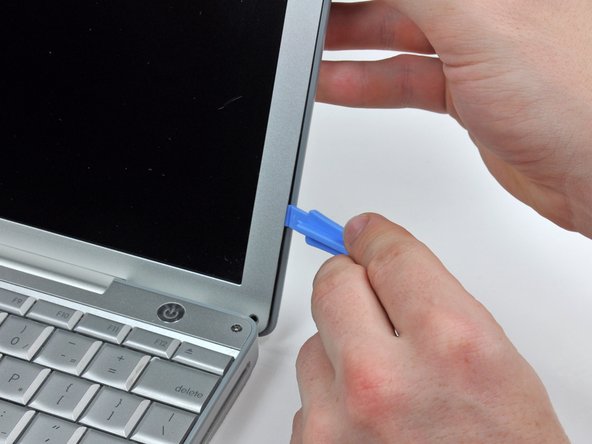
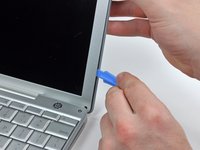
Insert a plastic opening tool between the left edge of the front display bezel and the plastic strip attached to the rear bezel, with the edge of the tool angled toward the LCD.
-
Rotate the tool away from the LCD to pop the rear bezel off the tabs on the front display bezel.
-
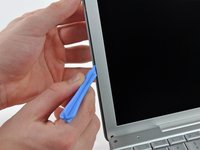
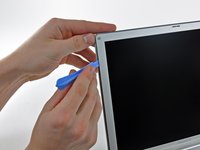
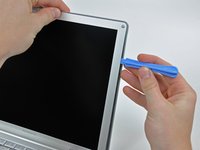
Work along the left edge of the display until the rear bezel is evenly separated from the front bezel.
-
-
-
-
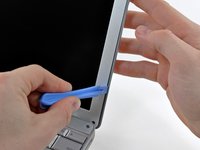
Insert a plastic opening tool between the right edge of the front display bezel and the plastic strip attached to the rear bezel, with the edge of the tool angled toward the LCD.
-
Rotate the tool away from the LCD to pop the rear bezel off the tabs on the front display bezel.
-
Work along the right edge of the display until the rear bezel is evenly separated from the front bezel.
-
-
-
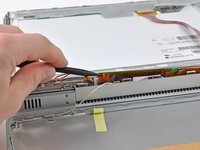
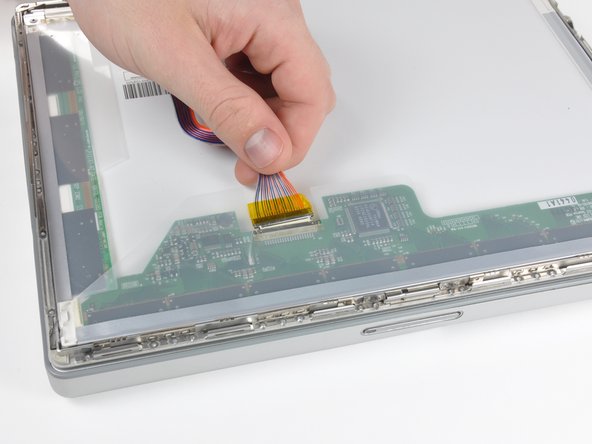
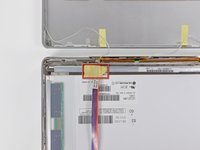
Insert the pointed end of the a spudger between the protective tape and the inverter board.
-
Carefully pull up with the spudger to lift the inverter board out enough to access the connector cables.
-
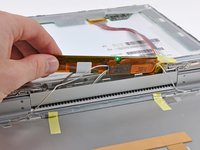
Once you can easily grab the board, pull it up enough to gain access to the inverter board's output connector.
-


To reassemble your device, follow these instructions in reverse order.
Annuleren: ik heb deze handleiding niet afgemaakt.
4 andere personen hebben deze handleiding voltooid.
