Ga door naar hoofdinhoud

PowerA Fusion Controller For Xbox One Buttons Replacement

Wat je nodig hebt

  1. PowerA Fusion Controller For Xbox One Buttons Replacement, Buttons: stap 1, afbeelding 1 van 3 PowerA Fusion Controller For Xbox One Buttons Replacement, Buttons: stap 1, afbeelding 2 van 3 PowerA Fusion Controller For Xbox One Buttons Replacement, Buttons: stap 1, afbeelding 3 van 3
    • Remove the (9) nine 9.2mm screws with a JIS #1 screwdriver.

    • Remove the two bottom plastic grip covers.

  2. PowerA Fusion Controller For Xbox One Buttons Replacement: stap 2, afbeelding 1 van 2 PowerA Fusion Controller For Xbox One Buttons Replacement: stap 2, afbeelding 2 van 2
    • Remove the (2) two 9.2mm screws with a JIS #1 screwdriver.

    • Remove the back cover of the controller.

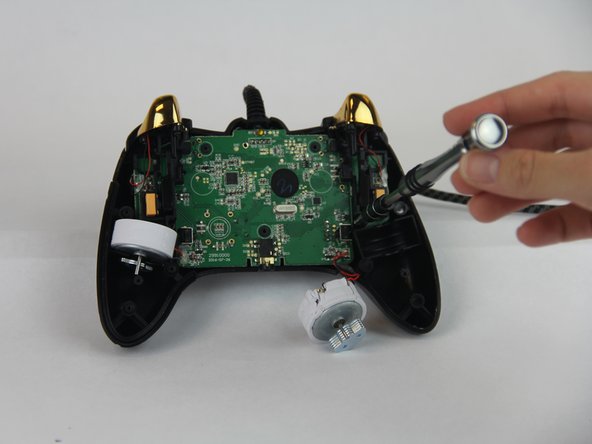
  3. PowerA Fusion Controller For Xbox One Buttons Replacement: stap 3, afbeelding 1 van 3 PowerA Fusion Controller For Xbox One Buttons Replacement: stap 3, afbeelding 2 van 3 PowerA Fusion Controller For Xbox One Buttons Replacement: stap 3, afbeelding 3 van 3
    • Remove the (5) five 9.2mm screws with a JIS #1 screwdriver.

    • Lift the motherboard and let it hang.

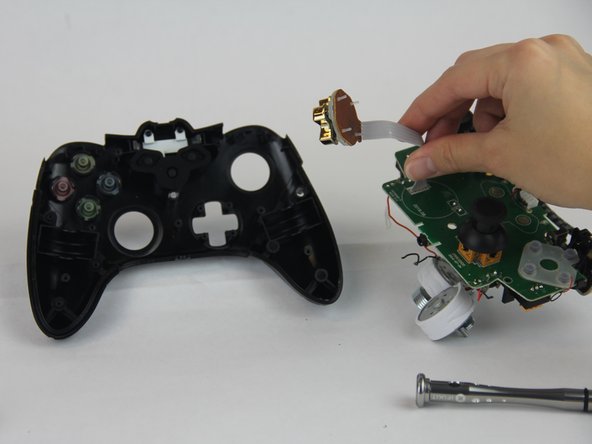
  4. PowerA Fusion Controller For Xbox One Buttons Replacement: stap 4, afbeelding 1 van 2 PowerA Fusion Controller For Xbox One Buttons Replacement: stap 4, afbeelding 2 van 2
    • Remove the (4) four 9.2mm screws that are holding the motherboard to the controller.

    • Put the motherboard aside.

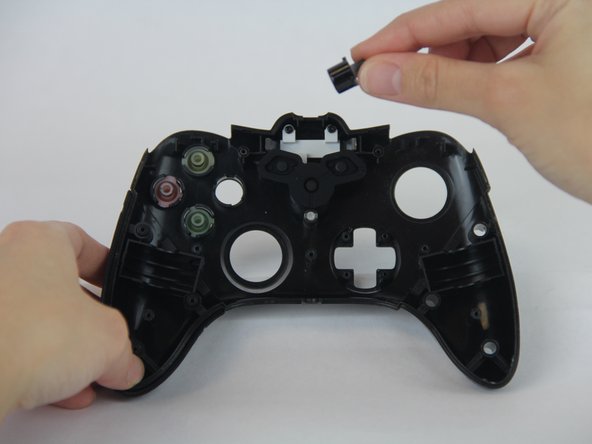
  5. PowerA Fusion Controller For Xbox One Buttons Replacement: stap 5, afbeelding 1 van 2 PowerA Fusion Controller For Xbox One Buttons Replacement: stap 5, afbeelding 2 van 2
    • Remove the buttons.

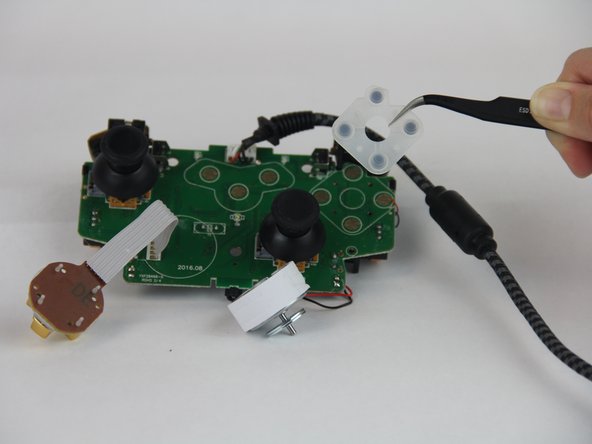
  6. PowerA Fusion Controller For Xbox One Buttons Replacement: stap 6, afbeelding 1 van 2 PowerA Fusion Controller For Xbox One Buttons Replacement: stap 6, afbeelding 2 van 2
    • Go back to the motherboard, and remove the buttons' gasket with a tweezler.

Conclusie

To reassemble your device, follow these instructions in reverse order.

8 andere personen hebben deze handleiding voltooid.

Andrea

Lid sinds: 09/26/17

623 Reputatie

4 handleidingen geschreven

Team

USF Tampa, Team S14-G4, Boczar Fall 2017 Lid van USF Tampa, Team S14-G4, Boczar Fall 2017

USFT-BOCZAR-F17S14G4

4 Leden

5 handleidingen geschreven

2 opmerkingen

Okay so what do you do if by any chance one of the links that are sawdered to the mother board for the D Pad Connection cable breaks… Then what? How would I go about fixing that????

Heather Jesse - Antwoord

is there a guide to clean the bumpers out? my RB became less consistent and i'm hoping it's just because they're gunked up

urmum - Antwoord

Voeg opmerking toe

Weergavestatistieken:

Afgelopen 24 uren: 1

Afgelopen 7 dagen: 12

Afgelopen 30 dagen: 82

Altijd: 18,419