Ga door naar hoofdinhoud

PowerA Enhanced Wireless Controller L and R buttons Replacement

Wat je nodig hebt

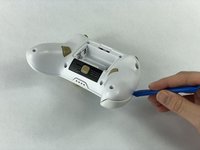
  1. PowerA Enhanced Wireless Controller L and R buttons Replacement, Motherboard: stap 1, afbeelding 1 van 3 PowerA Enhanced Wireless Controller L and R buttons Replacement, Motherboard: stap 1, afbeelding 2 van 3 PowerA Enhanced Wireless Controller L and R buttons Replacement, Motherboard: stap 1, afbeelding 3 van 3
    • Remove the battery cover by pressing down on the lever located on the top of the cover.

    • Apply pressure until it clicks out of place, and pull it off.

  2. PowerA Enhanced Wireless Controller L and R buttons Replacement: stap 2, afbeelding 1 van 1
    • Remove all eight screws using the J0 screwdriver.

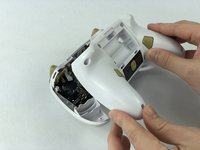
  3. PowerA Enhanced Wireless Controller L and R buttons Replacement: stap 3, afbeelding 1 van 2 PowerA Enhanced Wireless Controller L and R buttons Replacement: stap 3, afbeelding 2 van 2
    • Insert the iFixit opening tool into the seam and gently pry the cover plate up.

    • Remove the cover plate once it is loosened.

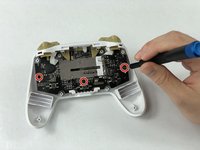
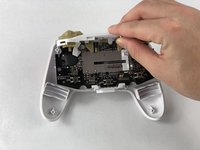
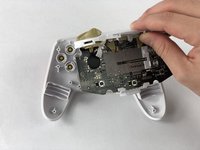
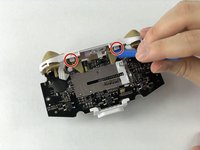
  4. PowerA Enhanced Wireless Controller L and R buttons Replacement: stap 4, afbeelding 1 van 3 PowerA Enhanced Wireless Controller L and R buttons Replacement: stap 4, afbeelding 2 van 3 PowerA Enhanced Wireless Controller L and R buttons Replacement: stap 4, afbeelding 3 van 3
    • Remove all three screws securing the motherboard using the J00 screwdriver.

    • Remove the motherboard.

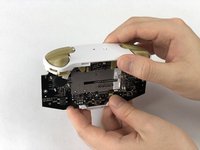
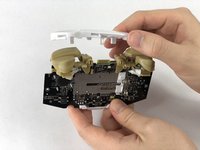
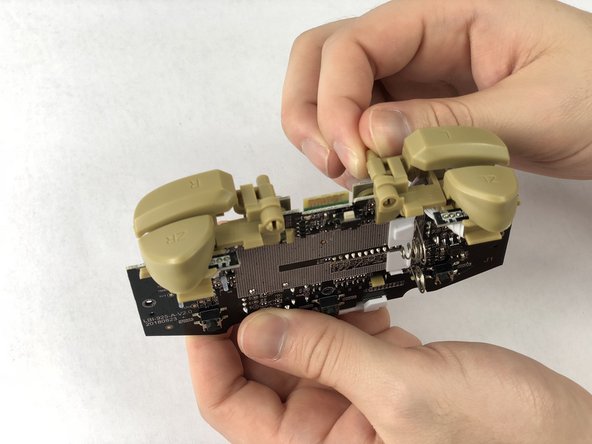
  5. PowerA Enhanced Wireless Controller L and R buttons Replacement, L and R buttons: stap 5, afbeelding 1 van 3 PowerA Enhanced Wireless Controller L and R buttons Replacement, L and R buttons: stap 5, afbeelding 2 van 3 PowerA Enhanced Wireless Controller L and R buttons Replacement, L and R buttons: stap 5, afbeelding 3 van 3
    • Lift the two white latches using the iFixit opening tool.

    • Lift the white covering off.

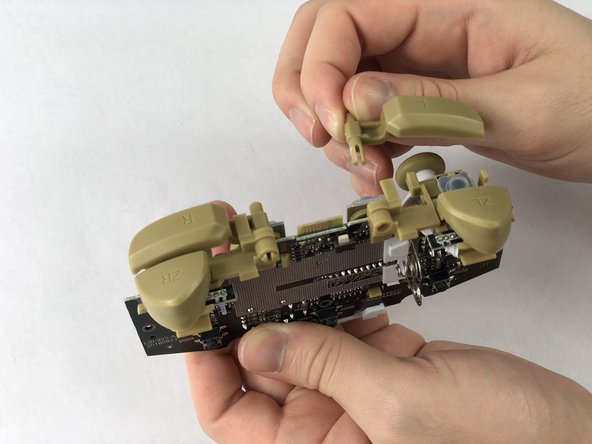
  6. PowerA Enhanced Wireless Controller L and R buttons Replacement: stap 6, afbeelding 1 van 3 PowerA Enhanced Wireless Controller L and R buttons Replacement: stap 6, afbeelding 2 van 3 PowerA Enhanced Wireless Controller L and R buttons Replacement: stap 6, afbeelding 3 van 3
    Gereedschap gebruikt in deze stap:
    Tweezers
    $4.99
    Koop
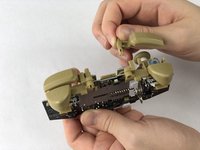
    • Squeeze the buttons with rubber tweezers and push them in.

    • Grab it from the back and pull it out.

Conclusie

To reassemble your device, follow these instructions in reverse order.

Één andere persoon heeft deze handleiding voltooid.

Ayjah Montgomery

Lid sinds: 10/10/19

402 Reputatie

4 handleidingen geschreven

Team

USF Tampa, Team S1-G5, Leahy Fall 2019 Lid van USF Tampa, Team S1-G5, Leahy Fall 2019

USFT-LEAHY-F19S1G5

3 Leden

10 handleidingen geschreven

2 opmerkingen

I need to know how to fix the ZR and the ZL buttons, like a faster response time

Starry Milligan - Antwoord

im sure this would be really helpful if i knew where i could buy the parts?

arch1e b - Antwoord

Voeg opmerking toe

Weergavestatistieken:

Afgelopen 24 uren: 2

Afgelopen 7 dagen: 11

Afgelopen 30 dagen: 52

Altijd: 3,140