Ga door naar hoofdinhoud

Power Button Replacement

Wat je nodig hebt

  1. Power Button Replacement, Open electronics case: stap 1, afbeelding 1 van 2 Power Button Replacement, Open electronics case: stap 1, afbeelding 2 van 2
    • Gently pull apart the two sides of the plastic case. This will reveal the circuit board an battery.

    • Using a Torx 6 Screw driver, loosen and store the 3 screws at the bottom side of the case.

  2. Power Button Replacement, Disconnect Battery: stap 2, afbeelding 1 van 2 Power Button Replacement, Disconnect Battery: stap 2, afbeelding 2 van 2
    • Look for the white plastic battery connector at the base of the circuit board.

    • Carefully grip and pull out the white battery connector. If there is silicone or glue be mindful not to apply much force to prevent the entire connector to come loose from circuity board.

    • Keep battery aside.

  3. Power Button Replacement, Circuit board removal: stap 3, afbeelding 1 van 2 Power Button Replacement, Circuit board removal: stap 3, afbeelding 2 van 2
    • Using a Torx 6 scredriver, remove the (2) screws holding the circuit board

    • With the help of a flat tool, pry the circuit board off the plastic case.

  4. Power Button Replacement: stap 4, afbeelding 1 van 3 Power Button Replacement: stap 4, afbeelding 2 van 3 Power Button Replacement: stap 4, afbeelding 3 van 3
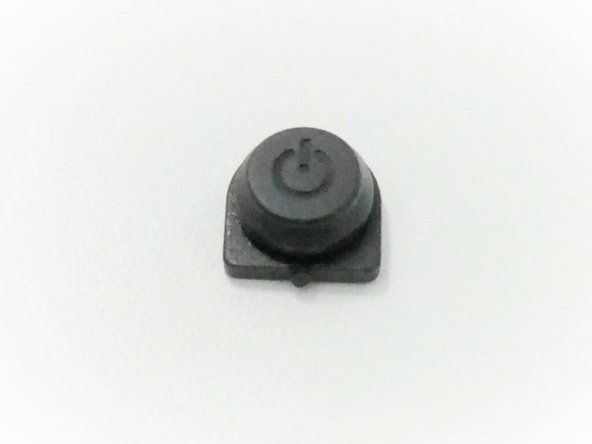
    • With aid of a pointy tool, push the damaged flexible button from the top down.

    • Using the fingers, insert the new flexible button from the top-down into the case opening. Make sure the button flange is not folded.

Conclusie

To reassemble your device, follow these instructions in reverse order.

BRIGHT Products

Lid sinds: 11/06/23

144 Reputatie

1 Handleiding geschreven

0 opmerkingen

Voeg opmerking toe

Weergavestatistieken:

Afgelopen 24 uren: 0

Afgelopen 7 dagen: 0

Afgelopen 30 dagen: 4

Altijd: 53