Inleiding
Follow this guide to replace a scratched or damaged front panel on your FixHub Portable Power Station.
Wat je nodig hebt
-
-
Hold down the blue action button for five seconds to shut down your power station.
-
Collapse the kickstand.
-
-
Gereedschap gebruikt in deze stap:FixMat$31.41
-
Use a T10 Torx screwdriver to remove the two 8 mm‑long screws securing the rear cover.
-
-
-
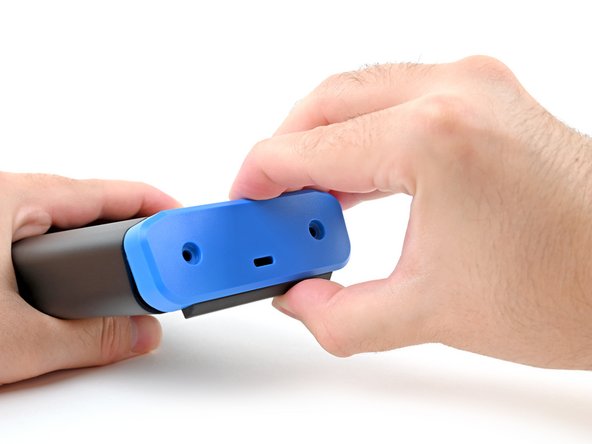
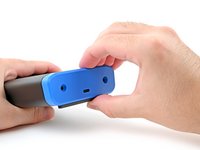
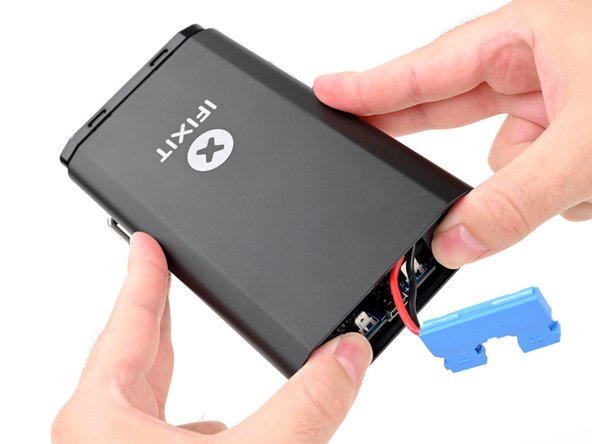
Grab the rear cover and pull the bottom edge towards you.
-
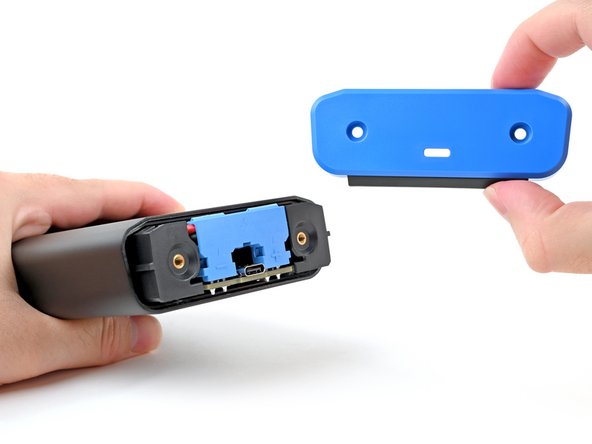
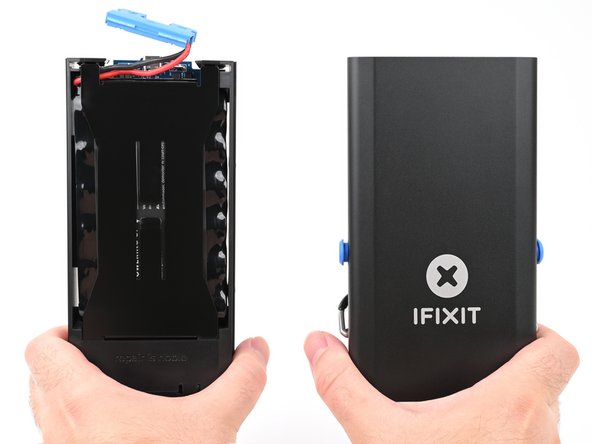
Remove the rear cover.
-
-
-
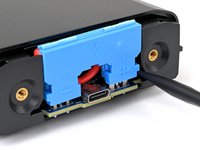
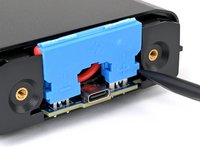
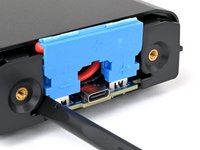
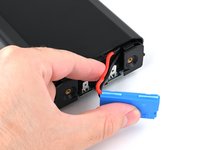
Insert the flat end of a spudger into one of the slots on either side of the battery connector. They're shaped just for this!
-
Use the spudger to begin prying up the connector.
-
-
-
-
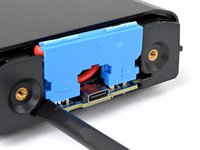
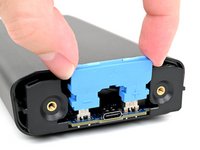
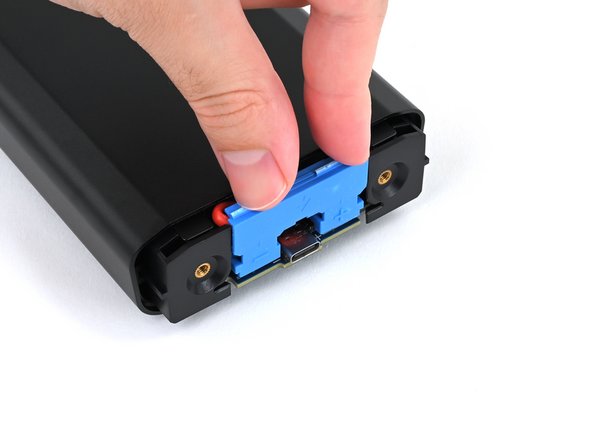
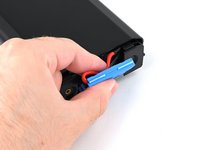
Grasp the battery connector by its edges and pull straight up to disconnect it.
-
-
-
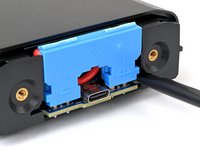
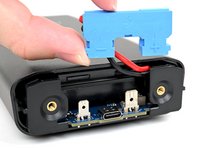
Tuck the wires behind the connector, so the side of the connector with positive (+) and negative (-) markings is facing outward.
-
Align the connector over its two metal plugs so the negative (-) side is on the left of the USB‑C port and the positive (+) side is on the right.
-
Slide the connector onto its plugs and push down firmly until it's fully seated.
-
-
-
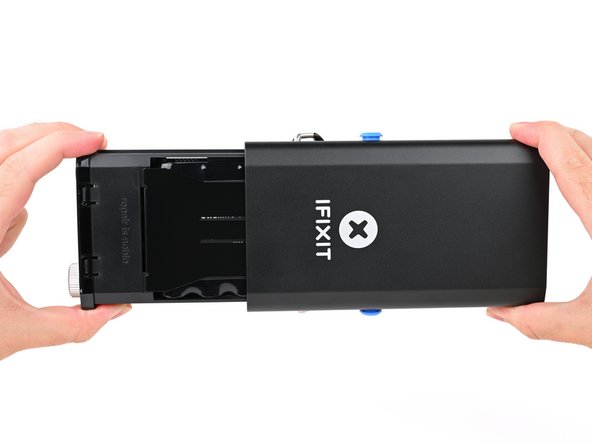
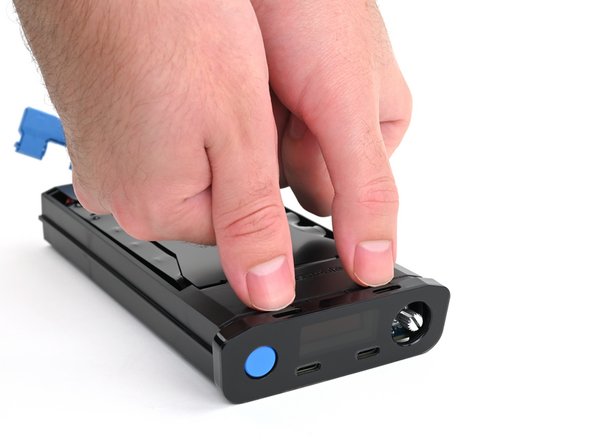
Place your fingers on the rear cover screw holes and push the chassis slightly out of the enclosure.
-
-
-
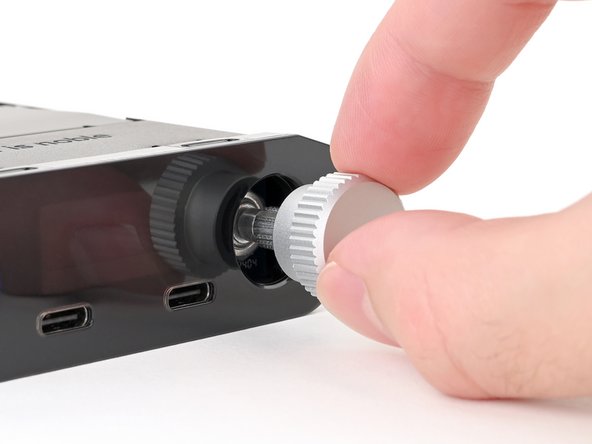
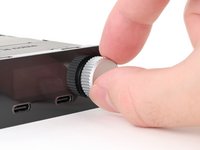
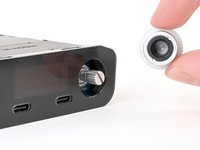
Pull the silver selector knob directly away from the front panel to remove it.
-
-
-
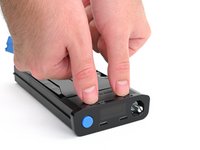
Use your fingers to depress the two locking tabs holding the front panel in place.
-
While pressing the tabs down, push the front panel away from the chassis and remove it.
-
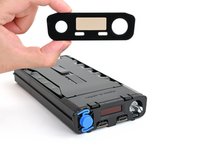
Hook in the bottom edge of the front panel first, then push the top edge until it clicks into place.
-


To reassemble your Portable Power Station, follow these instructions in reverse order.
Repair didn't go as planned? Try some basic troubleshooting, or ask our Answers community for help.

