Inleiding
If your polygel nail has been damaged due to lifting, chipping or breaking, use this guide to rebuild the entire nail. In order for a polygel nail to last, it needs to be built on a proper and sturdy base. Before using this guide, be sure to inspect the nail and ensure that the damage is not minimal. Typically, a small chip or break can easily be filed without removing much length from the nail itself.
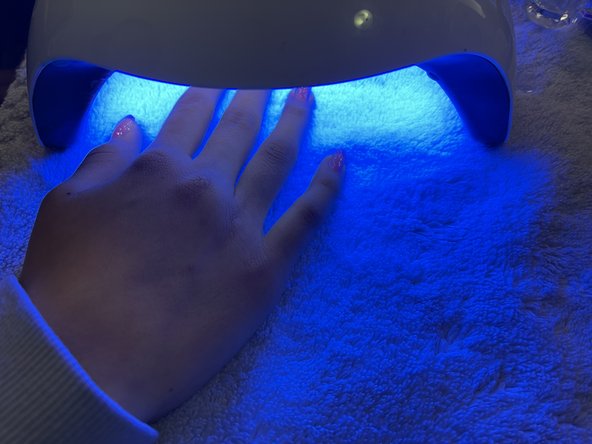
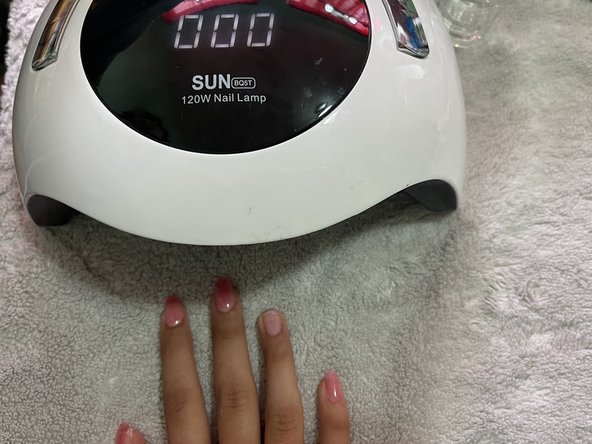
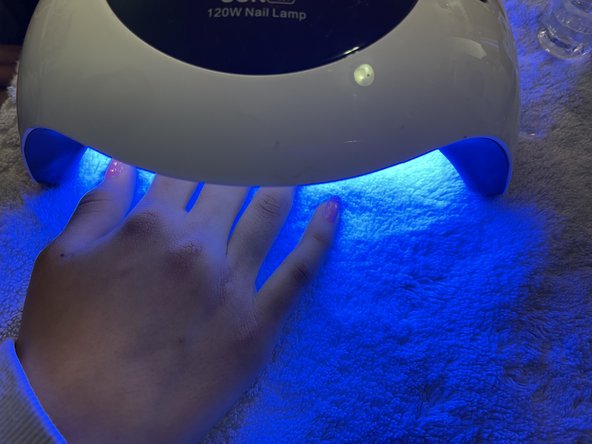
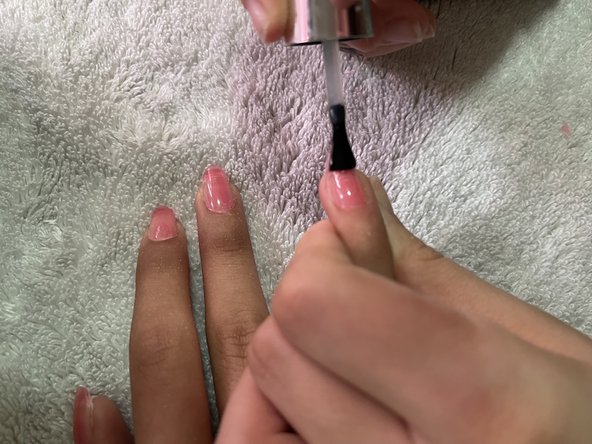
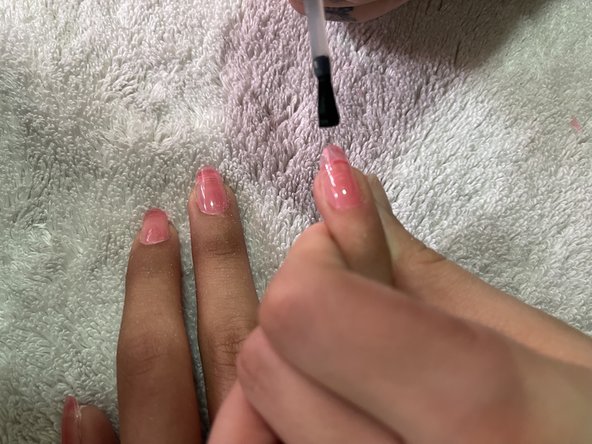
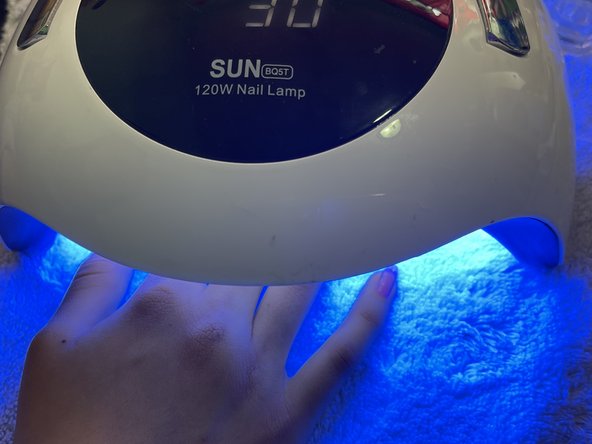
Step 7 requires the use of a UV lamp in order to cure both a gel base and top coat. Make sure you have one available, as it will be necessary.
Before beginning, make sure that within the curing process, if you experience any heat spikes or discomfort, you remove your hand from the lamp immediately and allow time for your nail to cool off.
Wat je nodig hebt
-
-
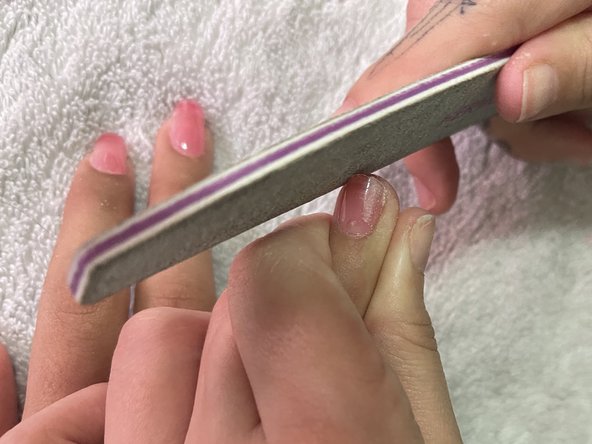
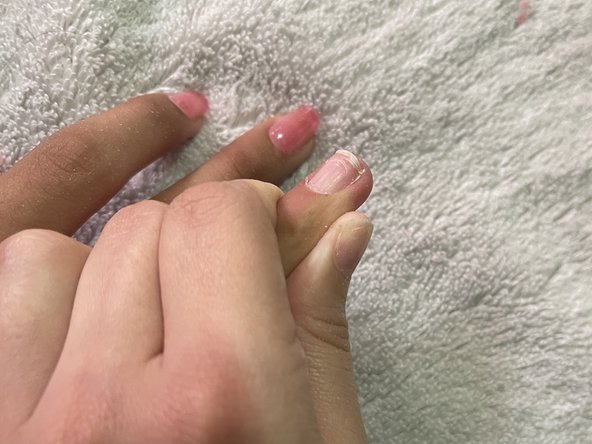
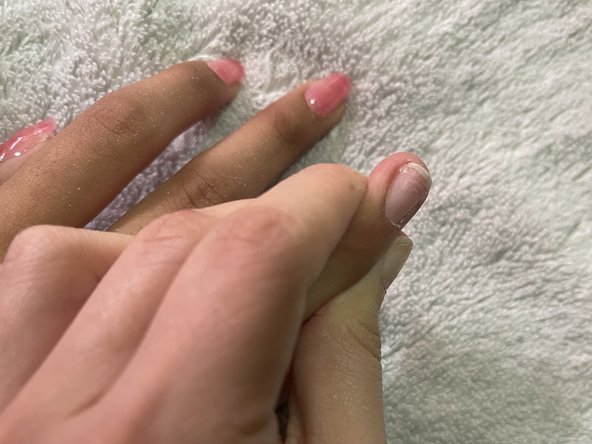
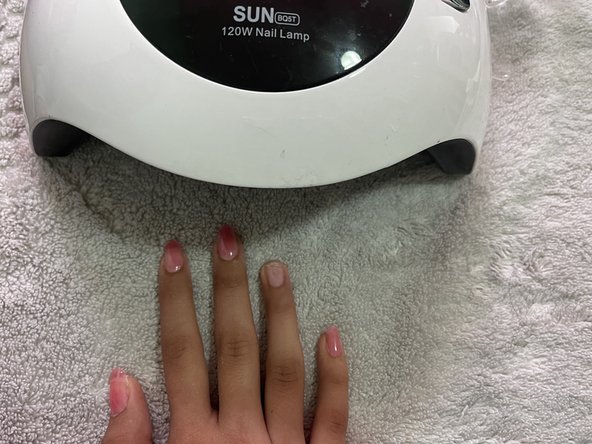
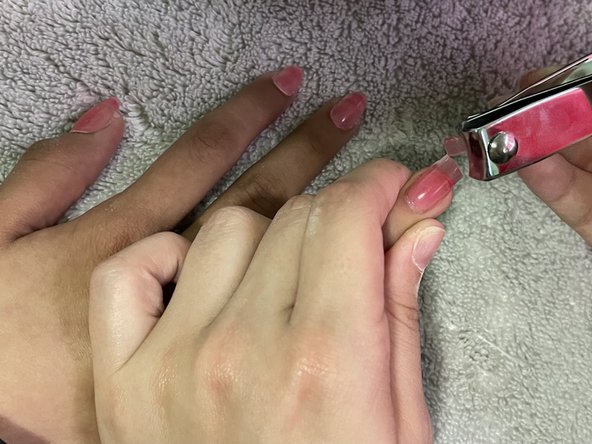
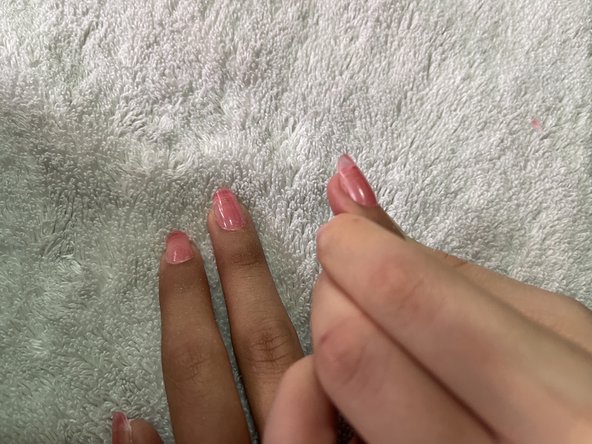
Check the extent of the damage.
-
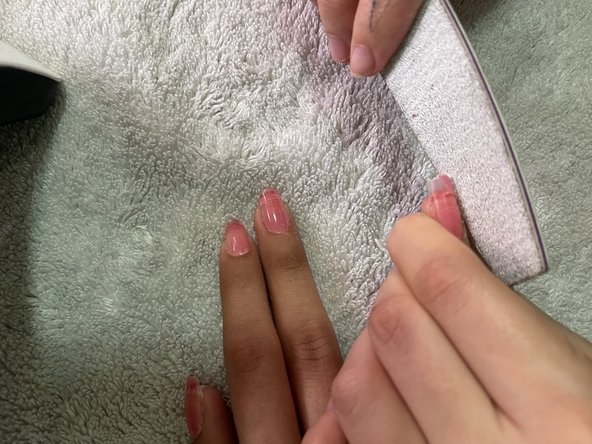
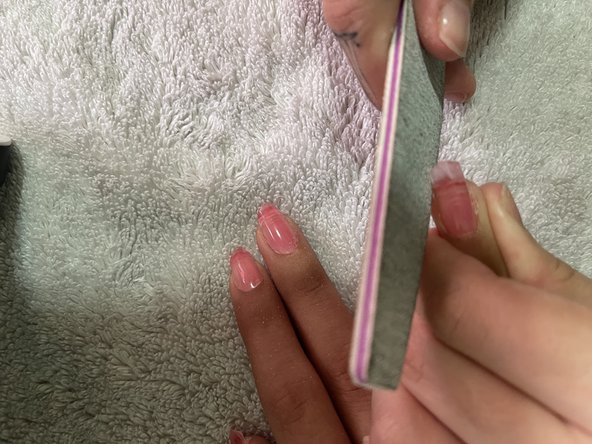
If the damage is minimal, file off any minor nicks around the edge of the nail.
-
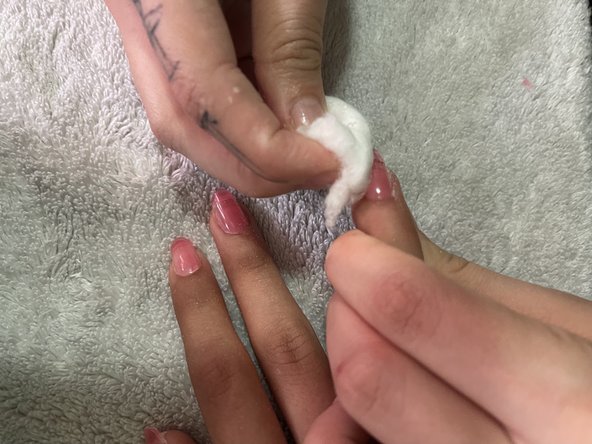
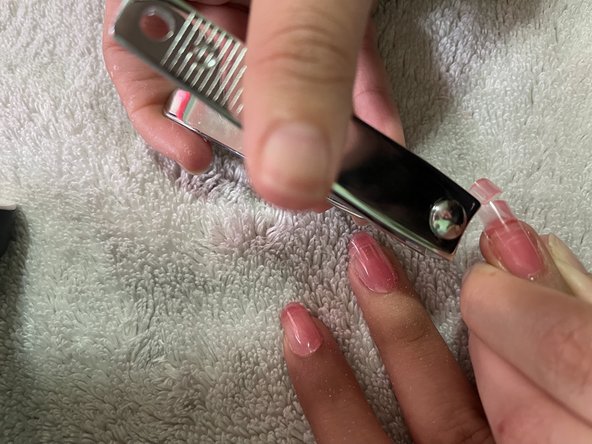
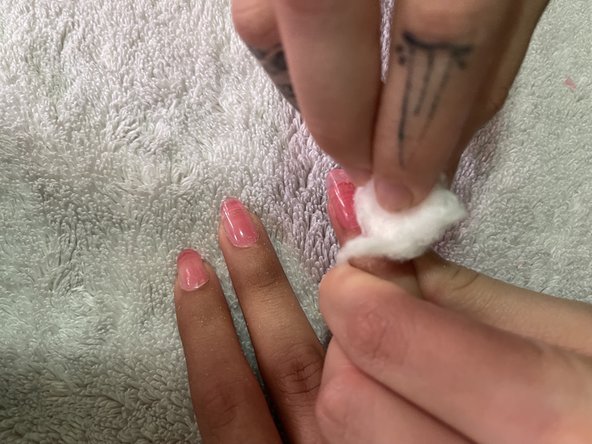
If the damage is extensive, the nail needs to be removed and rebuilt.
-
-


Team

CSU Los Angeles, Team S1-G30, Harris Spring 2021 Lid van CSU Los Angeles, Team S1-G30, Harris Spring 2021
CSULA-HARRIS-S21S1G30
2 Leden
2 handleidingen geschreven
Één opmerking
It helps me alot. Few days back i got my nail broke. I was in so much pain and looking for how to replace nails and fortunately i found this i ddn’t even waste a second and read it thoroughly and it helps me alot in replacing my nail. Thank you for helping others. Keep shining!