Inleiding
This guide takes you through the process of installing the start/select button on the PlayStation Vita.
Wat je nodig hebt
-
-
Using a Phillips #00 screwdriver, remove the four 6.4mm screws on the back casing.
-
-
-
-
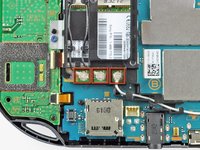
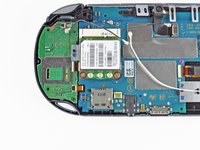
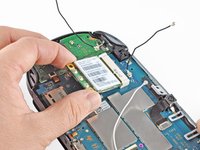
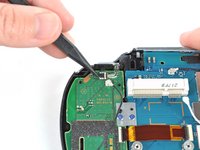
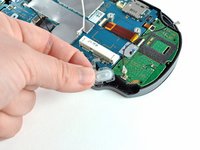
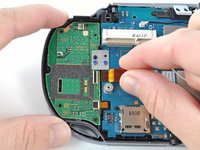
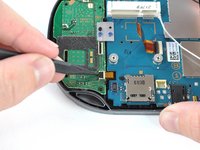
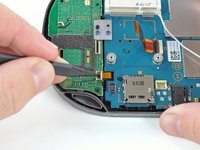
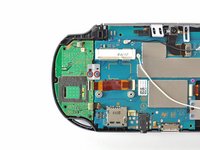
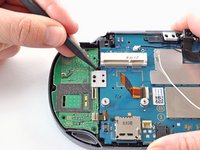
Using the pointy end of the spudger, disconnect the three antenna cable connectors on top of the wireless card.
-
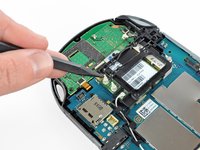
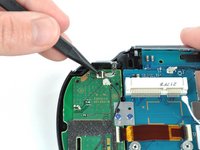
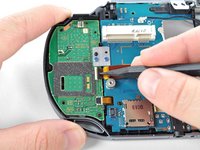
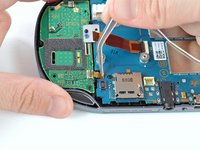
Deroute the antenna cables so that they are out of the wireless card casing. Rest the wires out of the way.
-
-
-
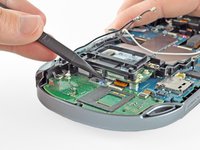
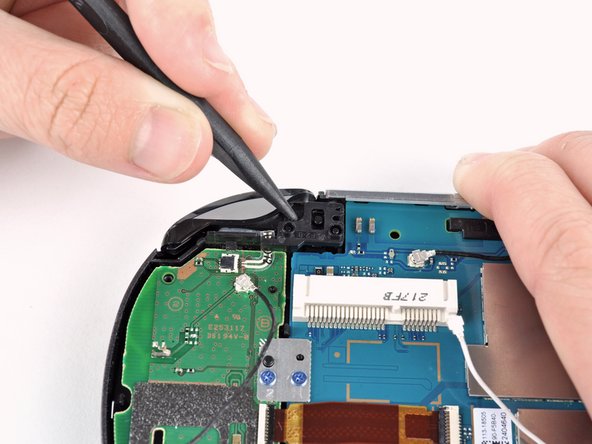
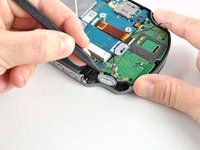
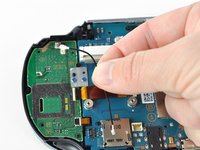
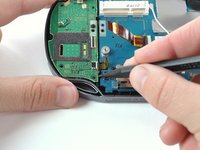
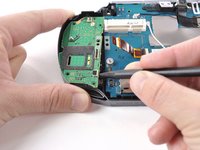
Pry up the right shoulder button casing with a spudger and set it aside.
-
-
-
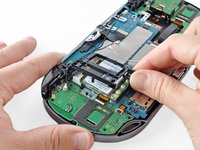
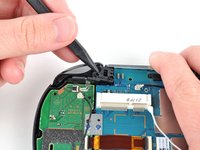
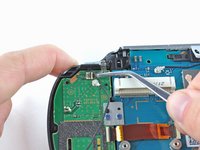
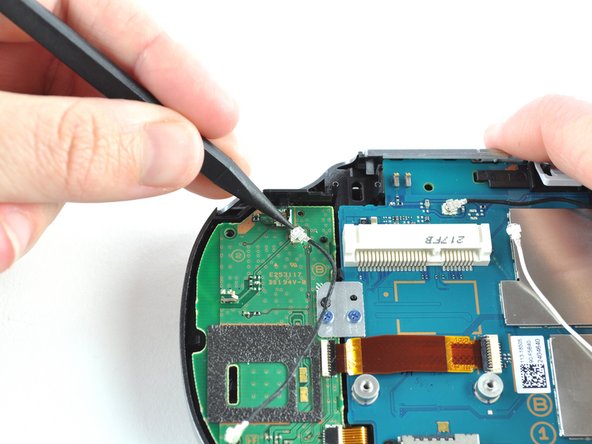
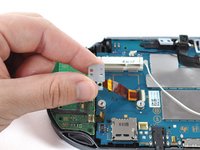
Using the pointy end of a spudger, detach the antenna cable on the right button board.
-
Remove the antenna cable.
-
-
Gereedschap gebruikt in deze stap:Tweezers$4.99
-
Using tweezers, peel the start/select button off the back case.
-


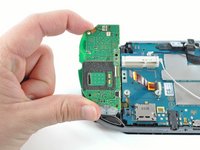


To reassemble your device, follow these instructions in reverse order.
To reassemble your device, follow these instructions in reverse order.
Annuleren: ik heb deze handleiding niet afgemaakt.
3 andere personen hebben deze handleiding voltooid.


Één opmerking
So I hit a roadblock at step 11, it seems some of these devices have security screws with no specific bit (or at least not one I could find) on the network card, so if you plan on attempting this repair please check your network card before doing so as you may need to perform some extra steps (such as cutting at the thing with a dremel if you're comfortable with that...) before moving forward. Here's what I'm referring to