Deze handleiding heeft recentere wijzigingen. Schakel over naar de nieuwste niet-geverifieerde versie.
Inleiding
This guide takes you through the process of installing the right joystick on the PlayStation Vita.
Wat je nodig hebt
-
-
Using a Phillips #00 screwdriver, remove the four 6.4mm screws on the back casing.
-
-
-
-
Using the pointy end of the spudger, disconnect the three antenna cable connectors on top of the wireless card.
-
Deroute the antenna cables so that they are out of the wireless card casing. Rest the wires out of the way.
-
-
-
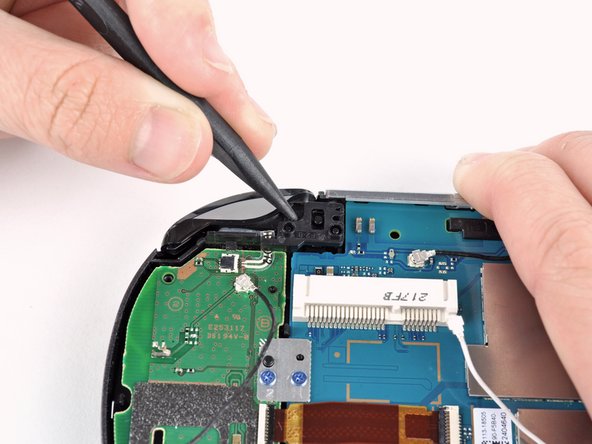
Pry up the right shoulder button casing with a spudger and set it aside.
-
-
-
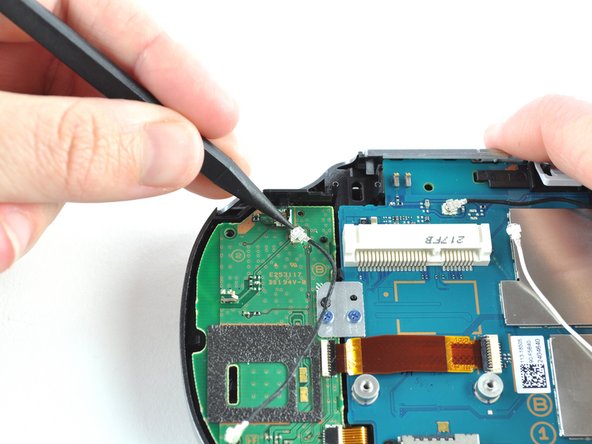
Using the pointy end of a spudger, detach the antenna cable on the right button board.
-
Remove the antenna cable.
-
-
-
Using a Phillips #00 screwdriver, remove the two 5.0mm, blue screws from the right joystick.
-


To reassemble your device, follow these instructions in reverse order.
To reassemble your device, follow these instructions in reverse order.
Annuleren: ik heb deze handleiding niet afgemaakt.
25 andere personen hebben deze handleiding voltooid.

