Inleiding
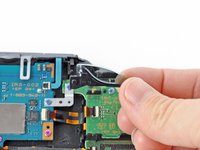
This guide takes you through the process of installing the PS button on the PlayStation Vita.
Wat je nodig hebt
-
-
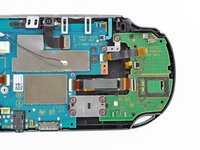
Using a Phillips #00 screwdriver, remove the four 6.4mm screws on the back casing.
-
-
-
-
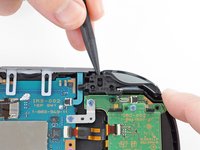
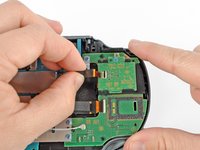
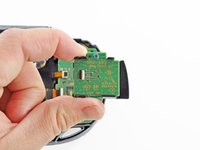
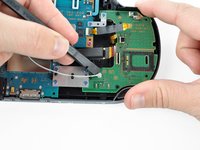
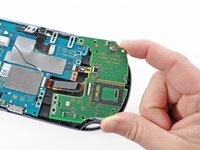
Pry up the left shoulder button casing with a spudger.
-
Remove the left shoulder button casing.
-
-
Gereedschap gebruikt in deze stap:Tweezers$4.99
-
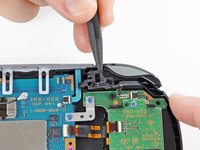
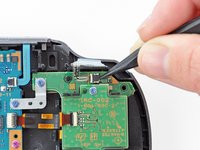
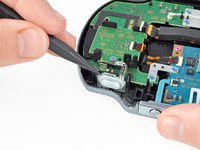
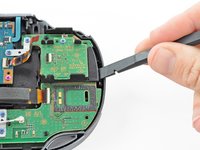
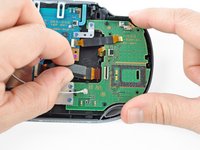
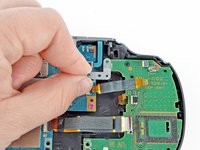
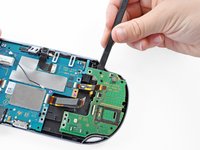
Release the left shoulder button flex cable socket by using a spudger to pry open the tab.
-
Using tweezers, slide the flex cable out of the socket. Do not pull on the black tab! Instead, pull the thin flex cable away from the connector (to the left in this image).
-
-
-
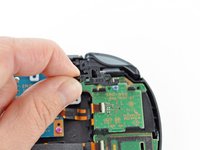
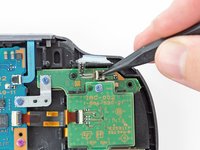
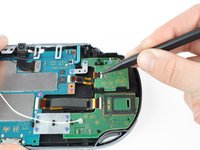
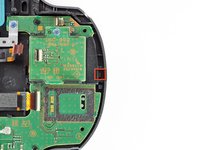
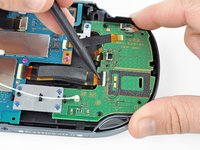
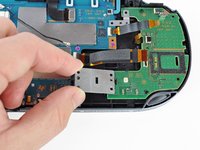
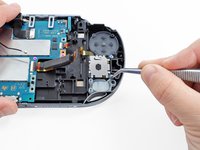
Using a spudger, lift and release the tab on the ZIF socket sitting on the SIM card reader.
-
Carefully pull the flex cable out of the ZIF socket, and rest it out of the way.
-
-
Gereedschap gebruikt in deze stap:Tweezers$4.99
-
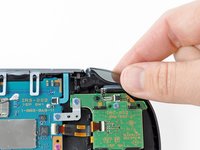
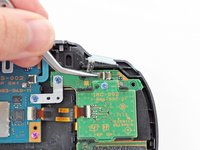
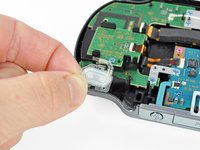
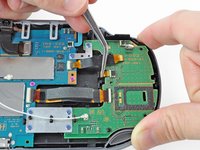
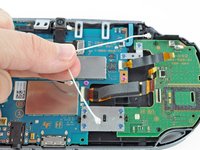
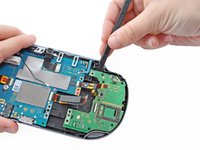
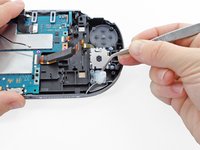
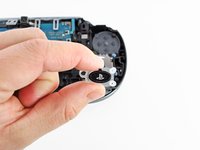
Using tweezers, peel up and remove the PS button.
-


To reassemble your device, follow these instructions in reverse order.
To reassemble your device, follow these instructions in reverse order.
Annuleren: ik heb deze handleiding niet afgemaakt.
7 andere personen hebben deze handleiding voltooid.

