Inleiding
This guide includes the steps necessary to remove the optical drive in the PlayStation 4 Pro. This is one of the last things that is removable in the PS4 Pro, which means that just about everything else has to be removed first. This guide includes a large amount of disassembly, as well as warranty-voiding steps.
Wat je nodig hebt
-
-
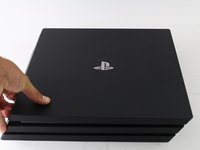
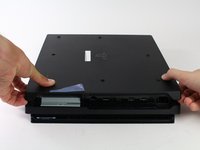
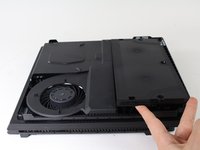
Flip the console upside down.
-
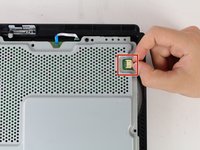
Use your finger to pull and snap off the plastic cover over the hard drive.
-
-
-
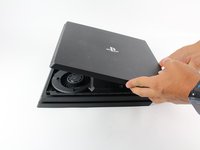
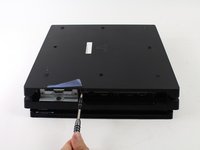
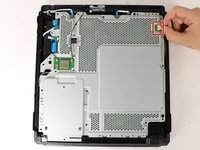
Flip the console right side up.
-
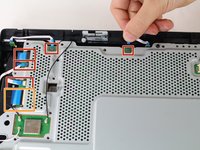
Grip the two corners located at the front of the device.
-
Pull upwards until a loud click is heard.
-
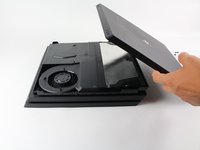
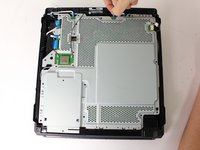
After both corners detach, slide the cover backwards and lift off.
-
-
-
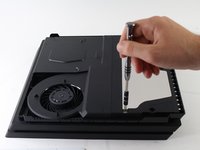
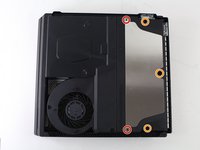
Use a T8 Torx Security screwdriver to remove five screws from the rear of the device.
-
Two 31mm screws.
-
Three 10mm screws for the 7000 models; Two gray 10mm screws (upper and lower screws on the illustration) if the PS4 Pro is a 7100-series model.
-
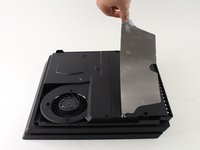
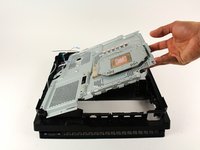
Remove the metal plate by pulling it up.
-
-
-
Flip the console over so the bottom is facing up.
-
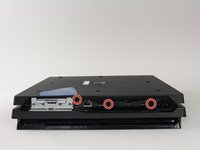
Use a T8 Torx Security screwdriver to remove the three black 7mm screws in the back panel. (7000-series models only); or one 7mm screw (the middle one) with 7100-series models and the warranty sticker to the left.
-
Remove the bottom cover in the same way as the top cover. Grip the cover on both sides and pull up until it clicks. Then slide the cover off; With 7100-series models, pay attention to the two clips that replace the corresponding screws.
-
-
-
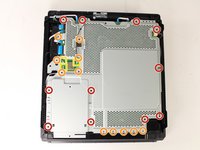
Use a T8 Torx security screwdriver to remove the eleven 10mm silver screws from the metal plate.
-
Use a Phillips #1 screwdriver to remove the eleven 4mm black screws from the metal plate.
-
Use a spudger to disconnect the three antenna cables (two black and one white) by prying them straight up from their sockets.
-
-
-
-
Carefully flip the console over so the bottom is facing up.
-
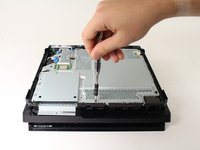
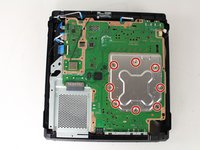
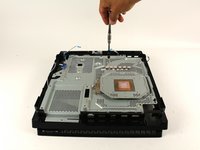
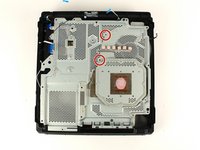
Use a Phillips #1 screwdriver to remove the eight 4mm screws on the metal plate with the X-like symbol.
-
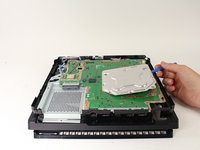
Use a plastic opening tool to remove the metal plate with the X-like shape.
-
-
-
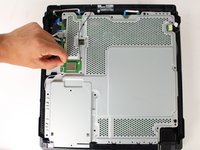
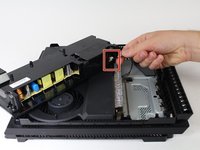
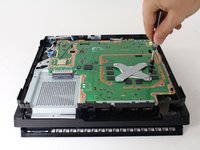
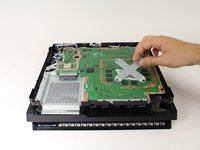
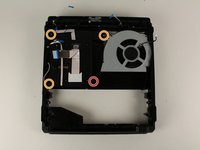
Use a Phillips #1 screwdriver to remove the two 6 mm silver screws from the metal plate.
-
-
-
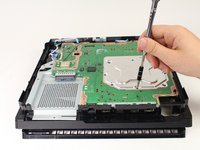
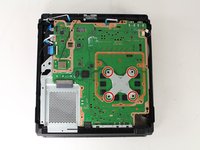
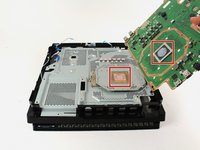
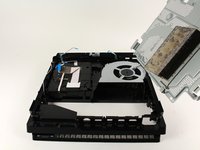
Use a Phillips #0 screwdriver to remove the four screws.
-
One 30 mm screw.
-
Three 6mm screws.
-
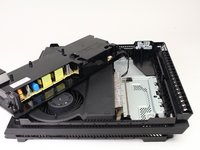
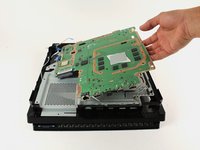
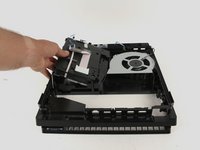
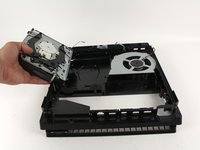
Grab the optical drive and lift up to remove.
-


To reassemble your device, follow these instructions in reverse order.
To reassemble your device, follow these instructions in reverse order.
Annuleren: ik heb deze handleiding niet afgemaakt.
62 andere personen hebben deze handleiding voltooid.
Team

Cal Poly, Team S21-G5, Livingston Spring 2017 Lid van Cal Poly, Team S21-G5, Livingston Spring 2017
CPSU-LIVINGSTON-S17S21G5
4 Leden
49 handleidingen geschreven
20 opmerkingen
The PS4 Pro does not have a daughter board attached to the optical drive to match up the optical drive model numbers to like the regular PS4. Where do we find what replacement optical drive to buy? Would it be the most recent BDP-025?
I’m currently trying to find a replacement Optical Drive for my Ps4 Pro myself. Apparently, This is really hard to find. Managed to find a used one but the price to me seems a bit high at $123.
Excellent instructions just saved me a lot of dosh. I would recommend using Phillips #00 where #0 is noted however - worked better for me.
Thanks again though!
Forgot to say that I my drive was fine once I fished out the two Switch cartridges my 3 year old had posted in there! Obviously wanted to play Zelda on my PS4 pro - if only.