Deze versie kan foutieve bewerkingen bevatten. Schakel over naar de recentste gecontroleerde momentopname.
Wat je nodig hebt
-
Deze stap is niet vertaald. Help het te vertalen
-
Remove the four screws from the grip with the 5/64" allen wrench. There are two on each side.
-
-
Deze stap is niet vertaald. Help het te vertalen
-
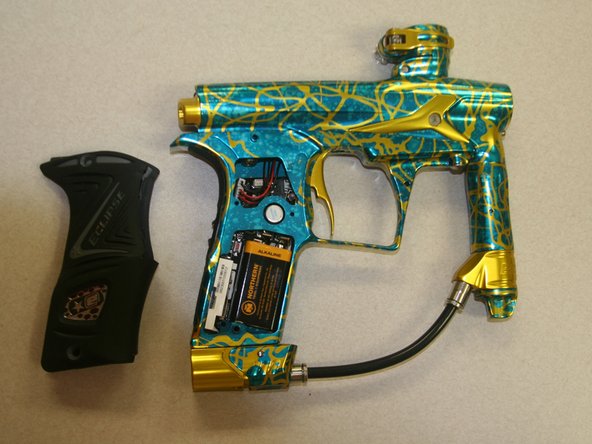
Pull the grip through the opening.
-
The grip is connected in the middle and is one piece.
-
-
Deze stap is niet vertaald. Help het te vertalen
-
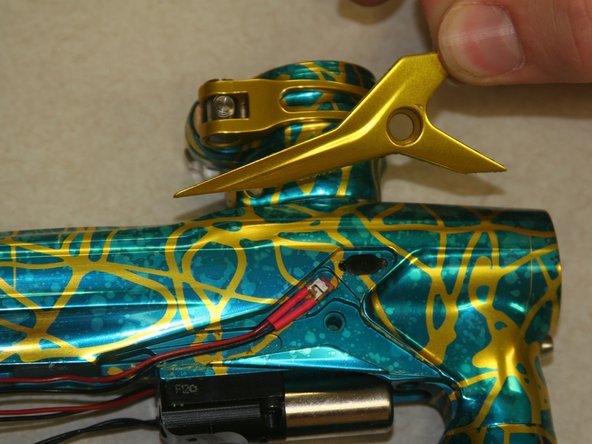
Remove the macroline from the fitting by pulling the metal ring around the end of the fitting away while pulling out the macroline.
-
-
-
Deze stap is niet vertaald. Help het te vertalen
-
While pulling in the metal ring on the fitting, pull the macroline out.
-
-
Deze stap is niet vertaald. Help het te vertalen
-
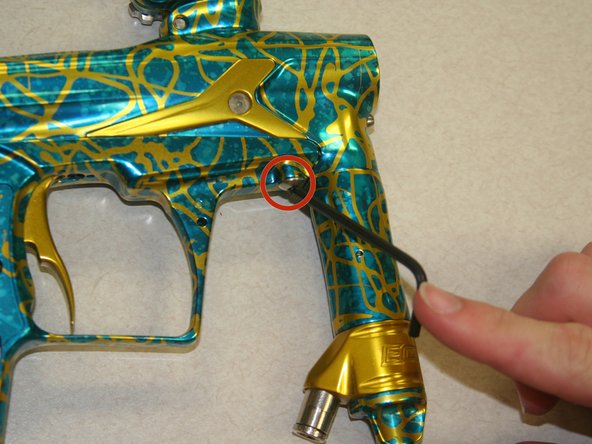
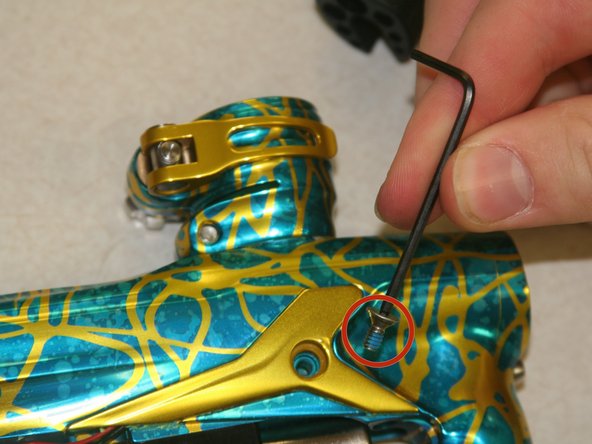
Use 1/8" allen wrench to remove screw behind regulator.
-
-
Deze stap is niet vertaald. Help het te vertalen
-
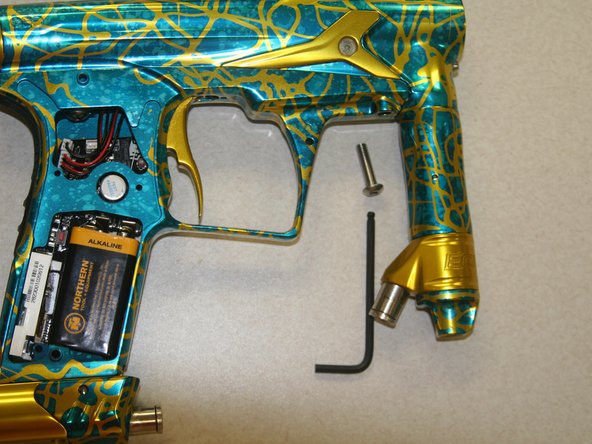
Use 1/8" allen wrench to loosen the screw inside the grip on the right side.
-
Slide the upper frame forward on the rails and remove the screw from the slot to separate the two halves of the body.
-
-
Deze stap is niet vertaald. Help het te vertalen
-
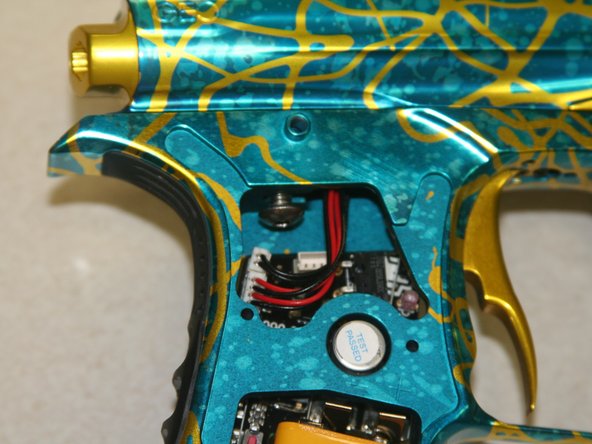
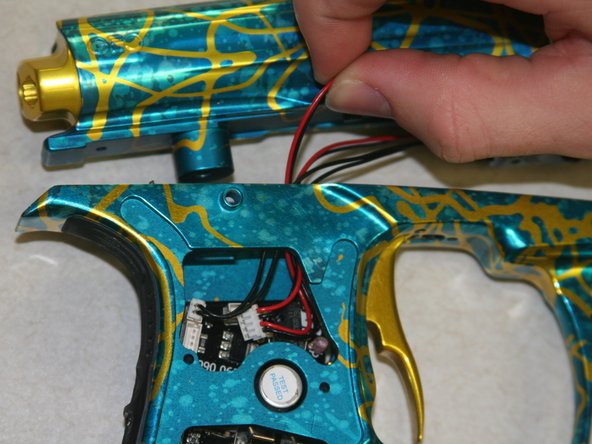
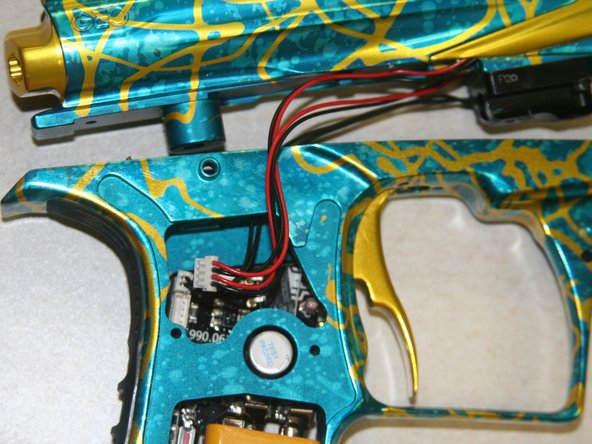
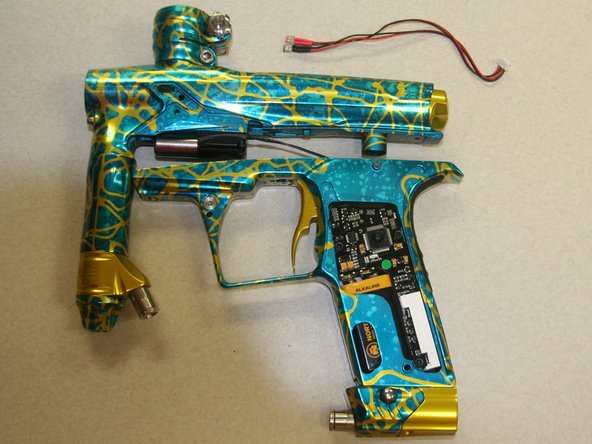
Use a prying tool or tweezers to gently remove the connection from the board. It is the connection with 2 black and 2 red wires.
-
Pull the wire through the opening.
-
-
Deze stap is niet vertaald. Help het te vertalen
-
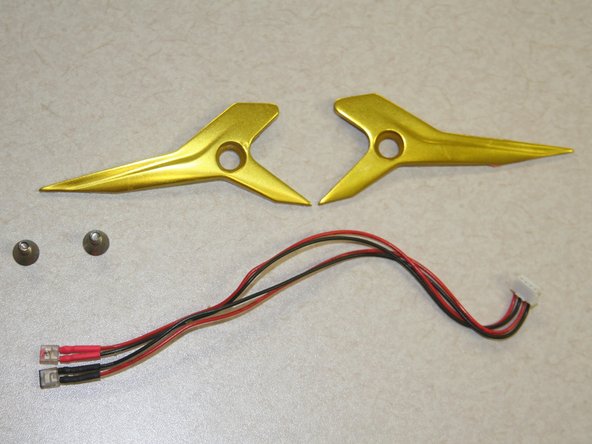
Use 5/64" allen key to remove each screw from eye covers (Located on both sides of the paintball marker.)
-
Pull off eye covers. (Located on both sides of the paintball marker.)
-
-
Deze stap is niet vertaald. Help het te vertalen
-
Gently pull out the two eyes, one on each side of the paintball marker.
-


Team

Clemson, Team 13-6, Benson Fall 2013 Lid van Clemson, Team 13-6, Benson Fall 2013
CLEM-BENSON-F13S13G6
3 Leden
8 handleidingen geschreven