Deze versie kan foutieve bewerkingen bevatten. Schakel over naar de recentste gecontroleerde momentopname.
Wat je nodig hebt
-
Deze stap is niet vertaald. Help het te vertalen
-
Remove the two screws on the underside of the headband with the PH0 Phillips screw driver.
-
-
-
Deze stap is niet vertaald. Help het te vertalen
-
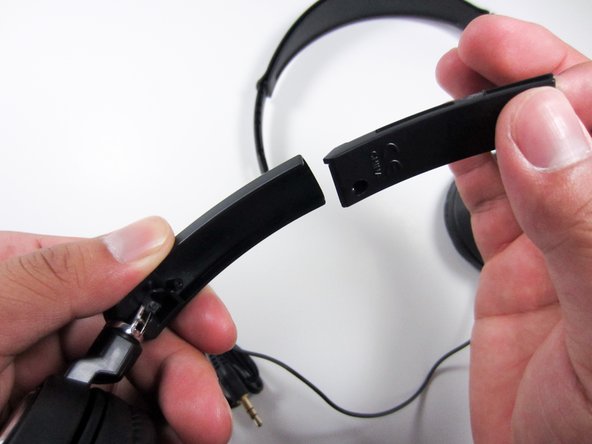
With the headband fully extended, hold the base of the headband with one hand and with your other hand, hold the top of the headband.
-
With force, pull upwards.
-
-
Deze stap is niet vertaald. Help het te vertalen
-
Remove the rail-piece that is now sticking up by pulling it up and out of the headphone.
-
Repeat on the opposite side and the headband will be released.
-


Team

Cal Poly, Team 10-40, Amido Spring 2013 Lid van Cal Poly, Team 10-40, Amido Spring 2013
CPSU-AMIDO-S13S10G40
4 Leden
37 handleidingen geschreven