Deze versie kan foutieve bewerkingen bevatten. Schakel over naar de recentste gecontroleerde momentopname.
Wat je nodig hebt
-
Deze stap is niet vertaald. Help het te vertalen
-
Remove the back cover by sliding it off.
-
Remove the 3 AAA batteries.
-
-
Deze stap is niet vertaald. Help het te vertalen
-
Unscrew the nine exterior screws on the back panel using a PH0-size Philips-head screwdriver.
-
Remove the triangular end piece by pulling it straight off.
-
-
Deze stap is niet vertaald. Help het te vertalen
-
Remove the colored grill by sliding it off in the direction of the removed end piece.
-
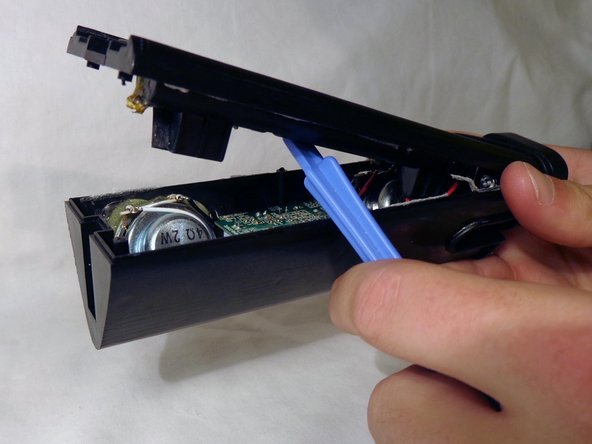
Pry off the back battery panel with the plastic opening tool.
-
-
-
Deze stap is niet vertaald. Help het te vertalen
-
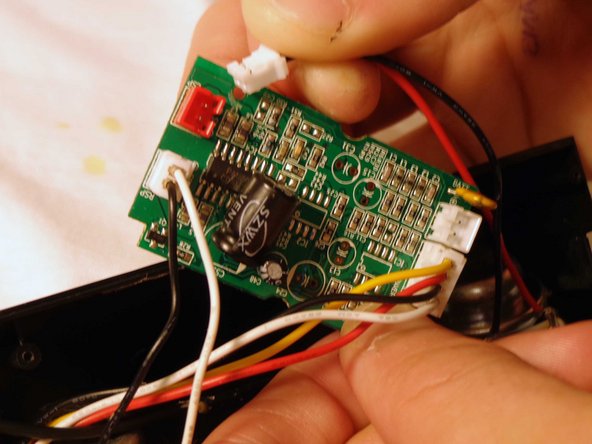
Remove the circuit board by unscrewing the two interior screws located on the circuit board.
-
Pull out the battery plugs from the circuit board by pulling out the plugs to fully remove the back panel from the rest of the speaker.
-
-
Deze stap is niet vertaald. Help het te vertalen
-
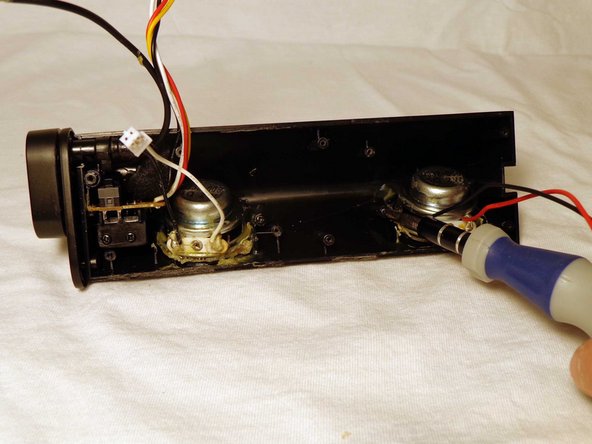
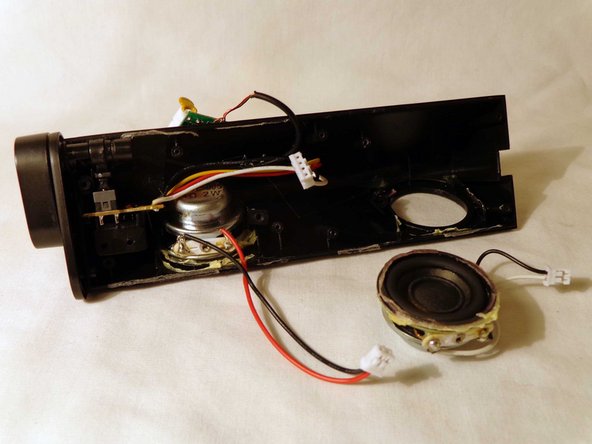
Locate the speaker needing replacing.
-
Remove the one screw holding the speaker in place with a PH0 size philips head screw driver.
-
-
Deze stap is niet vertaald. Help het te vertalen
-
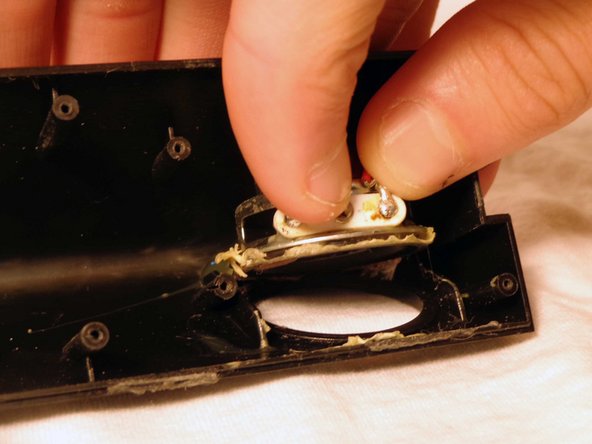
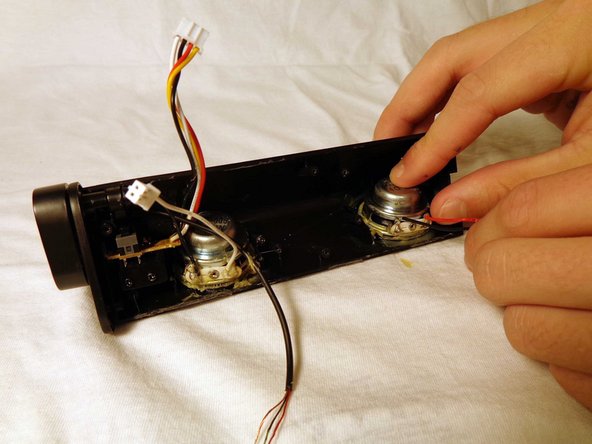
Score the glue that is holding the speaker in place with the spudger, and use your hands to pry off the speaker.
-
-
Deze stap is niet vertaald. Help het te vertalen
-
Using a non-conductive glue, carefully seal the speaker to the casing.
-
Follow the glue instructions as set by the manufacturers. Let the glue set the appropriate amount of time.
-
Reassemble the device
-


Annuleren: ik heb deze handleiding niet afgemaakt.
Één andere persoon heeft deze handleiding voltooid.
Team

Clemson, Team 14-4, Benson Fall 2013 Lid van Clemson, Team 14-4, Benson Fall 2013
CLEM-BENSON-F13S14G4
3 Leden
4 handleidingen geschreven