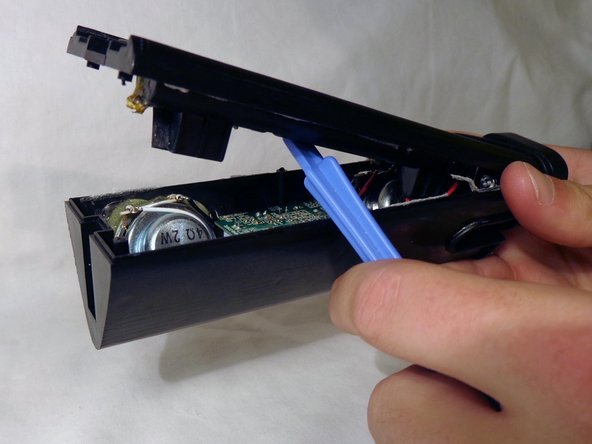
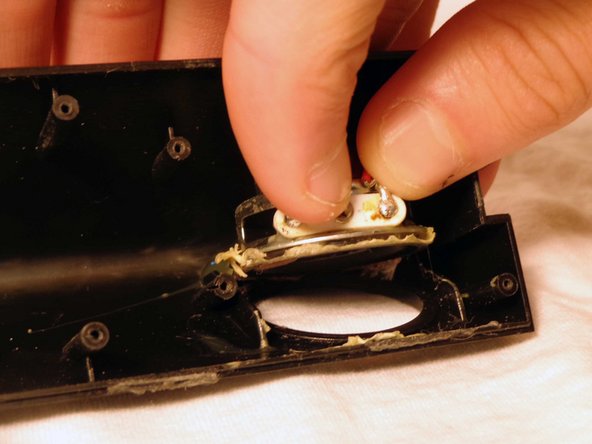
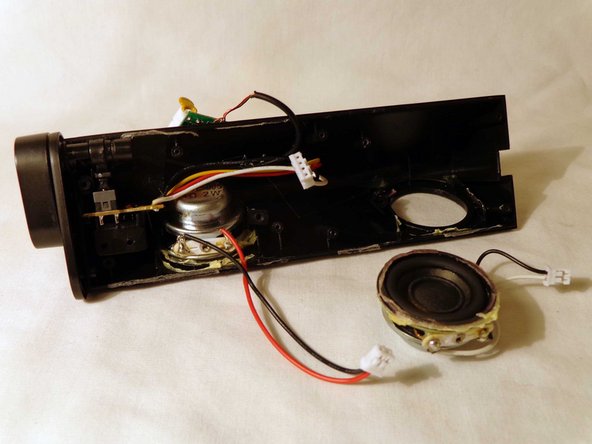
Ga door naar hoofdinhoud

Philips SBA1060 Speaker Replacement

Wat je nodig hebt

  1. Philips SBA1060 Speaker Replacement, Battery Casing: stap 1, afbeelding 1 van 1
    • Remove the back cover by sliding it off.

    • Remove the 3 AAA batteries.

  2. Philips SBA1060 Speaker Replacement: stap 2, afbeelding 1 van 3 Philips SBA1060 Speaker Replacement: stap 2, afbeelding 2 van 3 Philips SBA1060 Speaker Replacement: stap 2, afbeelding 3 van 3
    • Unscrew the nine exterior screws on the back panel using a PH0-size Philips-head screwdriver.

    • A larger screwdriver head and more force may be required for damaged screws.

    • Remove the triangular end piece by pulling it straight off.

  3. Philips SBA1060 Speaker Replacement: stap 3, afbeelding 1 van 2 Philips SBA1060 Speaker Replacement: stap 3, afbeelding 2 van 2
    • Remove the colored grill by sliding it off in the direction of the removed end piece.

    • Pry off the back battery panel with the plastic opening tool.

    • Be careful to avoid tearing any wires.

  4. Philips SBA1060 Speaker Replacement, Speaker: stap 4, afbeelding 1 van 2 Philips SBA1060 Speaker Replacement, Speaker: stap 4, afbeelding 2 van 2
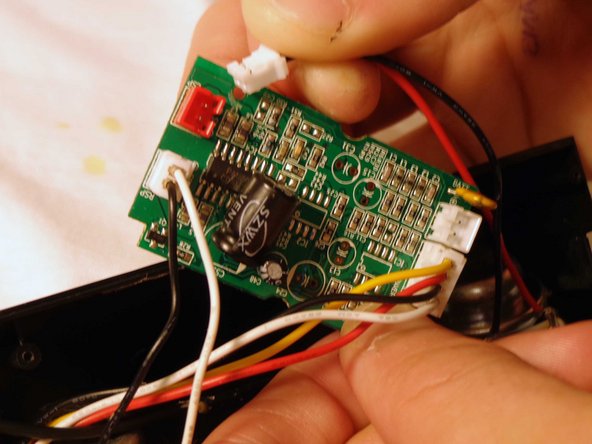
    • Remove the circuit board by unscrewing the two interior screws located on the circuit board.

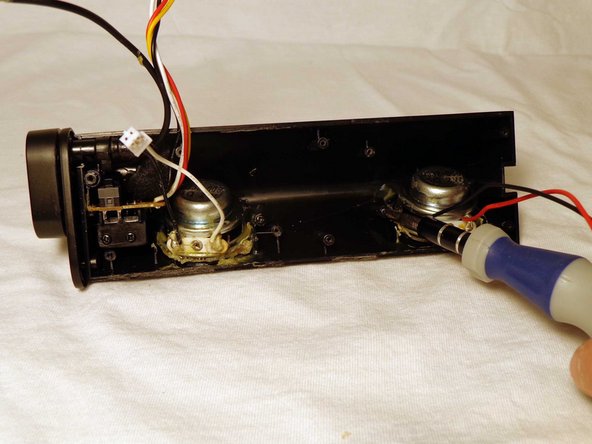
    • Pull out the battery plugs from the circuit board by pulling out the plugs to fully remove the back panel from the rest of the speaker.

  5. Philips SBA1060 Speaker Replacement: stap 5, afbeelding 1 van 2 Philips SBA1060 Speaker Replacement: stap 5, afbeelding 2 van 2
    • Locate the speaker needing replacing.

    • Remove the one screw holding the speaker in place with a PH0 size philips head screw driver.

  6. Philips SBA1060 Speaker Replacement: stap 6, afbeelding 1 van 3 Philips SBA1060 Speaker Replacement: stap 6, afbeelding 2 van 3 Philips SBA1060 Speaker Replacement: stap 6, afbeelding 3 van 3
    • Score the glue that is holding the speaker in place with the spudger, and use your hands to pry off the speaker.

  7. Philips SBA1060 Speaker Replacement: stap 7, afbeelding 1 van 2 Philips SBA1060 Speaker Replacement: stap 7, afbeelding 2 van 2
    • Using a non-conductive glue, carefully seal the speaker to the casing.

    • Follow the glue instructions as set by the manufacturers. Let the glue set the appropriate amount of time.

    • Reassemble the device

Conclusie

To reassemble your device, follow these instructions in reverse order.

Één andere persoon heeft deze handleiding voltooid.

April Driscoll

Lid sinds: 10/21/13

321 Reputatie

3 handleidingen geschreven

Team

Clemson, Team 14-4, Benson Fall 2013 Lid van Clemson, Team 14-4, Benson Fall 2013

CLEM-BENSON-F13S14G4

3 Leden

4 handleidingen geschreven

0 opmerkingen

Voeg opmerking toe

Weergavestatistieken:

Afgelopen 24 uren: 0

Afgelopen 7 dagen: 2

Afgelopen 30 dagen: 13

Altijd: 1,684