Deze versie kan foutieve bewerkingen bevatten. Schakel over naar de recentste gecontroleerde momentopname.
Wat je nodig hebt
-
Deze stap is niet vertaald. Help het te vertalen
-
Remove the following screws:
-
Two silver 3.15mm Phillips #00 screws on the right side of the camera
-
Two silver 2.08mm Phillips #00 screws on the left side of the camera
-
-
Deze stap is niet vertaald. Help het te vertalen
-
Remove the two indicated screws on the bottom of the camera:
-
The screw circled in red is a longer silver 3.15mm Phillips #00 screw
-
The screw circled in blue is a shorter silver 2.25mm Phillips #00 screw
-
-
-
Deze stap is niet vertaald. Help het te vertalen
-
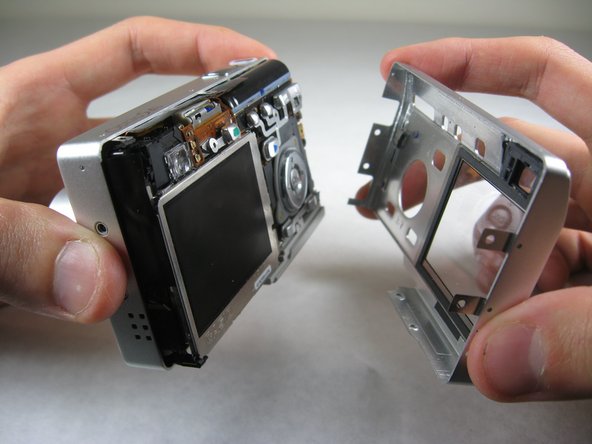
Carefully pull the back of casing away from the front.
-
-
Deze stap is niet vertaald. Help het te vertalen
-
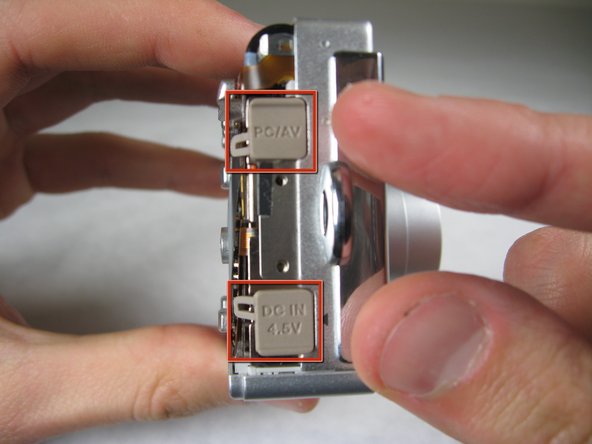
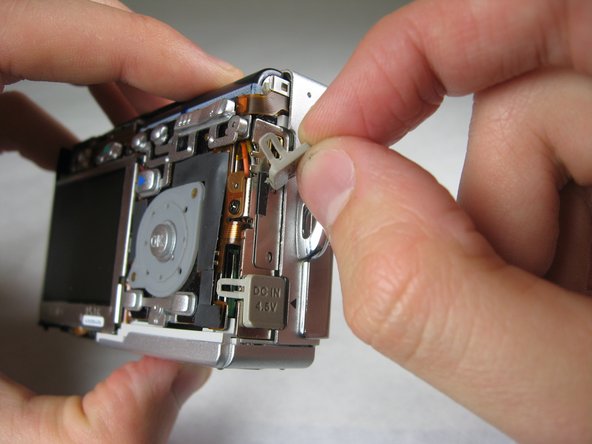
Silver donut-shaped button will fall off. Place separately. Remove the plug covers on the right side of camera, labeled “PC/AV” and “DC IN 4.5V”.
-
-
Deze stap is niet vertaald. Help het te vertalen
-
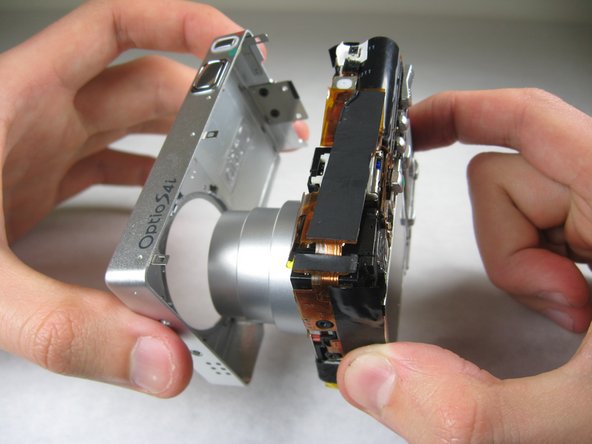
To remove the front cover, gently hold the inside structure of the camera and slowly pull the front cover off.
-


Annuleren: ik heb deze handleiding niet afgemaakt.
Één andere persoon heeft deze handleiding voltooid.
Team

Cal Poly, Team 4-29, Regan Winter 2011 Lid van Cal Poly, Team 4-29, Regan Winter 2011
CPSU-REGAN-W11S4G29
3 Leden
10 handleidingen geschreven