Inleiding
A guide to removing the lens assembly on the camcorder.
Wat je nodig hebt
-
-
Locate the blue plastic tool opener, then remove both the round record/playback and record/power control knobs by prying it open from the camcorder.
-
-
-
-
Remove the indicated 4.5mm screws from the LCD side of the camera.
-
-
-
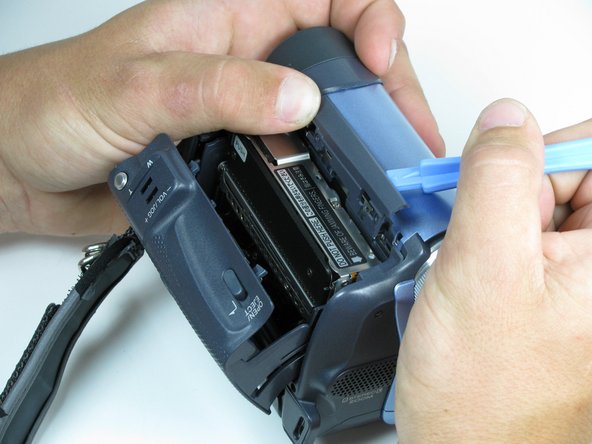
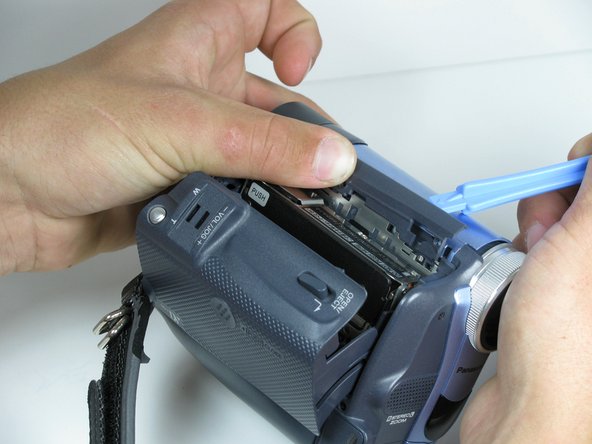
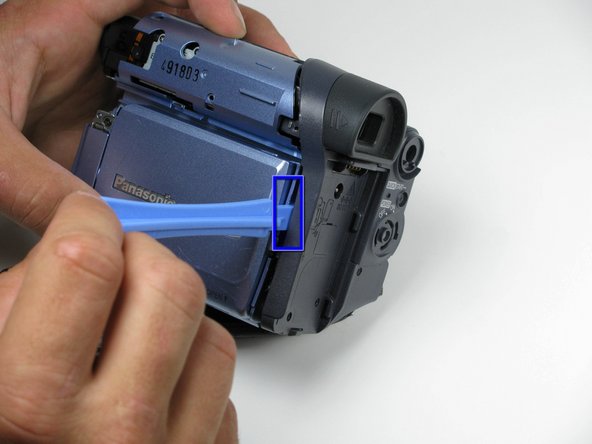
Place a plastic opening tool under the bottom of the blue panel beneath the camcorder.
-
Using two tools may be useful, if difficult.
-
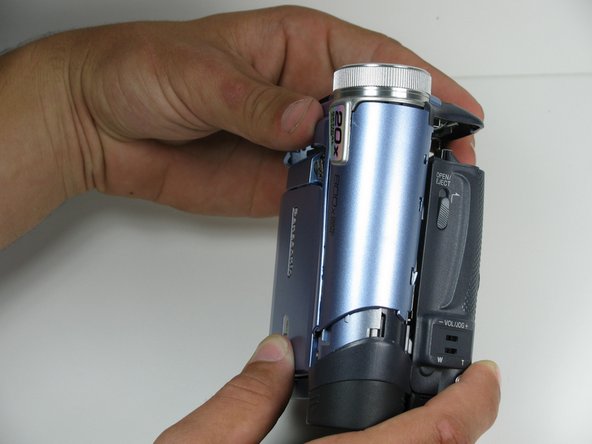
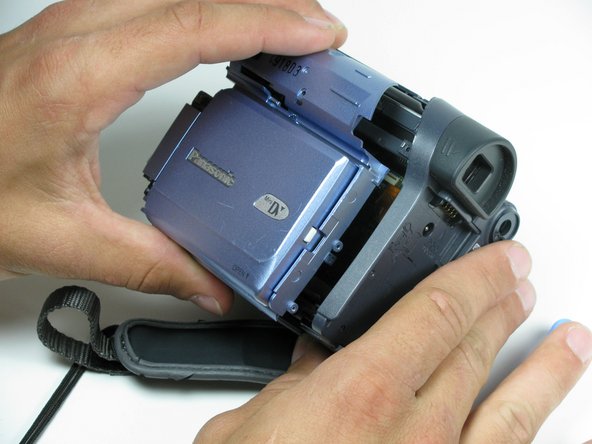
Move the plastic opening tool up the side of the camcorder as shown. Carefully separate the LCD panel from the rest of the camcorder.
-
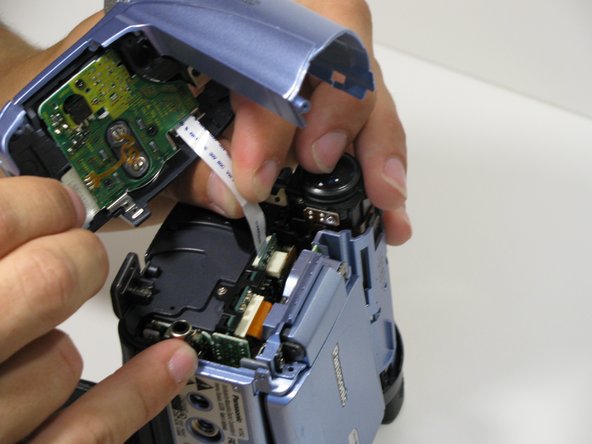
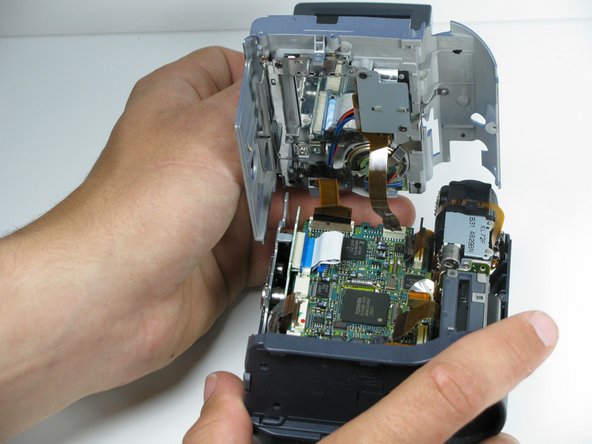
Remove the panel from the camcorder.
-
-
-
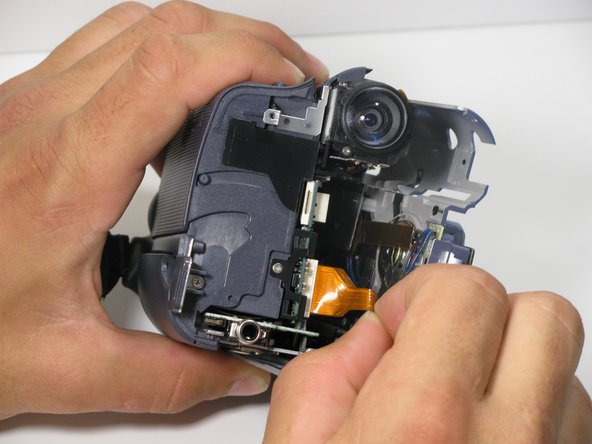
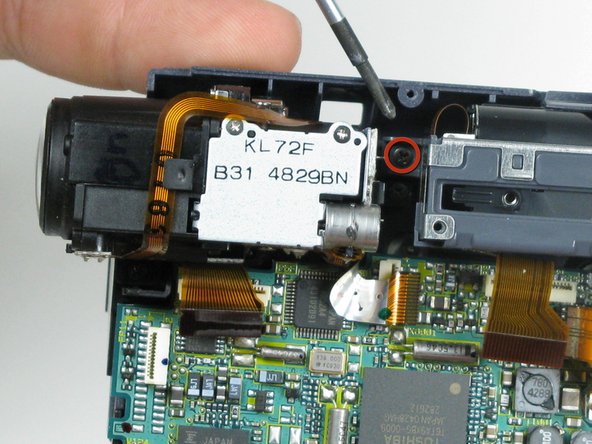
Using #00 phillips screwdriver, remove two 4.5mm black screws holding lens in place.
-
To reassemble your device, follow these instructions in reverse order.
To reassemble your device, follow these instructions in reverse order.


