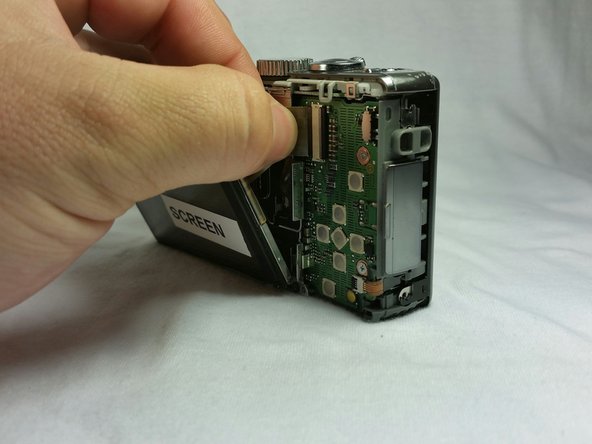
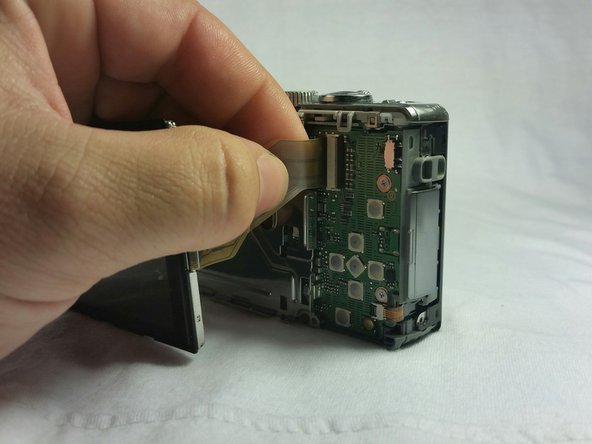
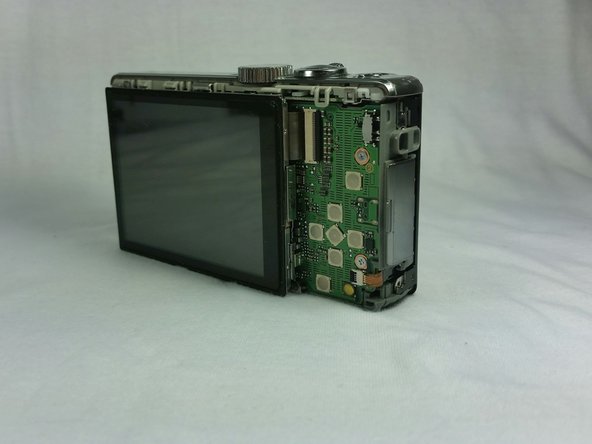
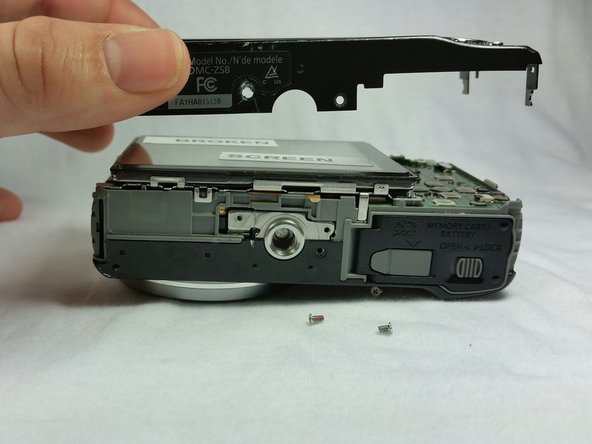
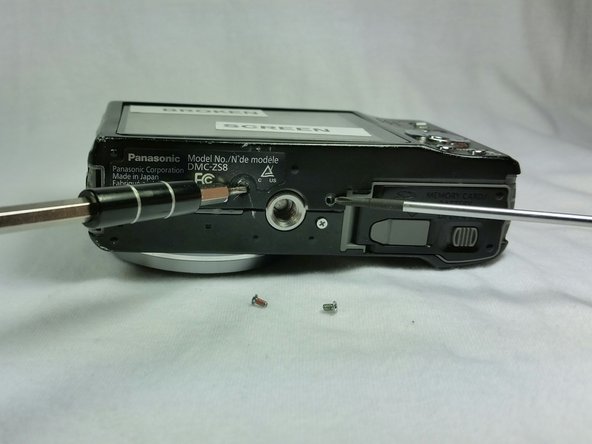
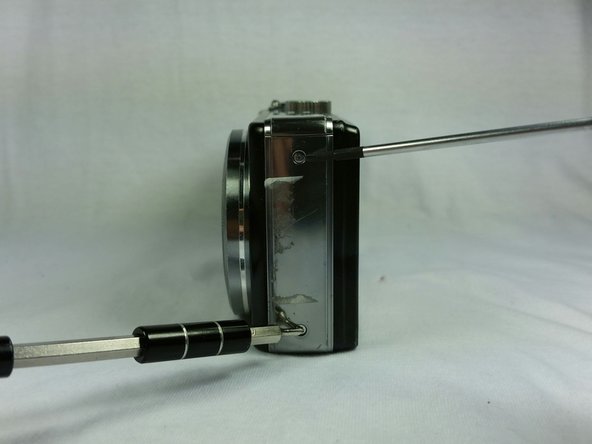
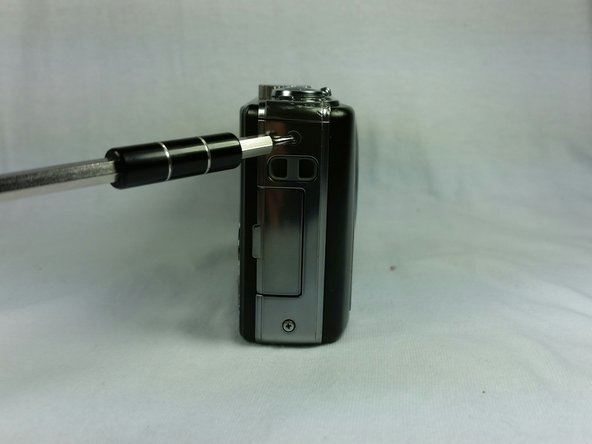
Ga door naar hoofdinhoud

Panasonic Lumix DMC-ZS8 Screen Panel Replacement

Wat je nodig hebt

  1. Panasonic Lumix DMC-ZS8 Screen Panel Replacement, Screen Panel: stap 1, afbeelding 1 van 3 Panasonic Lumix DMC-ZS8 Screen Panel Replacement, Screen Panel: stap 1, afbeelding 2 van 3 Panasonic Lumix DMC-ZS8 Screen Panel Replacement, Screen Panel: stap 1, afbeelding 3 van 3
    • Remove all four screws from the side panels.

  2. Panasonic Lumix DMC-ZS8 Screen Panel Replacement: stap 2, afbeelding 1 van 3 Panasonic Lumix DMC-ZS8 Screen Panel Replacement: stap 2, afbeelding 2 van 3 Panasonic Lumix DMC-ZS8 Screen Panel Replacement: stap 2, afbeelding 3 van 3
    • Remove the two screws from the bottom of the back panel.

    • Remove the back panel as shown in the second and third pictures.

  3. Panasonic Lumix DMC-ZS8 Screen Panel Replacement: stap 3, afbeelding 1 van 3 Panasonic Lumix DMC-ZS8 Screen Panel Replacement: stap 3, afbeelding 2 van 3 Panasonic Lumix DMC-ZS8 Screen Panel Replacement: stap 3, afbeelding 3 van 3
    • Remove the screen from the mounting bracket.

    • Slide the wiring from the board connection.

  4. Panasonic Lumix DMC-ZS8 Screen Panel Replacement: stap 4, afbeelding 1 van 3 Panasonic Lumix DMC-ZS8 Screen Panel Replacement: stap 4, afbeelding 2 van 3 Panasonic Lumix DMC-ZS8 Screen Panel Replacement: stap 4, afbeelding 3 van 3
    • Reconnect the new screen wiring into the motherboard as shown in the picture. Replace the new screen into the mounting bracket.

  5. Panasonic Lumix DMC-ZS8 Screen Panel Replacement: stap 5, afbeelding 1 van 3 Panasonic Lumix DMC-ZS8 Screen Panel Replacement: stap 5, afbeelding 2 van 3 Panasonic Lumix DMC-ZS8 Screen Panel Replacement: stap 5, afbeelding 3 van 3
    • Replace the front panel and install the screws on the bottom side of the camera.

  6. Panasonic Lumix DMC-ZS8 Screen Panel Replacement: stap 6, afbeelding 1 van 3 Panasonic Lumix DMC-ZS8 Screen Panel Replacement: stap 6, afbeelding 2 van 3 Panasonic Lumix DMC-ZS8 Screen Panel Replacement: stap 6, afbeelding 3 van 3
    • Replace the side panels and replace the four screws to secure the side panels.

  7. Panasonic Lumix DMC-ZS8 Screen Panel Replacement: stap 7, afbeelding 1 van 1
    • This is what your newly replaced screen should look like.

Conclusie

Now you have a new screen for your Panasonic DMC-ZS8.

6 andere personen hebben deze handleiding voltooid.

Trevor Meyers

Lid sinds: 03/03/15

356 Reputatie

2 handleidingen geschreven

Team

Één opmerking

Where do I buy the new screen in the UK? I have been searching online, but not found one for my DMC-TZ70

Bernard Spence - Antwoord

Voeg opmerking toe

Weergavestatistieken:

Afgelopen 24 uren: 0

Afgelopen 7 dagen: 2

Afgelopen 30 dagen: 3

Altijd: 2,066